27 Wooden Kitchen Cabinet Decor Ideas That Make Your Kitchen Feel Warm and Full of Character
I grew up in a kitchen with wooden cabinets, the kind with a honey oak finish that had gone a little orange by the time I was old enough to notice such things. My mother loved those cabinets. I thought they were dated, and I spent my teenage years telling her the kitchen needed white cabinets like everyone else had. Then I moved into my first place, a rental with flat white boxes for cabinets, and I missed the wood within a month. The white kitchen looked clean in photos and felt cold in real life. It had no warmth, no grain, no story. That is when I understood what my mother knew all along. Wooden cabinets are not a trend you wait out. They are the warm heart of a kitchen, and when you style them right, they make the whole room feel like home.
The rule I use for every wooden kitchen is simple, and I call it the Wood, Light, Metal Rule. Every kitchen with wooden cabinets needs three things: warm wood (that is the cabinets themselves, the grain doing the work), one warm light source (under cabinet lights, a pendant, or just a lamp on the counter), and one metal finish repeated at least three times (brass pulls, a brass faucet, a brass frame). Wood without light feels heavy. Wood without metal feels flat. But wood plus light plus metal feels like a kitchen from a magazine, and IMO that is the whole game. The 27 ideas below are organized by zone, so you can start with one cabinet run this weekend and add the rest over time, or go all in on a single Saturday. FYI, most of these ideas work in a rental too, and several cost less than a weekly grocery shop.
Start With the Wood Itself
1. Go Honey Oak for Instant Warmth
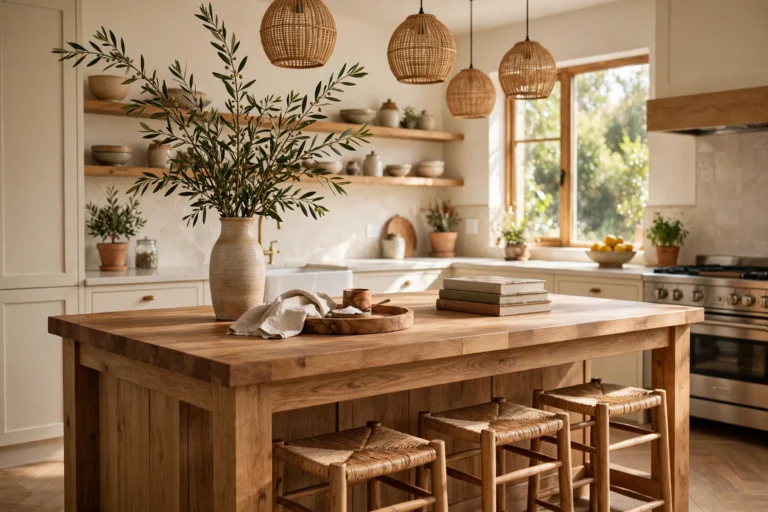
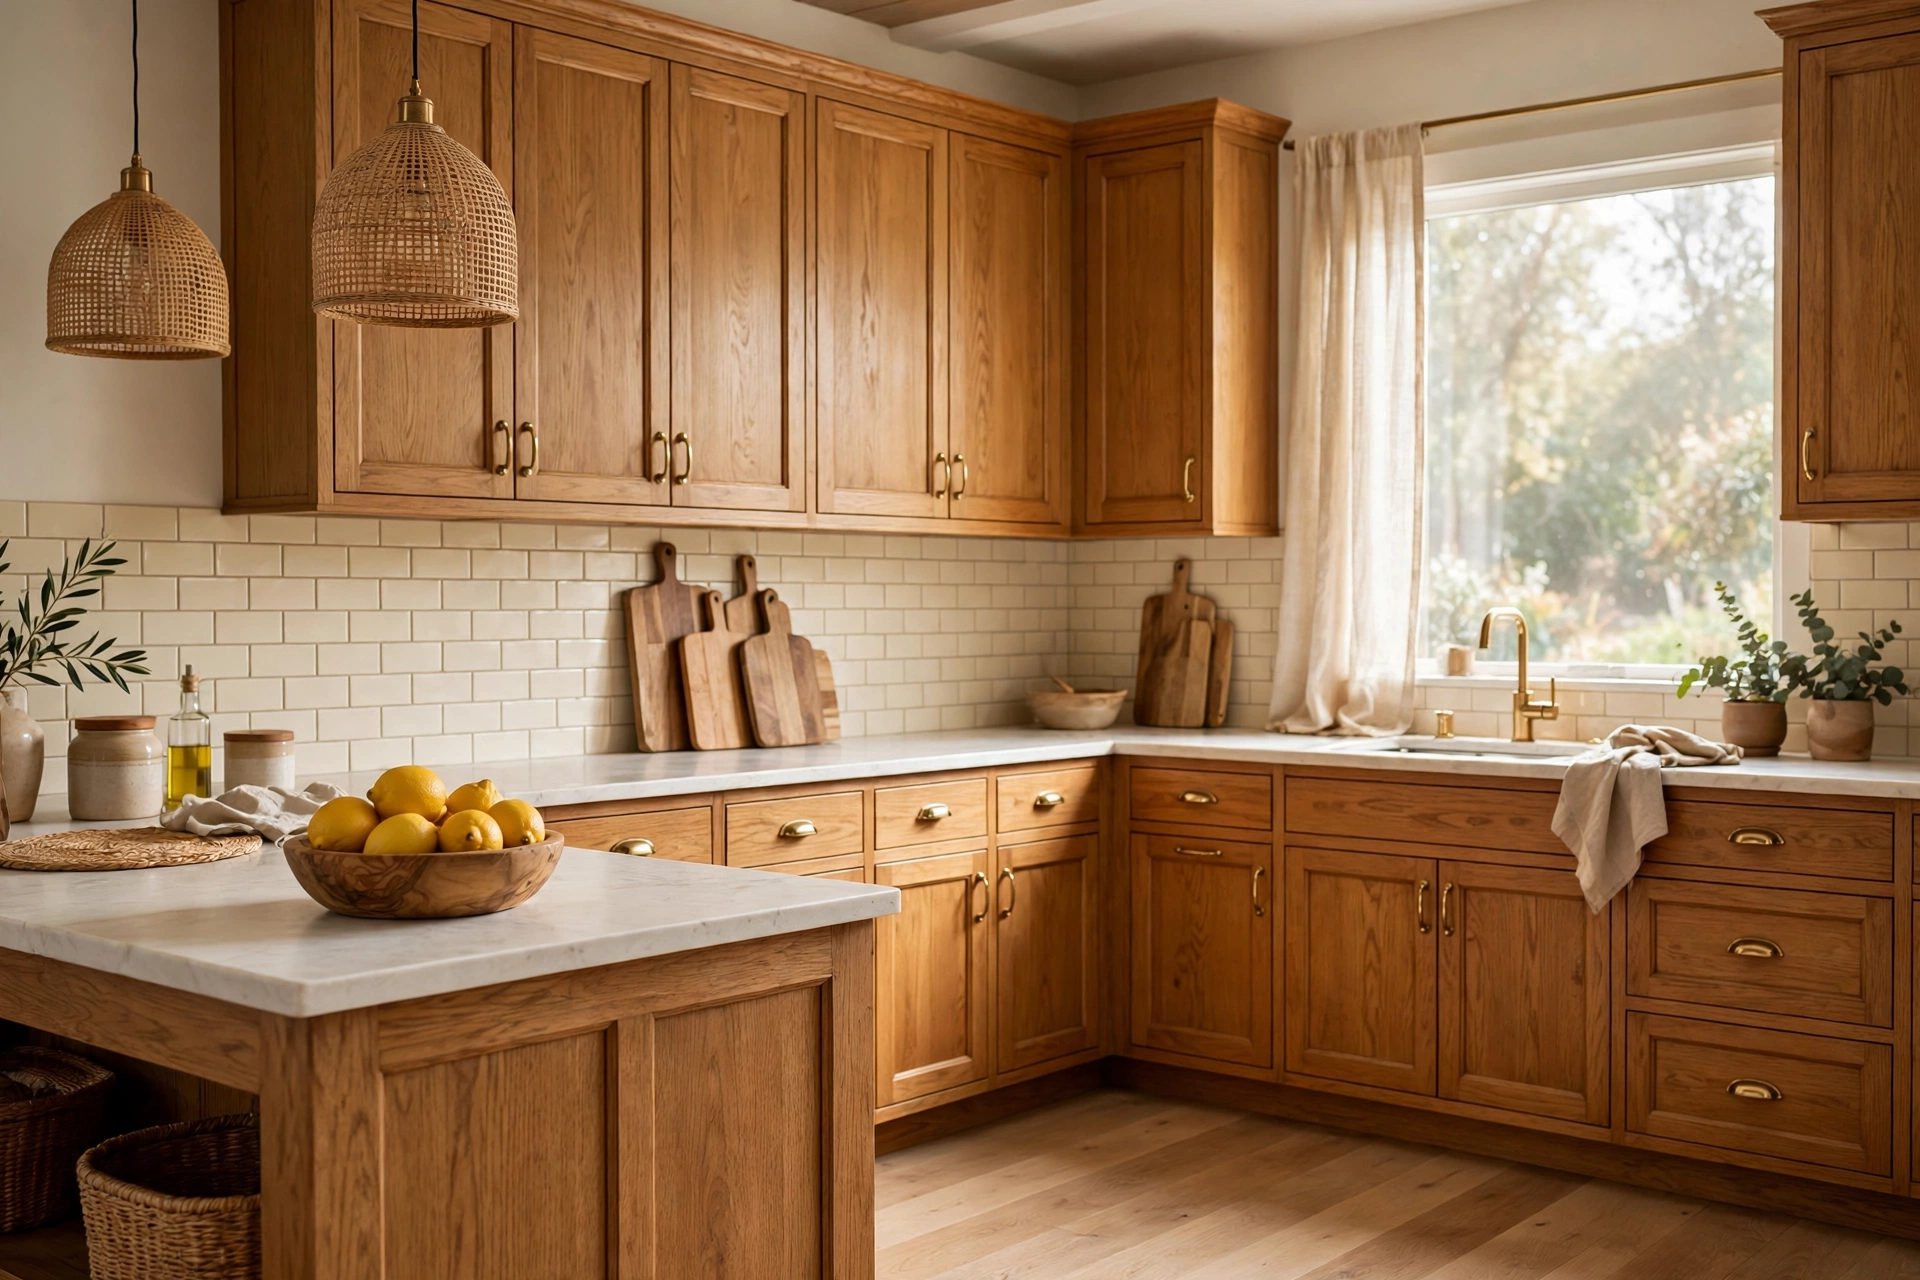
Start here if your kitchen feels cold, because honey oak is the friendliest wood there is. It is golden without being yellow, warm without being dark, and it forgives a multitude of sins in a busy kitchen. Honey oak pairs with almost everything: cream walls, black hardware, brass hardware, white counters, butcher block counters. If your cabinets are already honey oak and you think they look dated, do not rip them out. Change the hardware, add warm under cabinet light, and clear the clutter off the counters. Nine times out of ten, the wood was never the problem. The styling around it was.
2. Choose Walnut When You Want Rich and Grown Up
Walnut is the grown up version of wood cabinets. It is deep, chocolatey, and a little bit dramatic, and it makes a kitchen feel expensive in a way oak never will. Walnut works best in a kitchen that gets decent daylight, because the dark wood drinks light the way a dark wall does. Pair it with cream counters and brass hardware, and keep the walls pale so the room still breathes. I love walnut on lower cabinets with pale uppers, because you get the richness at counter level and lightness at eye level. If your budget only stretches to one walnut run, make it the island. One walnut island in an otherwise pale kitchen is a statement piece, not a renovation.
3. Try Whitewashed Wood for a Light, Airy Feel
If you love wood but your kitchen is small or dark, whitewash is your answer. Whitewashing lets the grain show through a milky white finish, so you get the texture of wood with the brightness of paint. It is the best of both worlds, and it is very forgiving in a beach house, a farmhouse, or a cottage kitchen. Whitewashed cabinets love pale blue walls, woven baskets, and open shelves with white dishes. The trick is to keep the whitewash thin. If it goes on too thick, it just looks like badly painted white cabinets. Ask your painter for a wash, not a paint, and test it on the inside of one door first.
4. Mix Two Tones: Wood Below, Paint Above
Two tone cabinets are the easiest way to get the warmth of wood without committing the whole kitchen to it. Wood on the lowers, a soft paint colour on the uppers, and suddenly the kitchen has depth and intention. My favourite pairings are walnut lowers with warm white uppers, honey oak lowers with sage green uppers, and whitewashed wood lowers with pale blue uppers. The rule is simple: the darker tone goes low, the lighter tone goes high, because that is how the eye expects a room to work. It grounds the kitchen and keeps it from feeling top heavy. If you already have all wood cabinets, you only need to paint the uppers to get the look, which is a weekend job, not a remodel.
5. Let Reclaimed Wood Tell a Story
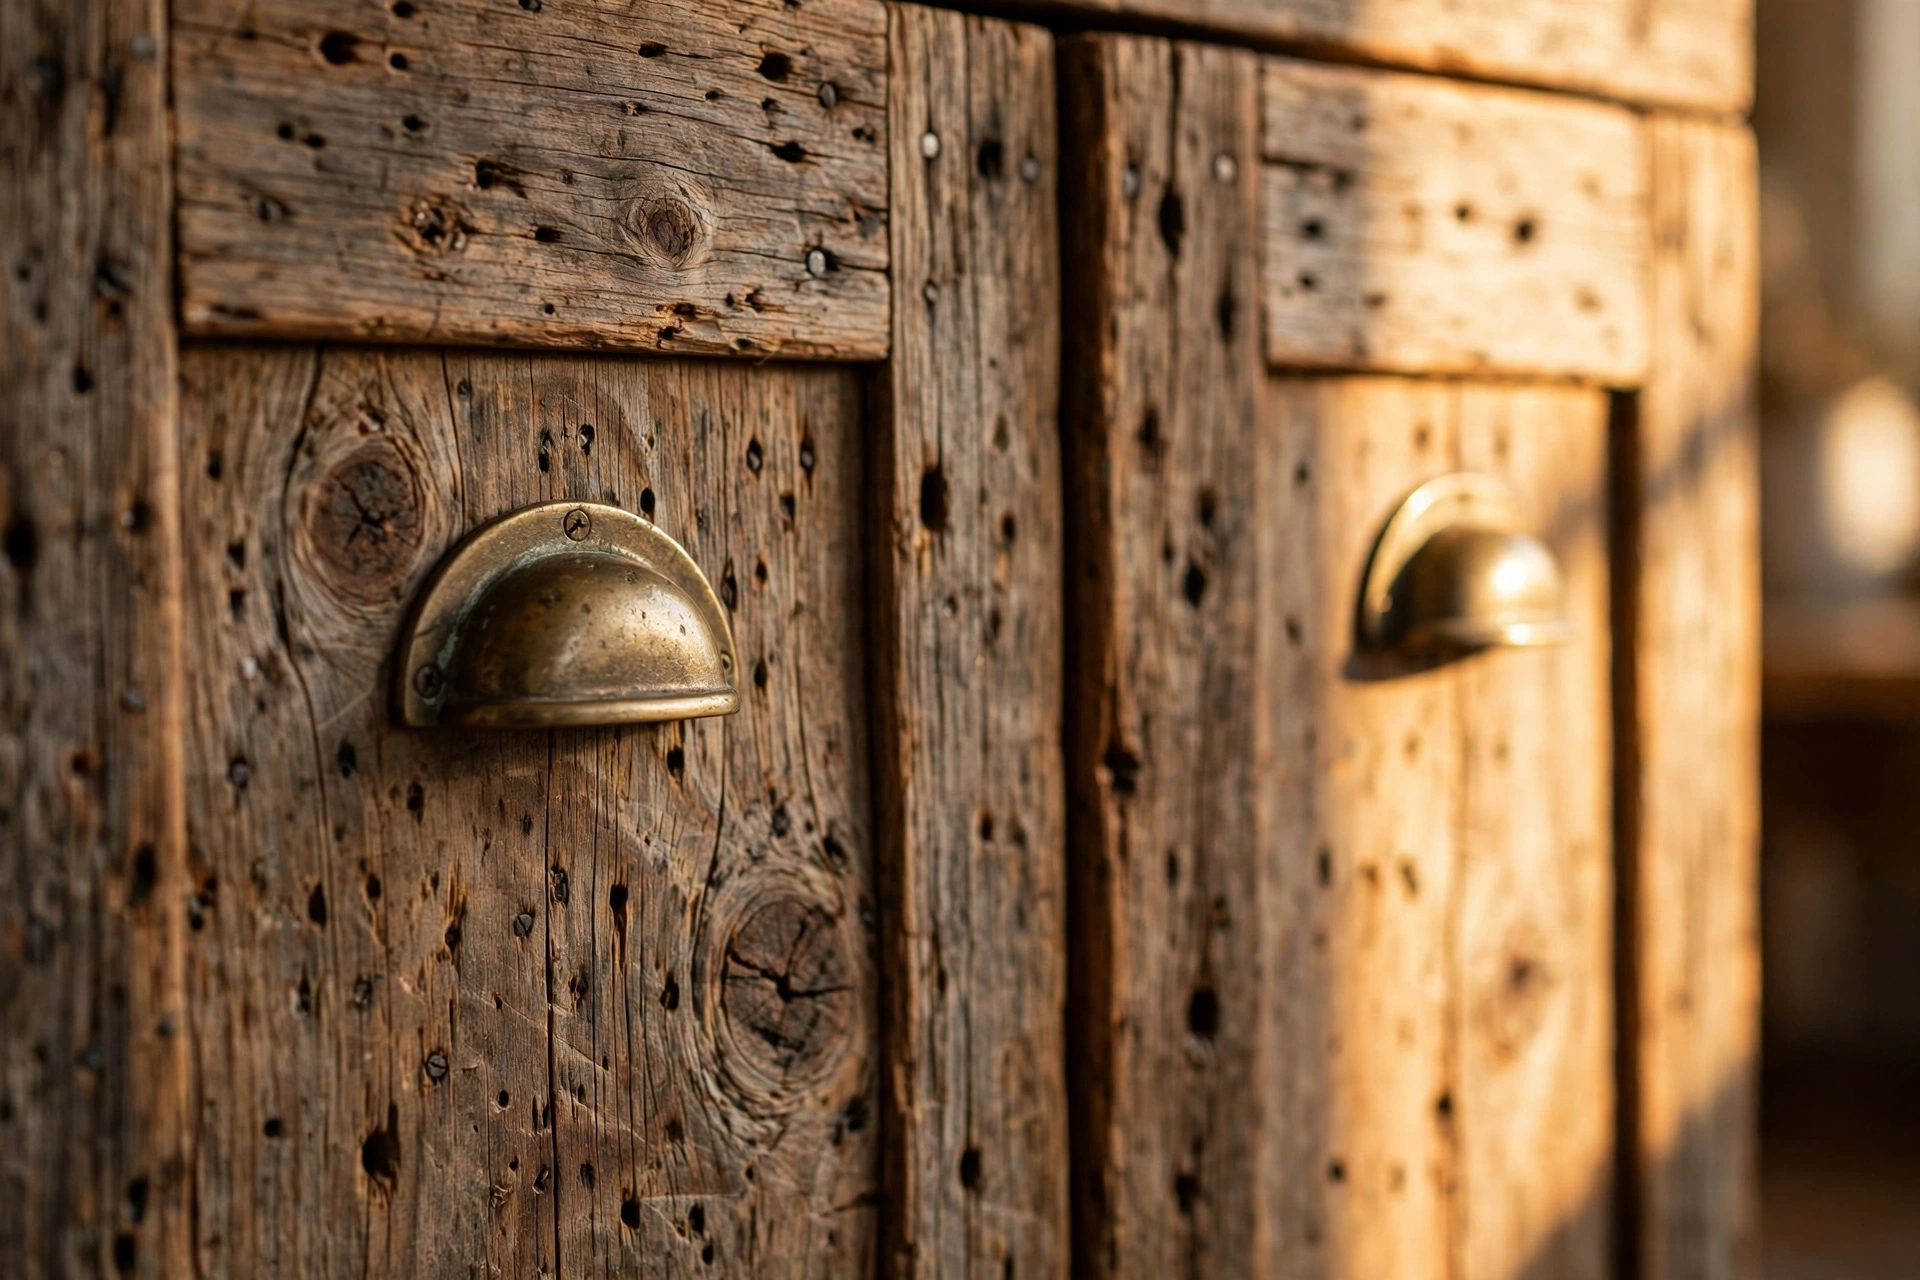
Reclaimed wood cabinets are the ones guests ask about. The knots, the nail holes, the uneven grain, every mark is a story, and no two doors look alike. You do not need a whole kitchen of reclaimed wood to get the effect. One run of reclaimed fronts, or even just a reclaimed wood island, gives the kitchen a soul that new wood cannot fake. Our dark cottagecore kitchen decor guide leans on the same dark wood and warm brass pairing, if you want to take the moody side of wood even further. Keep the rest of the kitchen simple when you use reclaimed wood, because the wood is the star and it does not need competition. Plain counters, simple hardware, and let the grain do the talking.
6. Paint Over Wood but Let the Grain Show Through
Sometimes the wood itself is fine but the colour is wrong, and paint is the answer. The trick is to use a thin, grain showing paint finish instead of a thick opaque coat. A sage green wash over oak, a soft cream over pine, or a deep navy over walnut keeps the texture visible while changing the mood completely. This is the cheapest transformation in this whole list, and it is very forgiving, because if you hate the colour, you can paint over it again. Sand lightly, prime with a bonding primer made for cabinets, and use a cabinet grade paint that can handle daily wiping. Two thin coats beat one thick coat every time.
Open Shelves, Glass Doors, and Display
7. Swap One Run of Uppers for Open Wood Shelves
This is the single most popular wooden kitchen move on Pinterest, and for good reason. Take down one run of upper cabinets and replace them with two or three thick wooden shelves in the same wood as your lowers. The kitchen instantly feels bigger, lighter, and more personal, because your dishes become the decor. The rule is to keep the shelves for things you actually use: everyday plates, bowls, mugs, and a few pretty pieces. If a shelf holds something you have not touched in a year, it does not belong there. Style the shelves with breathing room, not a solid wall of stuff, and the kitchen will feel curated, not cluttered.
8. Put Glass in the Cabinet Doors
Glass front doors are the middle ground between solid cabinets and open shelves. You get the display without the dust, and the glass breaks up a long run of solid wood so the kitchen feels lighter. Clear glass is best if your dishes are pretty and your shelves are tidy. Frosted or reeded glass is best if your shelves are, well, real life. I like glass on just the uppers flanking the range hood, or on one tall cabinet at the end of a run, so the display feels intentional instead of everywhere. Add a small light inside one glass cabinet and it becomes a glowing feature at night, like a lantern in the kitchen.
9. Add a Plate Rack to the End of a Run
A plate rack is a small, old fashioned detail that makes a wooden kitchen feel like it has been there forever. It is just a shallow shelf with a groove and a little lip, mounted at the end of a cabinet run or above the sink, holding a row of plates upright like books on a shelf. Use your everyday plates, not the good china, because the rack is meant to be used, not admired from afar. Paint it the same colour as the cabinets so it reads as part of the kitchen, not an add on. It costs almost nothing to build, it frees up a whole shelf inside a cabinet, and guests always comment on it.
10. Style Open Shelves Like a Shop Window
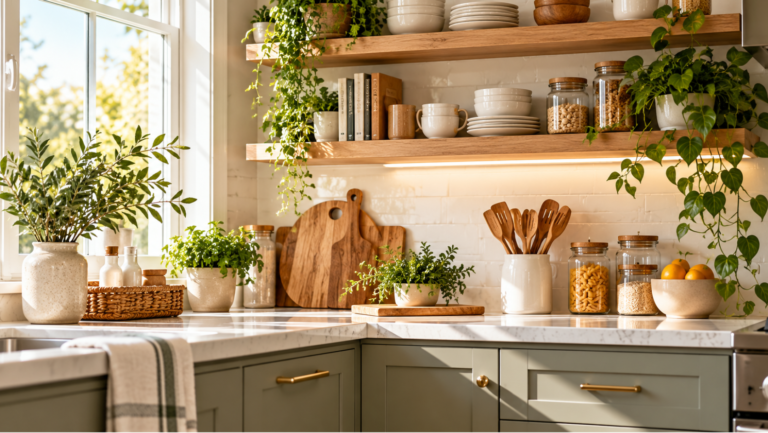
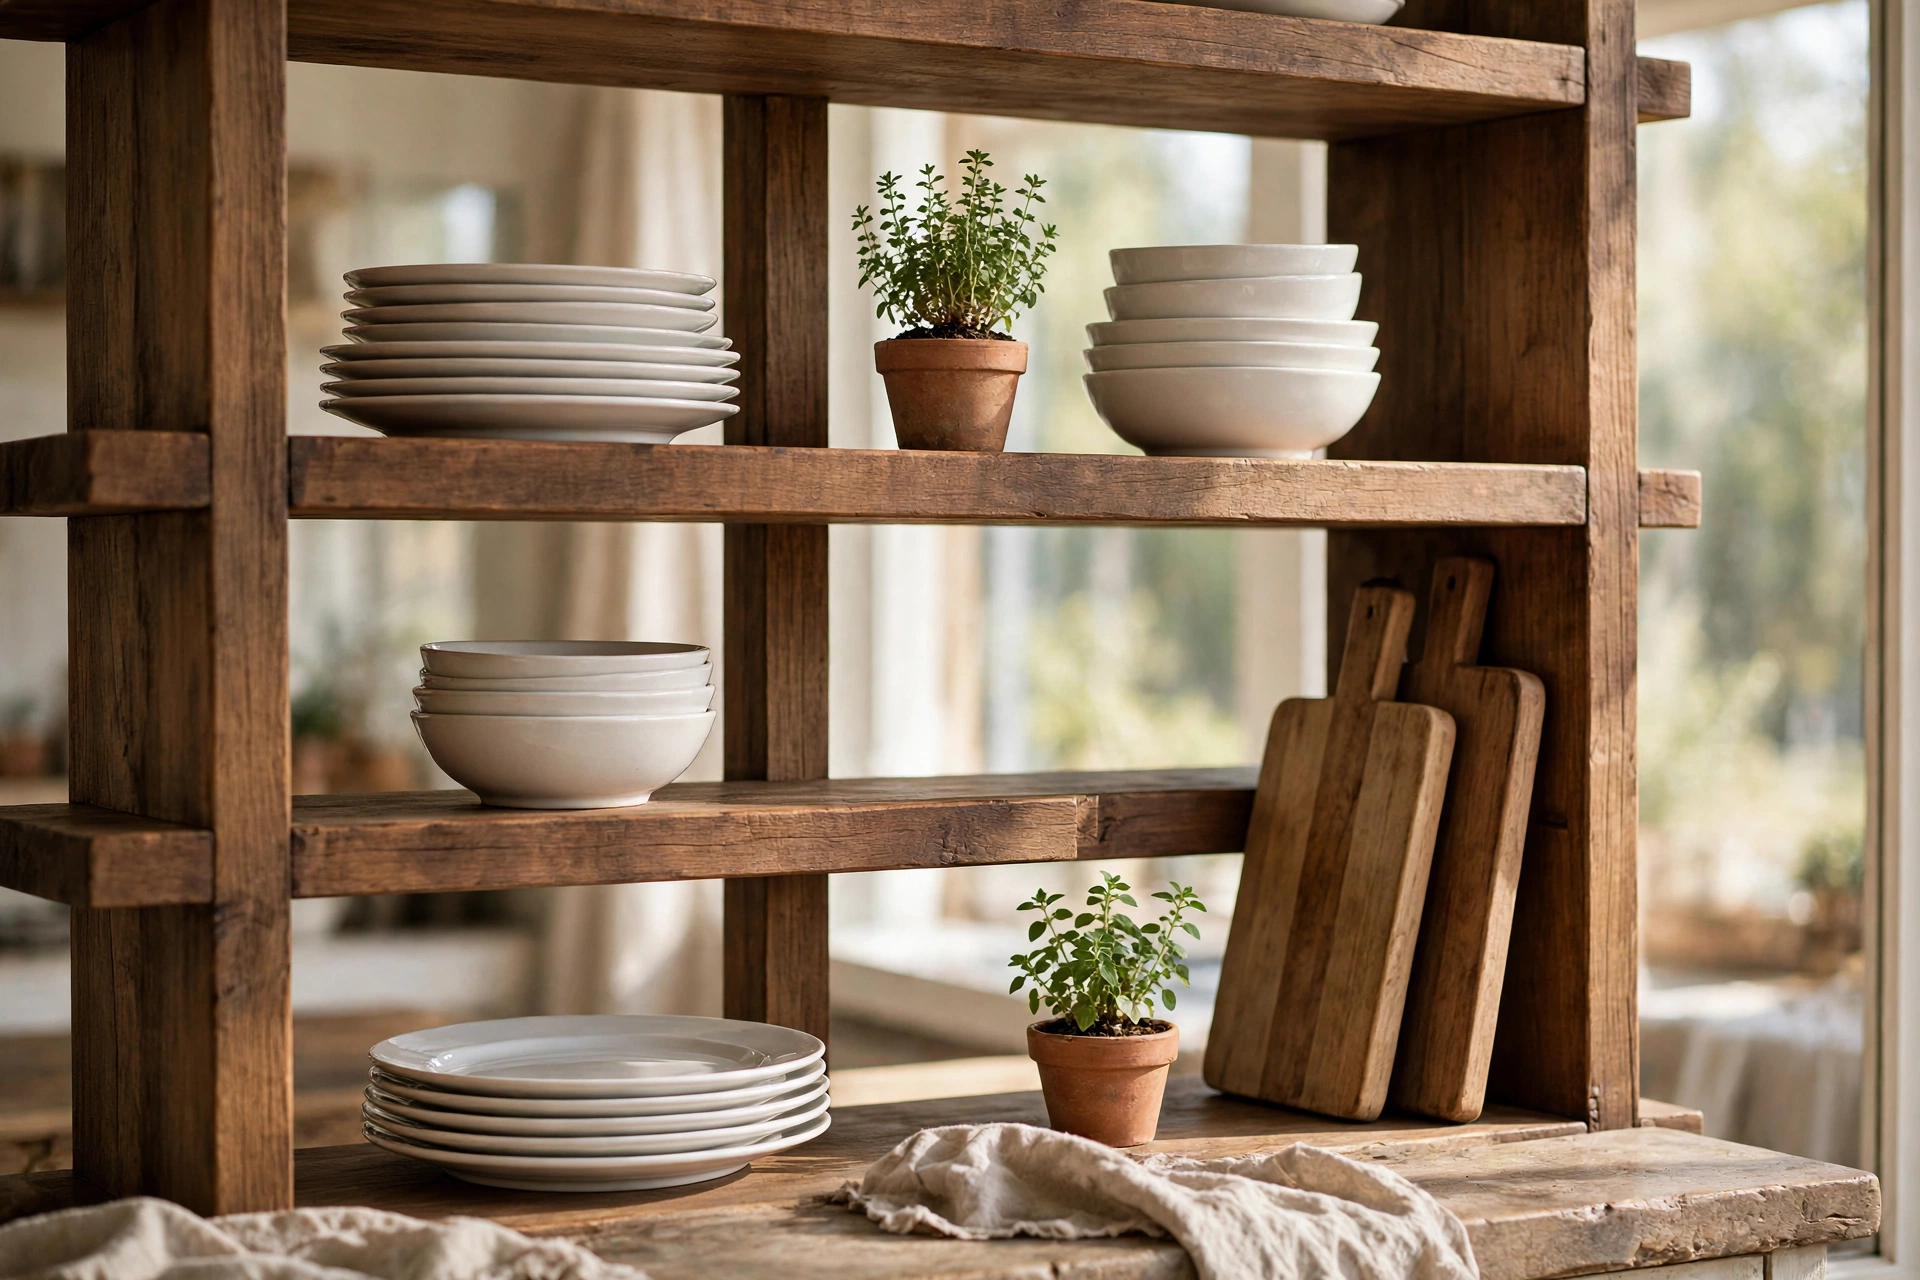
Open shelves fail when they are treated like storage and succeed when they are treated like a shop window. Group things in threes, vary the heights, and leave empty space on purpose. A stack of white bowls, a small plant, and a wooden board leaning upright is a complete shelf vignette. Repeat that rhythm across the shelves and the whole wall looks designed. Keep the colour palette tight: white dishes, wood tones, and one accent colour, maybe sage green or terracotta, repeated in small doses. And here is the honest part: if you hate dusting, keep the open shelves to one short run. Two shelves you love and dust weekly beat six shelves you resent.
Hardware Is the Jewelry
11. Warm It Up With Unlacquered Brass Pulls
Hardware is the jewelry of a kitchen, and unlacquered brass is the gold necklace. It starts out shiny and slowly develops a soft patina, which means it gets better looking the more you use it. Brass against honey oak is warm on warm, and it makes the whole kitchen glow. Brass against walnut is rich on rich, and it reads expensive. The trick is to commit: pick one brass finish and use it on the pulls, the faucet, and at least one more thing, like a light fixture or a picture frame. Three touches of the same metal is a design choice. One touch is an accident.
12. Go Matte Black for a Modern Edge
If brass feels too traditional for you, matte black hardware is the modern answer. Black pulls on honey oak cabinets give the kitchen a crisp, graphic edge, like a frame around a picture. Black on walnut is moodier and more dramatic. The beauty of matte black is that it is forgiving: fingerprints barely show, it never needs polishing, and it pairs with everything from stainless steel to brass. My rule is to keep the black hardware slim and simple, long bar pulls on drawers and small knobs on doors, so the hardware reads as a clean line, not a chunky distraction.
13. Try Leather Pulls for a Soft Touch
Leather pulls are the quiet luxury of wooden kitchens. A small loop of cognac or dark brown leather screwed to a drawer front is soft to the touch, silent when it closes, and it ages beautifully. Leather is perfect for a kitchen that already has a lot of hard surfaces, because it adds one soft thing your hand touches a dozen times a day. It works best on drawers and wide cabinet fronts, and it pairs beautifully with honey oak and walnut alike. One warning: leather and water do not mix well, so skip leather pulls on the cabinet under the sink and save them for the drawers and pantry fronts.
14. Use Wooden Knobs That Match the Cabinets
Wooden knobs that match the cabinets are the most subtle hardware choice, and sometimes subtle is exactly right. A turned wood knob in the same finish as the door disappears into the cabinet in the best way, letting the grain be the whole story. This is the choice for a kitchen where the wood is the star and you do not want metal competing with it. If matching knobs feel too quiet, go one shade darker than the cabinets for a gentle contrast. Wooden knobs are also the cheapest hardware in this list, and they are easy to swap later if you change your mind, so they are a great first step if you are nervous about committing to brass or black.
15. Add Bin Pulls for a Farmhouse Feel
Bin pulls, those little cup shaped handles, are pure farmhouse. They sit on drawer fronts like small scoops, they are comfortable to grab with a full hand, and they instantly make a kitchen feel like a country kitchen, even in a city apartment. Bin pulls look best in a dark finish, matte black or aged bronze, against honey oak or whitewashed wood. Use them on the wide drawers and keep knobs on the doors, because mixing the two is the classic farmhouse combination. One practical note: bin pulls collect crumbs and dust in the cup, so give them a quick wipe when you wipe the counters. Ten seconds, once a week, and they stay perfect.
Style the Counters and the Tops
16. Dress the Top of the Cabinets
The top of the cabinets is the most wasted space in most kitchens, and it is also the easiest to fix. If you have a gap between the cabinets and the ceiling, treat it like a shelf, not a junk pile. A row of woven baskets in the same tone, a few large ceramic pieces, or a line of wooden bowls will fill the gap and make the cabinets look taller. The rule is one material, repeated, with breathing room between pieces. Five baskets in a row looks intentional. Five random objects from five different decades looks like a yard sale. And if the gap is dusty up there, FYI, a quick wipe with a damp cloth once a month is all it takes, because dust settles but it does not stick to a clean surface.
17. Lean a Stack of Wooden Cutting Boards Against the Backsplash
A stack of wooden cutting boards leaning against the backsplash is the easiest styling move in this whole list, and it costs nothing if you already own the boards. Lean two or three boards of different sizes and wood tones against the wall behind the stove or the sink, tallest at the back, shortest at the front. It adds warmth, height, and texture to the exact spot where most kitchens look flat and empty. Use boards you actually cook with, not display only pieces, because a board with a few knife marks looks honest and loved. Our kitchen island decor guide uses the same lean and layer trick on the island, if you want to carry the look across the room.
18. Corral the Clutter With a Wooden Tray
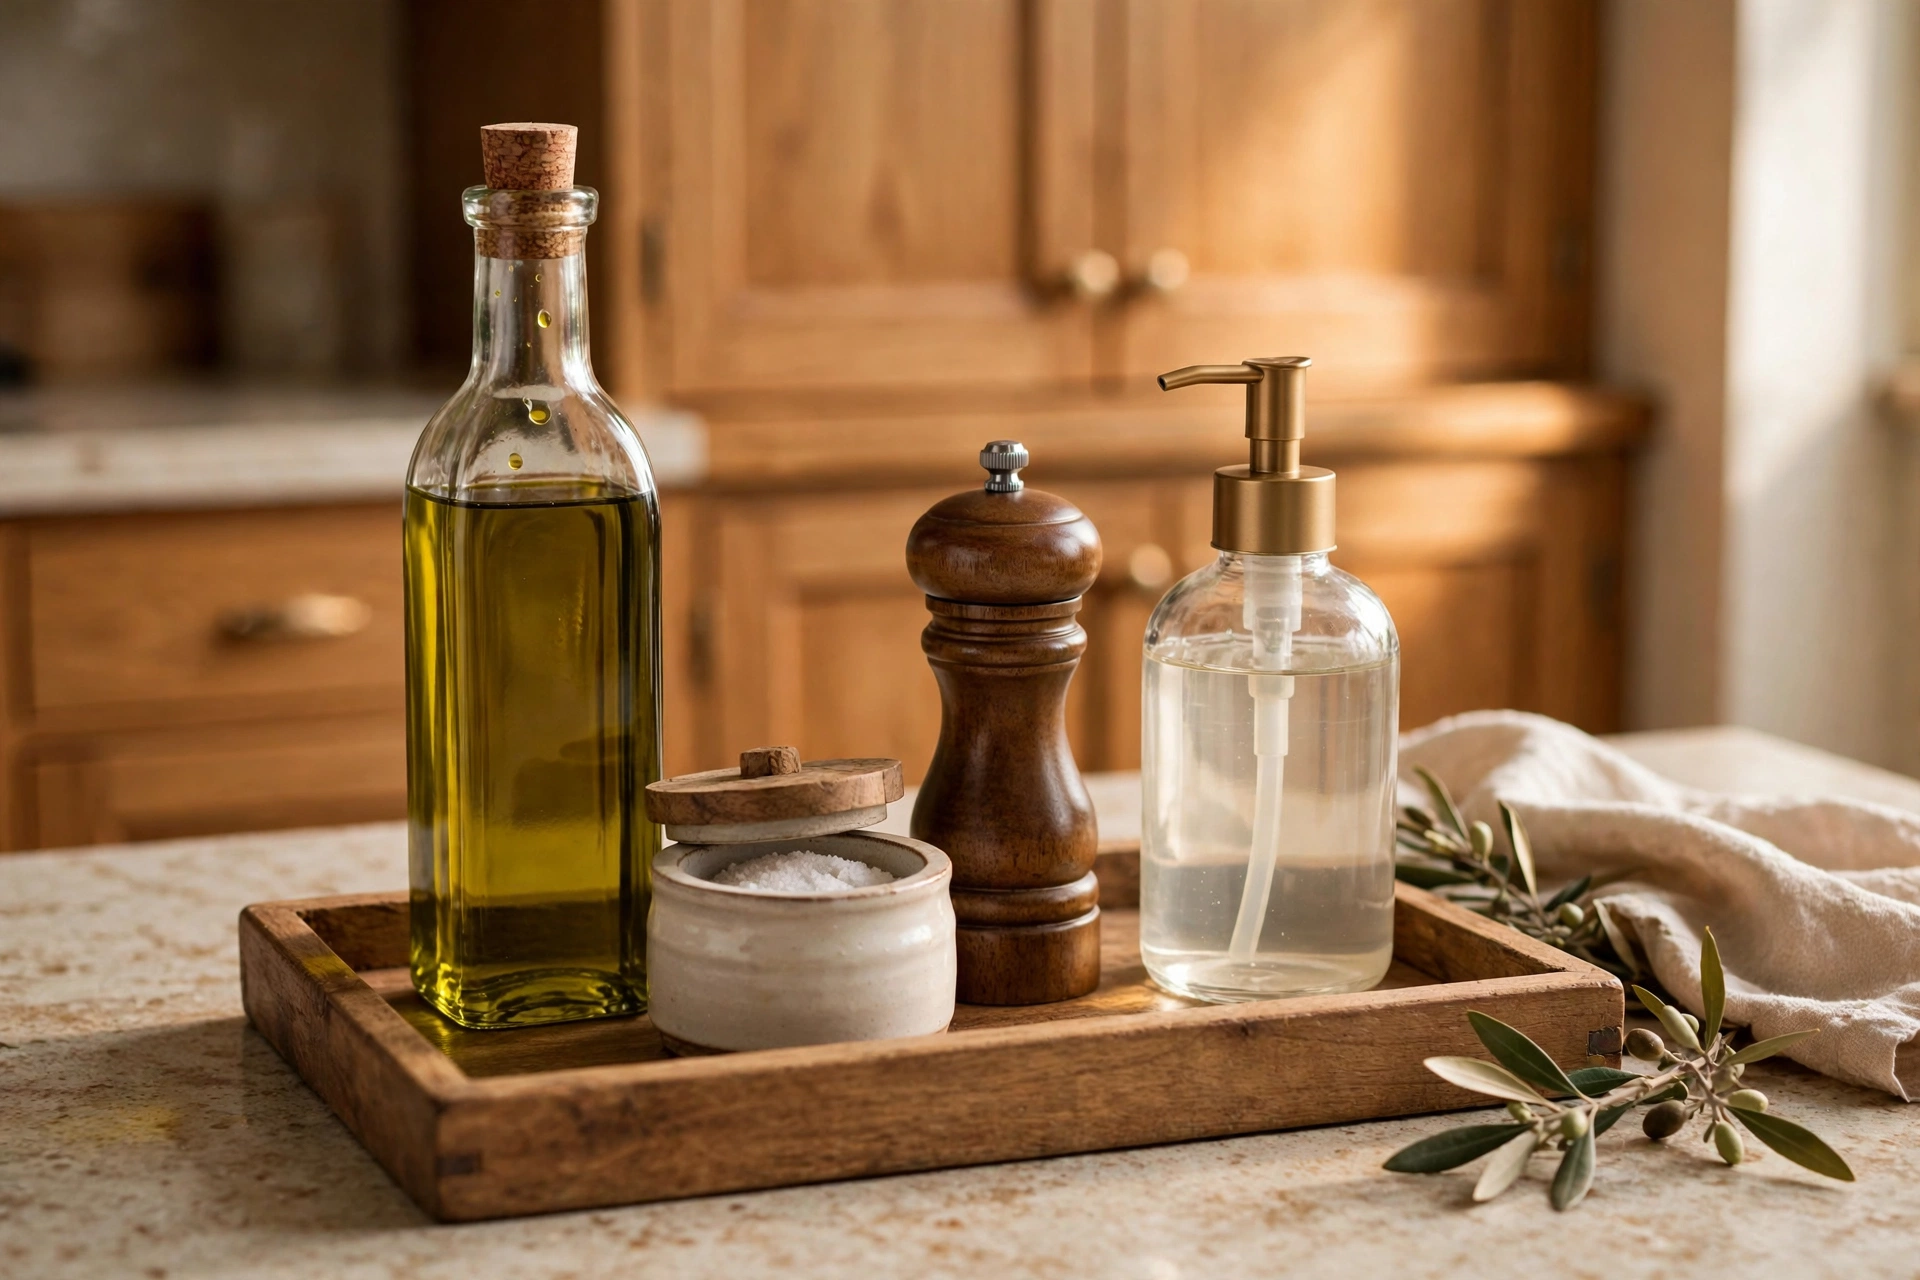
Every kitchen has a clutter corner: the olive oil, the salt, the pepper mill, the soap bottle, the little things that live on the counter because they have nowhere else to go. A wooden tray fixes it in one move. Put the everyday bottles on a tray and suddenly they are a collection, not clutter. The tray gives them a boundary, and the boundary makes the counter look tidy even when the tray is full. Choose a tray in a wood tone close to your cabinets, or one shade darker, and keep it near the stove or the sink where the bottles actually get used. A tray that lives in the wrong spot is just another object to dust.
19. Stack Cookbooks Where You Can See Them
Cookbooks belong out in a wooden kitchen, not hidden in a cabinet. Stack three or four of your most used cookbooks on the counter, spine out, with a small plant or a wooden spoon rest on top. It is practical, because the books are right where you cook, and it is decorative, because the spines add colour and the stack adds height. If you have a lot of cookbooks, keep the stack to the ones with the prettiest spines and store the rest. A leaning stack of books against the backsplash works the same way, and it fills an awkward gap between the counter and the upper cabinets beautifully.
20. Put a Wooden Bowl of Fruit on the Counter
A wooden bowl of fruit is the oldest kitchen styling trick there is, and it still works, because it is alive. Lemons, oranges, or apples in a turned wood bowl add colour, scent, and a reason to walk over to the counter. The bowl should be big enough to hold a week of fruit and shallow enough that you can see what is inside. A deep bowl hides the fruit and becomes a graveyard for one sad apple. Keep the bowl near the sink or the prep area, not in the middle of the counter where it blocks your work. And when the fruit is gone, fill the bowl with pinecones in winter or wooden beads in summer, so the bowl never sits empty.
Light, Colour, and the Rest of the Room
21. Add Warm Light Under the Cabinets
Under cabinet lighting is the single best upgrade for a wooden kitchen, and it costs less than a new faucet. A warm LED strip tucked under the upper cabinets washes the counter and the backsplash in a soft glow, and it makes the wood grain look three dimensional at night. The key word is warm: look for bulbs around 2700K, the colour of late afternoon sun. Cool white light makes wood look grey and tired, which is the opposite of what you want. Put the lights on a dimmer if you can, because a wooden kitchen at half light in the evening is the coziest room in the house. Our christmas kitchen decor guide uses warm light the same way, with fairy lights and candles doing the same job during the holidays.
22. Paint the Walls Sage Green
Sage green walls and wooden cabinets are a match made in heaven. The soft green cools down the warmth of the wood just enough, and the wood warms up the green just enough, so the room feels balanced instead of one note. Sage works with honey oak, walnut, and whitewashed wood alike, which is rare for a paint colour. Keep the trim warm white, not bright white, because bright white next to sage and wood feels clinical. If you are nervous about green walls, paint one wall first, the one you see when you walk in, and live with it for a week. I have never seen anyone paint the other three walls back.
23. Keep the Backsplash Cream and Quiet
A wooden kitchen does not need a busy backsplash. The wood is already doing the visual work, so the backsplash should be the quiet supporting actor. Cream subway tile, a pale handmade tile, or a simple cream slab backsplash lets the cabinets be the star. Avoid busy patterns and high contrast grout, because they fight with the wood grain for attention. If you want a little personality, choose a tile with a handmade wavy surface, so the backsplash has texture without pattern. It catches the light beautifully, and it looks handmade in the best way.
24. Bring in Terracotta for a Sun Warmed Accent
Terracotta is wood’s best friend in the colour world. A terracotta pot with herbs on the windowsill, terracotta dish towels, or a few terracotta plates on the open shelves will pull the warm tones out of the cabinets and make the whole kitchen feel sun warmed. The trick is to use terracotta in small doses, because a little goes a long way. One pot, one stack of plates, one runner on the table is enough. Our winter kitchen decor guide layers the same warm tones with heavier textures for the cold months, if you want to carry the palette through the year. Terracotta and wood together feel like a kitchen in the Mediterranean, even if you live somewhere it snows.
Small Kitchens, Rentals, and Tight Budgets
25. Use Wood Peel and Stick on Flat Fronts in a Rental
Renters, this one is for you. Wood look peel and stick vinyl on flat cabinet fronts is the rental friendly way to get wooden cabinets without touching the actual cabinets. Measure each door, cut the vinyl slightly oversized, and smooth it on with a credit card to push out the bubbles. It peels off cleanly when you move out, and from two feet away it reads as real wood grain. It works best on flat slab doors, because the vinyl cannot wrap around raised panels neatly. Start with one bank of drawers to test it, and if you love it, do the rest. A roll costs less than a takeaway dinner, and it transforms a rental kitchen in an afternoon.
26. Hang One Wooden Floating Shelf in a Tiny Kitchen
A tiny kitchen does not need a wall of open shelves. One thick wooden floating shelf, mounted where you prep food or over the sink, gives you the wood and the display without giving up a single cabinet. Style it with the three or four things you reach for every day: your favourite mugs, a small plant, a jar of wooden spoons. One shelf, styled well, is a design choice. Six shelves, crammed full, is a storage problem. Mount it with proper anchors into a stud, because a shelf full of mugs is heavier than it looks, and a shelf that sags is worse than no shelf at all.
27. Bring in a Freestanding Wooden Hutch
If your kitchen has no wooden cabinets at all, or not enough of them, a freestanding wooden hutch is the answer. A hutch gives you wood, storage, and display in one piece of furniture, and you can take it with you when you move. Look for a second hand hutch with glass doors on top and solid doors below, paint it or leave it natural, and style the top shelf with your prettiest dishes. A hutch works in a dining area too, pushed against the wall between the kitchen and the table, where it bridges the two rooms. It is the one piece of furniture that makes any kitchen feel like it has wooden cabinets, even when it does not.
The Sunday Morning Test: One Last Check Before You Call It Done
Here is the second framework, and it takes one minute. Stand in your kitchen on a Sunday morning with your coffee, before you clean anything, and look at the cabinets the way a guest would. If the wood feels heavy and dark, you need more light: add an under cabinet strip, a lighter backsplash, or a mirror on the opposite wall. If the wood feels bare and plain, you need styling: a tray on the counter, boards against the backsplash, a plant on the shelf. If the room feels calm and the cabinets look warm and inviting, you are done. Do not add anything else. The Sunday Morning Test works because it catches the room in real life, not in a photo, and real life is where you actually live.
The Grease and Steam Check: Will Wood Cabinets Survive Real Life?
Wood and kitchens have one honest tension: kitchens are steamy, greasy places, and wood hates both. The good news is that modern cabinet finishes are built for it. A factory finish or a good cabinet grade topcoat will handle steam from the kettle and splashes from the sink without a problem. The weak spots are the cabinets right next to the stove and the ones under the sink, where heat and water are constant. Wipe those down once a week with a damp cloth and a drop of mild dish soap, and dry them right away. Never let water sit on a wood door, and never use a harsh degreaser or an abrasive sponge, because both will eat the finish faster than any steam will. If a door starts to feel rough or looks dull near the stove, a light coat of cabinet wax or a furniture oil will bring it back. Wood cabinets are not fragile. They just ask for five minutes of care a week, and they will outlast the trendy kitchen next door by decades.
Buy Once vs Refresh Each Season
Wooden kitchens reward the buy once mindset. Spend your money on the things that touch the wood every day: good hardware, warm under cabinet lights, and one beautiful wooden tray or board. Those are the pieces you will touch a hundred times a day, and cheap versions will annoy you within a month. Save your money on the seasonal stuff: the dish towels, the fruit in the bowl, the little plant on the shelf, the candles on the counter. Those are the refresh items, and they cost almost nothing to swap when the seasons change. A terracotta pot in summer, a pine sprig in winter, and the same wooden cabinets underneath, looking better every year. That is the whole budget philosophy for a wooden kitchen: buy the bones once, refresh the dressing often.
Six Quick Fixes When the Kitchen Looks Wrong
Mistake: the cabinets look orange and dated. The wood is not the problem, the light and hardware are. Swap cool bulbs for warm 2700K bulbs, change the hardware to matte black or brass, and clear the counters. Orange wood calms down dramatically under warm light with modern hardware.
Mistake: the kitchen feels dark and heavy. You are missing light, not colour. Add under cabinet strips, paint the walls a pale warm white or sage, and hang a mirror opposite the window. The Sunday Morning Test will tell you in one minute.
Mistake: the wood grain fights with the backsplash pattern. One of them has to be quiet. If the backsplash is busy, keep the counters and styling plain. If you love the wood, swap the backsplash for cream subway tile and let the grain win.
Mistake: the open shelves look messy, not curated. You have too much on them. Take everything off, put back only what you use weekly, group in threes, and leave empty space on purpose. Two shelves styled well beat four shelves crammed full.
Mistake: the hardware feels wrong but you cannot say why. You probably mixed metals. Pick one metal, brass or black or nickel, and use it at least three times. One stray metal finish is what makes a kitchen feel off.
Mistake: the counters are always cluttered no matter what you do. You need a boundary, not more storage. Put the daily bottles on one wooden tray, the cooking tools in one crock, and everything else behind a cabinet door. Clutter with a boundary looks styled. Clutter without one looks like a mess.
Frequently Asked Questions
Are wooden kitchen cabinets still in style?
Yes, and honestly they never really left. Wooden cabinets are back at the top of kitchen trends for 2026, with honey oak, walnut, and whitewashed wood leading the way. The difference now is the styling: warm light, simple hardware, and open shelves instead of the heavy ornate look of the past.
What colour walls go best with wooden kitchen cabinets?
Sage green is my first choice, because it balances the warmth of the wood beautifully. Warm white, cream, and pale blue also work well. Avoid bright stark white, which can make wood look orange, and avoid dark walls unless your kitchen gets a lot of natural light.
How do I keep wooden cabinets from looking orange or dated?
Use warm light around 2700K, swap old hardware for matte black or unlacquered brass, and keep the counters clear. Orange tones calm down a lot under warm light, and modern hardware makes the whole kitchen feel current without touching the wood itself.
Can I mix wood cabinets with painted cabinets?
Yes, and it is one of the best looks in this whole post. Put wood on the lower cabinets and paint on the uppers, with the darker tone low and the lighter tone high. Walnut lowers with warm white uppers is my favourite combination.
What hardware looks best on wooden kitchen cabinets?
Unlacquered brass is the warmest choice and it develops a beautiful patina over time. Matte black is the modern choice and it is very forgiving with fingerprints. Leather pulls are the softest choice and they feel wonderful to use. Pick one finish and repeat it at least three times.