27 Winter Baking Station Decor Ideas That Make Holiday Baking Feel Warm and Cozy
The December I decided to bake Christmas cookies with my niece, I learned a hard truth about my kitchen. I had the recipe, I had the butter, and I had a very excited seven year old in an apron three sizes too big. What I did not have was a plan. The flour lived on the top shelf, the rolling pin was buried under the dish towels, the vanilla was hiding behind the cereal boxes, and the cooling rack was somewhere in the garage. By the time I found everything, the first tray of cookies had gone from golden to dark brown, and my niece was eating raw dough from the bowl and calling it a win.
The fix was not a bigger kitchen. It was one corner that belonged to baking and nothing else. I cleared two feet of counter next to the oven, put the mixer there for good, lined up the flour and sugar in matching jars, and hung the measuring cups on a little rail. The next batch took half the time and none of the running around. FYI, that is the whole secret of a baking station. It is not about buying more stuff. It is about putting the right stuff in one place so baking feels calm instead of chaotic.
These 27 winter baking station decor ideas come from that corner and everything I have learned since. Some cost almost nothing, and a few are weekend projects. All of them work in a real kitchen with real flour dust, real kids, and a real budget. Before we start, here is the simple rule I use for every baking station now: Mix, Bake, Share. Mix means the ingredients and tools live together in one spot, so you never hunt for the baking powder mid recipe. Bake means the oven side is ready, trays stacked, cooling rack in reach, oven mitts hanging right there. Share means the pretty corner, the tiered tray, the cookie jar, the little gift wrap basket, because half the joy of winter baking is handing a warm cookie to someone you love. IMO, this little formula saves more holiday baking sessions than any single gadget ever will.
My Mix, Bake, Share Rule for Winter Baking Station Decor
Here is how the rule works in practice. Stand at your baking corner and pretend you are making one batch of sugar cookies. Can you reach the flour, the sugar, the butter, and the vanilla without taking a step? Is the mixer already out and the rolling pin in its spot? When the timer dings, can you grab the tray and the cooling rack without crossing the kitchen? If the answer is yes three times, your station works. If you leave the corner more than twice per batch, something lives in the wrong place. Move it closer. That is the whole test, and it takes one batch to run.
The rule also keeps you honest about buying. Every new jar, hook, or tray has to answer one question: does it help me mix, bake, or share? Matching flour jars help you mix. A stack of rimmed baking sheets helps you bake. A tiered tray helps you share. A fourth decorative sign that says “bake” in curly letters does none of the three, and it just eats counter space. Buy the things that work, and let the pretty happen naturally.
1. Set Up Your Baking Station Zones
Every good baking station has three zones, even a tiny one. The mix zone holds your ingredients and tools. The bake zone sits near the oven with trays and mitts. The share zone is the pretty spot where finished cookies land. You do not need a big kitchen for this. You need one stretch of counter and the discipline to keep it clear.
Idea 1: Pick one corner and claim it for baking
Choose the counter closest to the oven and declare it the baking station. Two feet is plenty. Clear off everything that is not baking, the mail pile, the charging cables, the vitamins, and move those things to their real homes. Then put a small tray or a wooden board down to mark the boundary. That little border tells everyone in the house, including you, that this spot has a job now.
Idea 2: Give the stand mixer a permanent home
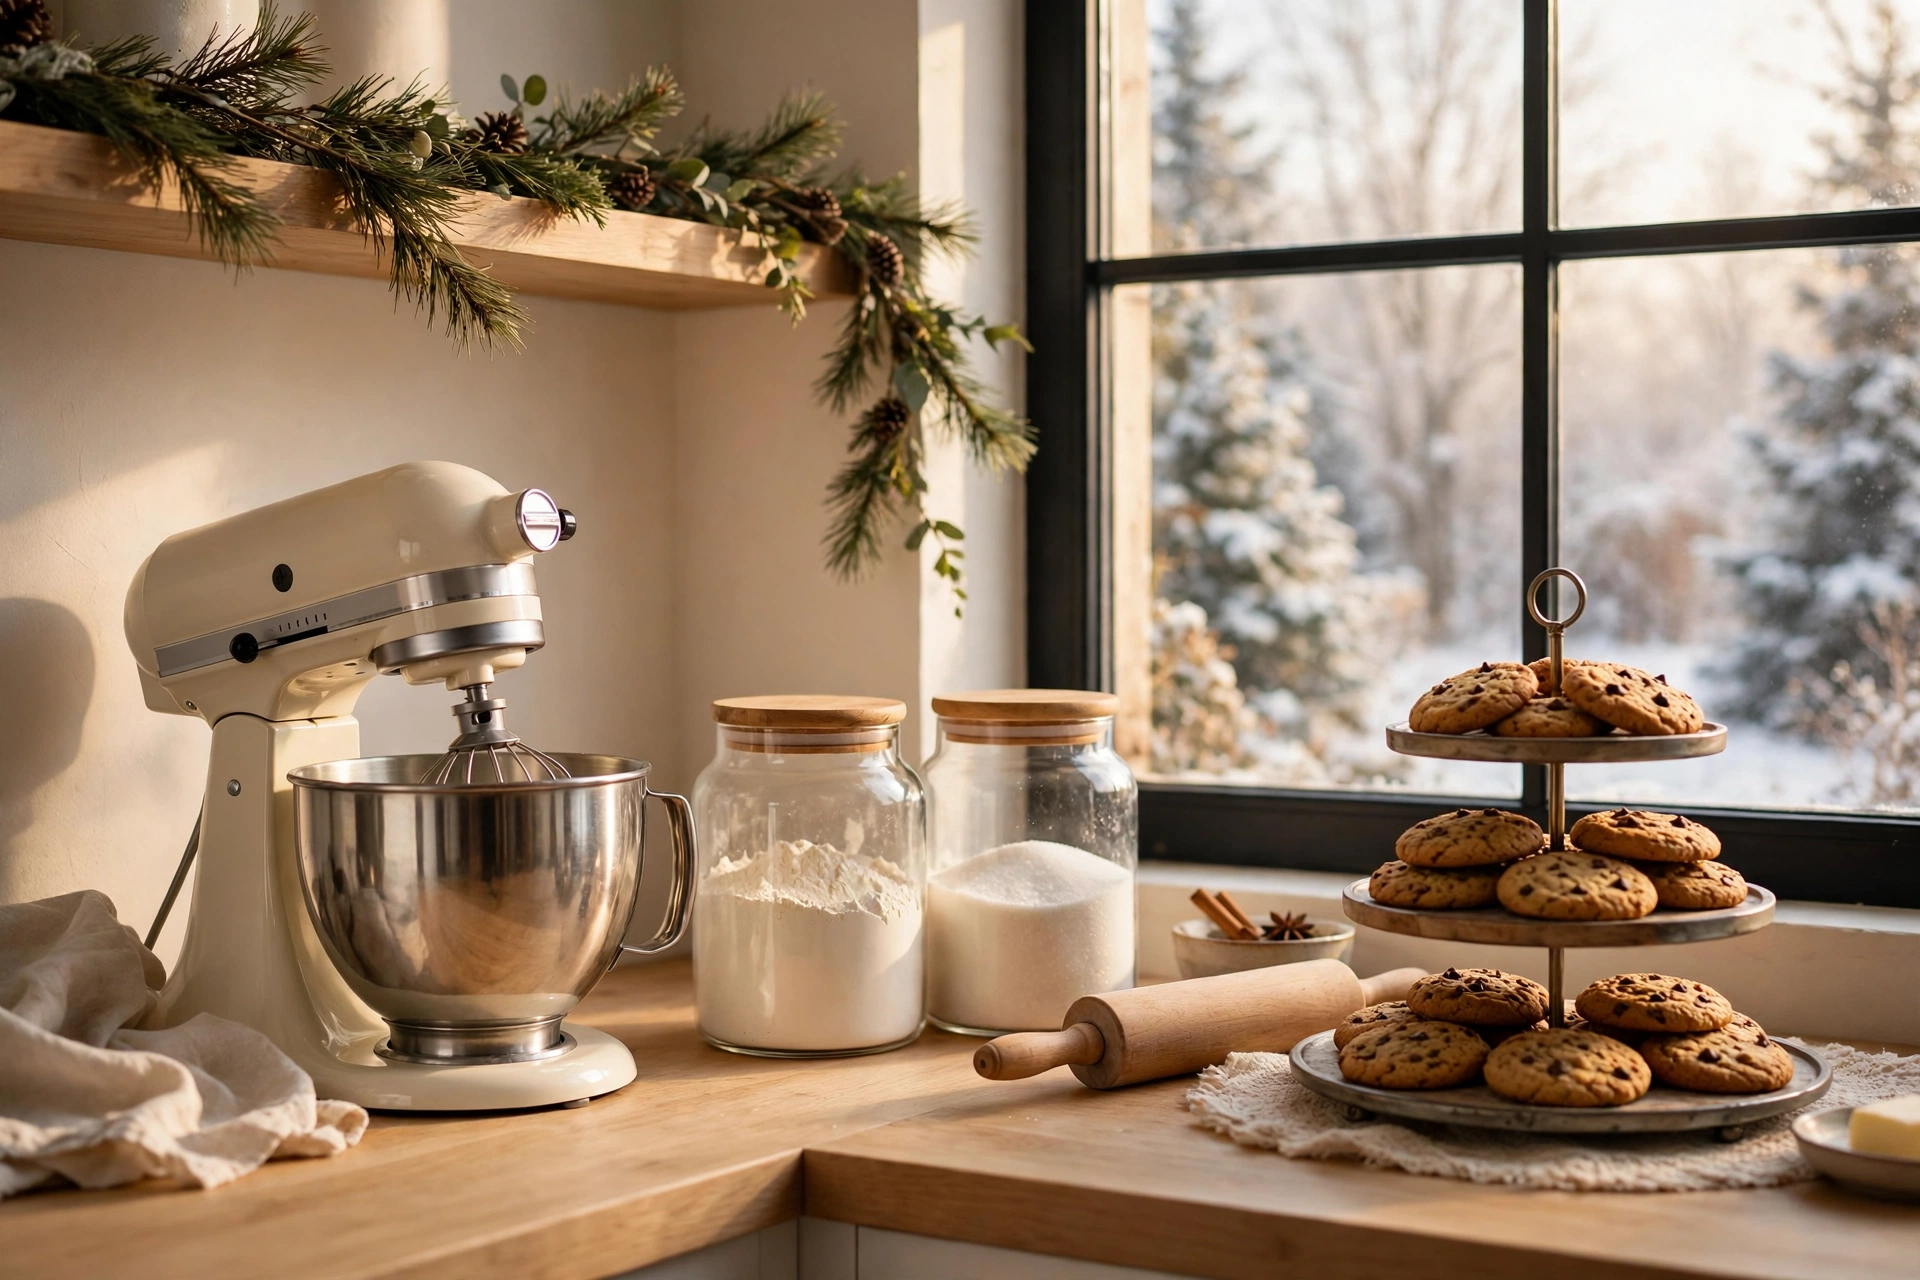
A stand mixer that lives in a cabinet is a stand mixer you never use. It is too heavy to drag out, so it stays put, and you end up stirring by hand and wondering why baking feels like a chore. Put the mixer on the counter for good, right in the mix zone, with its bowl on top. A cream or red mixer is pretty enough to leave out, and a mixer that is already out gets used three times as often.
Idea 3: Hang a rail for rolling pins and long tools
Rolling pins, wooden spoons, and whisks are long and awkward, and they always end up buried in a drawer. Screw a short rail or a row of hooks on the wall above the station, or on the side of a cabinet, and hang them where you can see them. A rolling pin on a hook looks charming, and you will grab it in two seconds instead of digging for five minutes. If you rent and cannot drill, a tension rod inside a cabinet or a row of adhesive hooks does the same job.
Idea 4: Put the ingredients at eye level, in matching jars
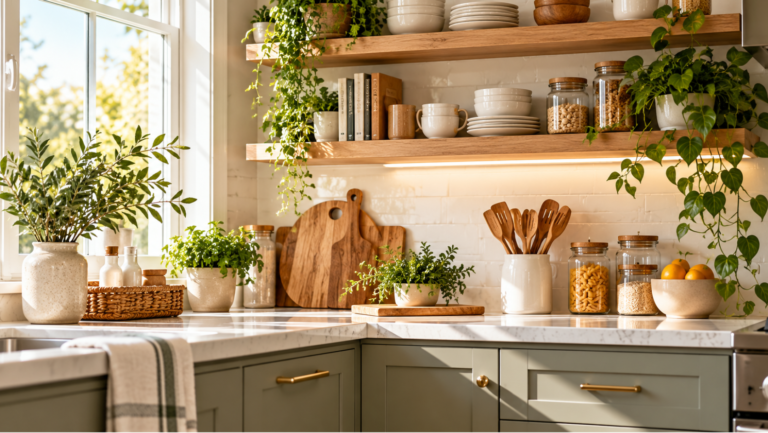
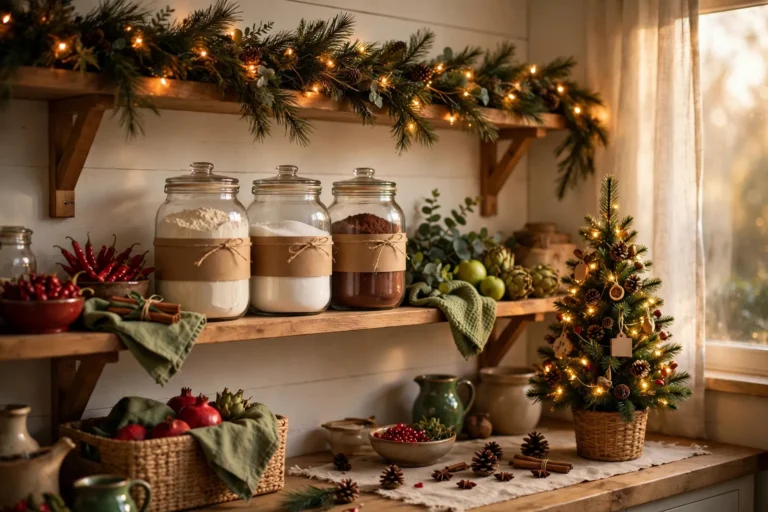
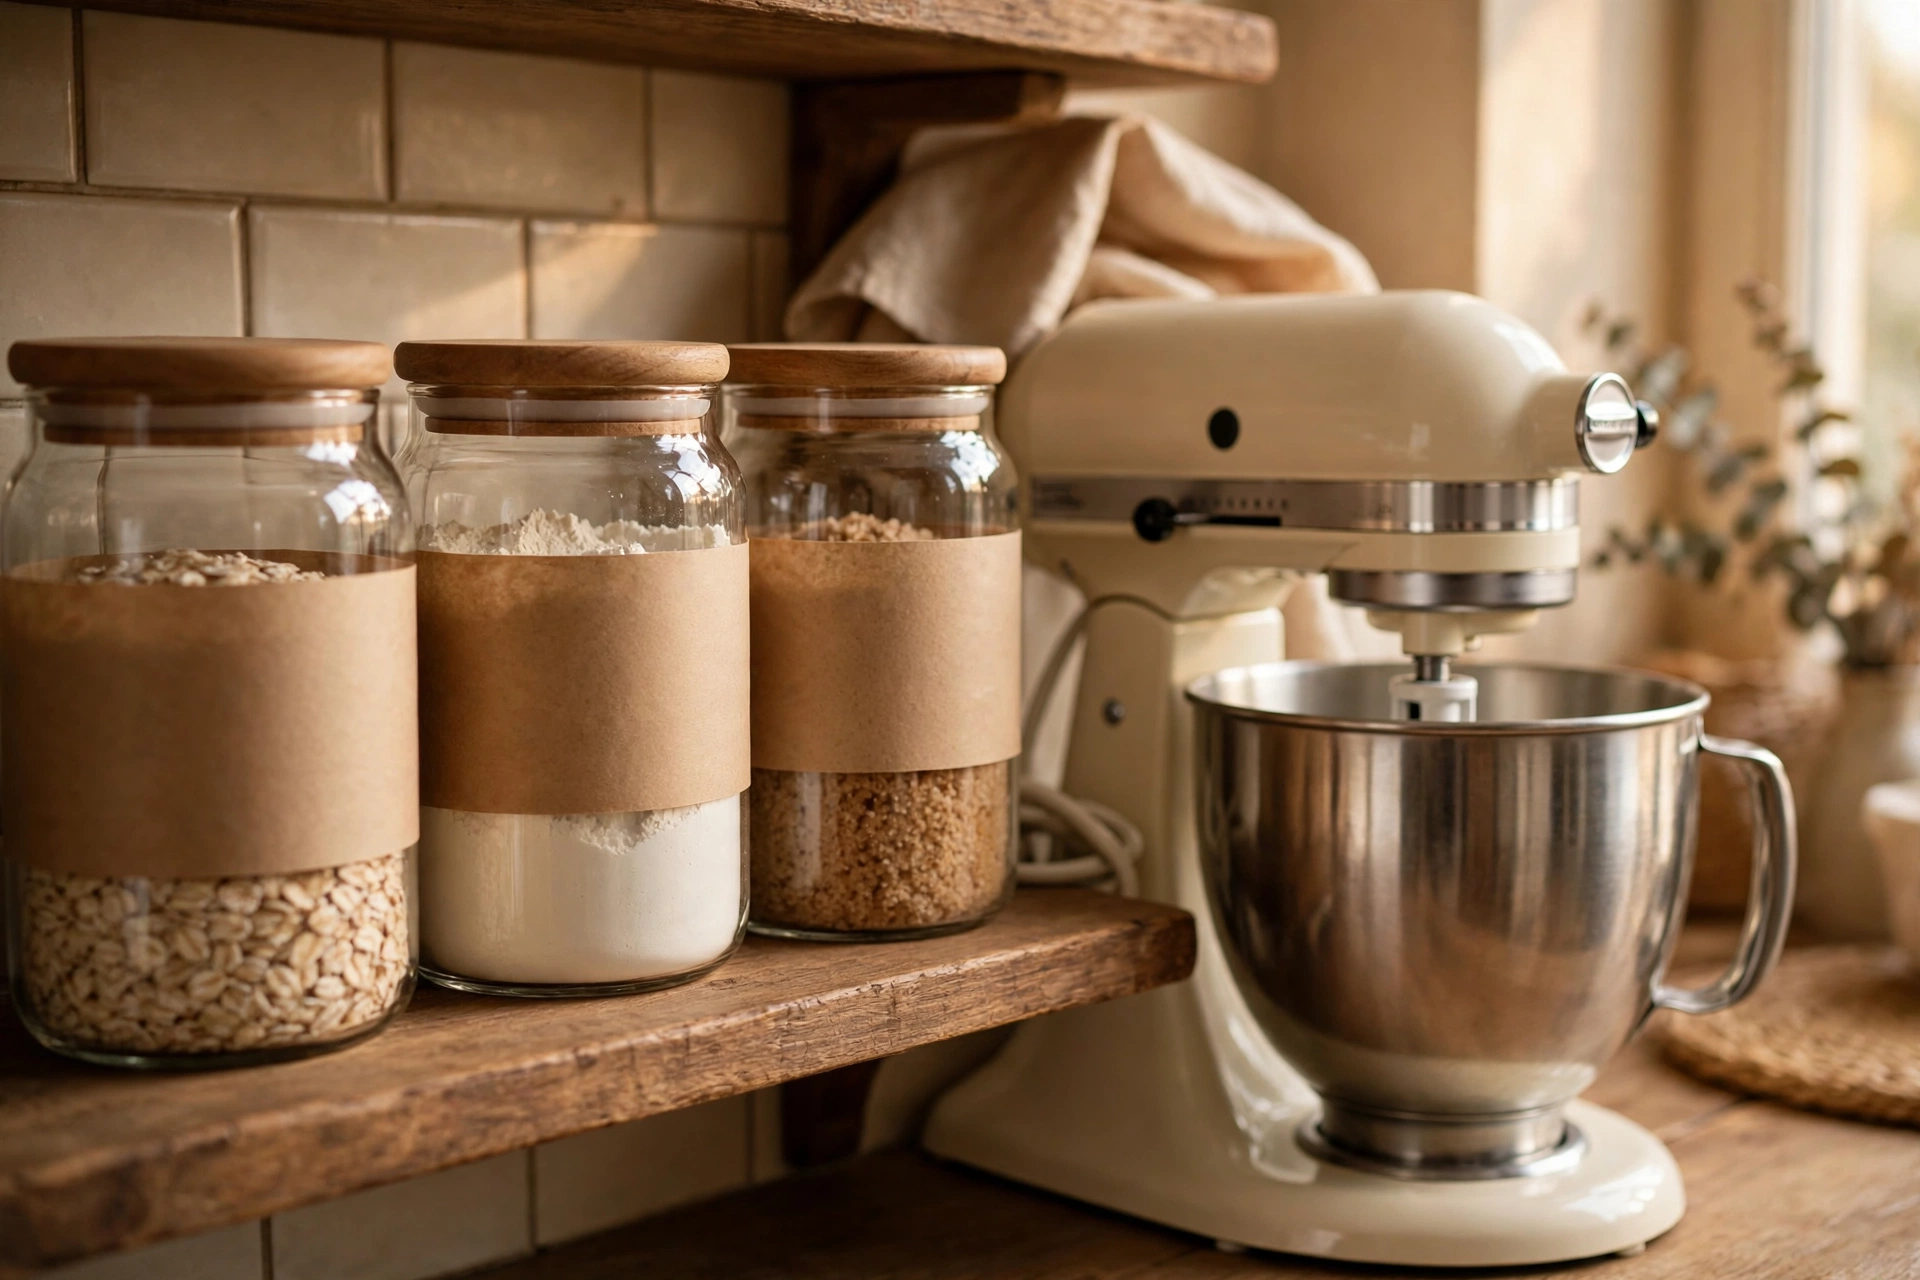
Flour, sugar, brown sugar, and baking powder are the four things you reach for in almost every winter recipe, so they deserve the best real estate in the kitchen. Line them up on a shelf or a riser at eye level, in matching glass jars with wood lids, each with a simple label. Buy jars one size bigger than you think you need, because a five pound bag of flour has to fit with room to scoop. And keep a little scoop in the flour jar. It stops the flour cloud that happens when you pour from the bag.
Idea 5: Add a recipe stand that survives floury hands
A phone propped against the backsplash falls over the second your hands are covered in dough. A cookbook flat on the counter gets butter on its pages. A simple recipe stand, wood or metal, with a little lip at the bottom, fixes both problems. Put it at the back of the mix zone, angled so you can read it while you stir. This is a five dollar upgrade that saves every recipe you own.
2. Winter Baking Station Decor That Feels Like Christmas
Once the zones work, you get to make them pretty, and winter is the easiest season to decorate for. The station is already full of warm, natural things, wood, glass, flour, butter, so a little greenery and a little sparkle goes a long way. You do not need a theme. You need three or four Christmas touches, repeated just enough to feel intentional. These five ideas pair beautifully with the rest of my Christmas kitchen decor ideas if you want the whole kitchen to match.
Idea 6: Run a small garland along the shelf edge
A short pine garland draped along the front edge of the shelf above your station is the single highest impact Christmas touch you can add. It frames the jars, it smells wonderful, and it costs almost nothing. Tuck a few dried orange slices or cinnamon sticks into it for color. Keep it above the work surface, not on it, so flour dust does not settle into the branches.
Idea 7: Put twinkle lights in a jar
Take a large glass jar, drop in a string of battery twinkle lights, and set it at the back of the station. It glows like a lantern, it costs about five dollars, and it makes the whole corner feel warm at 5 pm when the light outside is already gone. Use warm white lights, not cool white, because cool white looks like an office and warm white looks like a kitchen in December.
Idea 8: Add a mini bottle brush tree to the counter
A little bottle brush tree, six to ten inches tall, tucked next to the mixer or behind the jars, is the cutest thing you can put on a baking station. Buy three in different heights and group them together like a tiny forest. They take up almost no space, they never shed, and they survive flour dust with one quick shake. When the season ends, they go in a shoebox and come out next year.
Idea 9: Stick to red and cream, the only palette you need
When every new Christmas item in the store is a different color, it is tempting to buy all of them. Do not. Pick red and cream and let everything else stay neutral. Red towels, a cream ribbon on the jars, a red apron on the hook, cream labels on the canisters. Two colors, repeated three or four times, looks designed. Ten colors, used once each, looks like a clearance bin. If red feels too loud, swap it for deep green and keep the cream.
Idea 10: Stack plaid tea towels like decor
A neat stack of plaid tea towels, folded in thirds and set at the end of the counter, is decoration that also works for a living. You need towels when you bake anyway, for hands, for hot trays, for wiping the counter, so make them part of the look. Fold them the same way, stack three or four, and put a little sprig of pine on top. When one gets dirty, it goes in the wash and the next one takes its place.
3. Jars, Canisters, and Storage That Look Good
Storage is where a baking station either looks like a bakery or looks like a junk drawer that spilled. The rule is simple: the things you use every week live in pretty containers you can see, and the things you use once a year live in labeled bins you cannot see. Glass is your friend here, because you can see what is inside, and wood lids warm the whole look up.
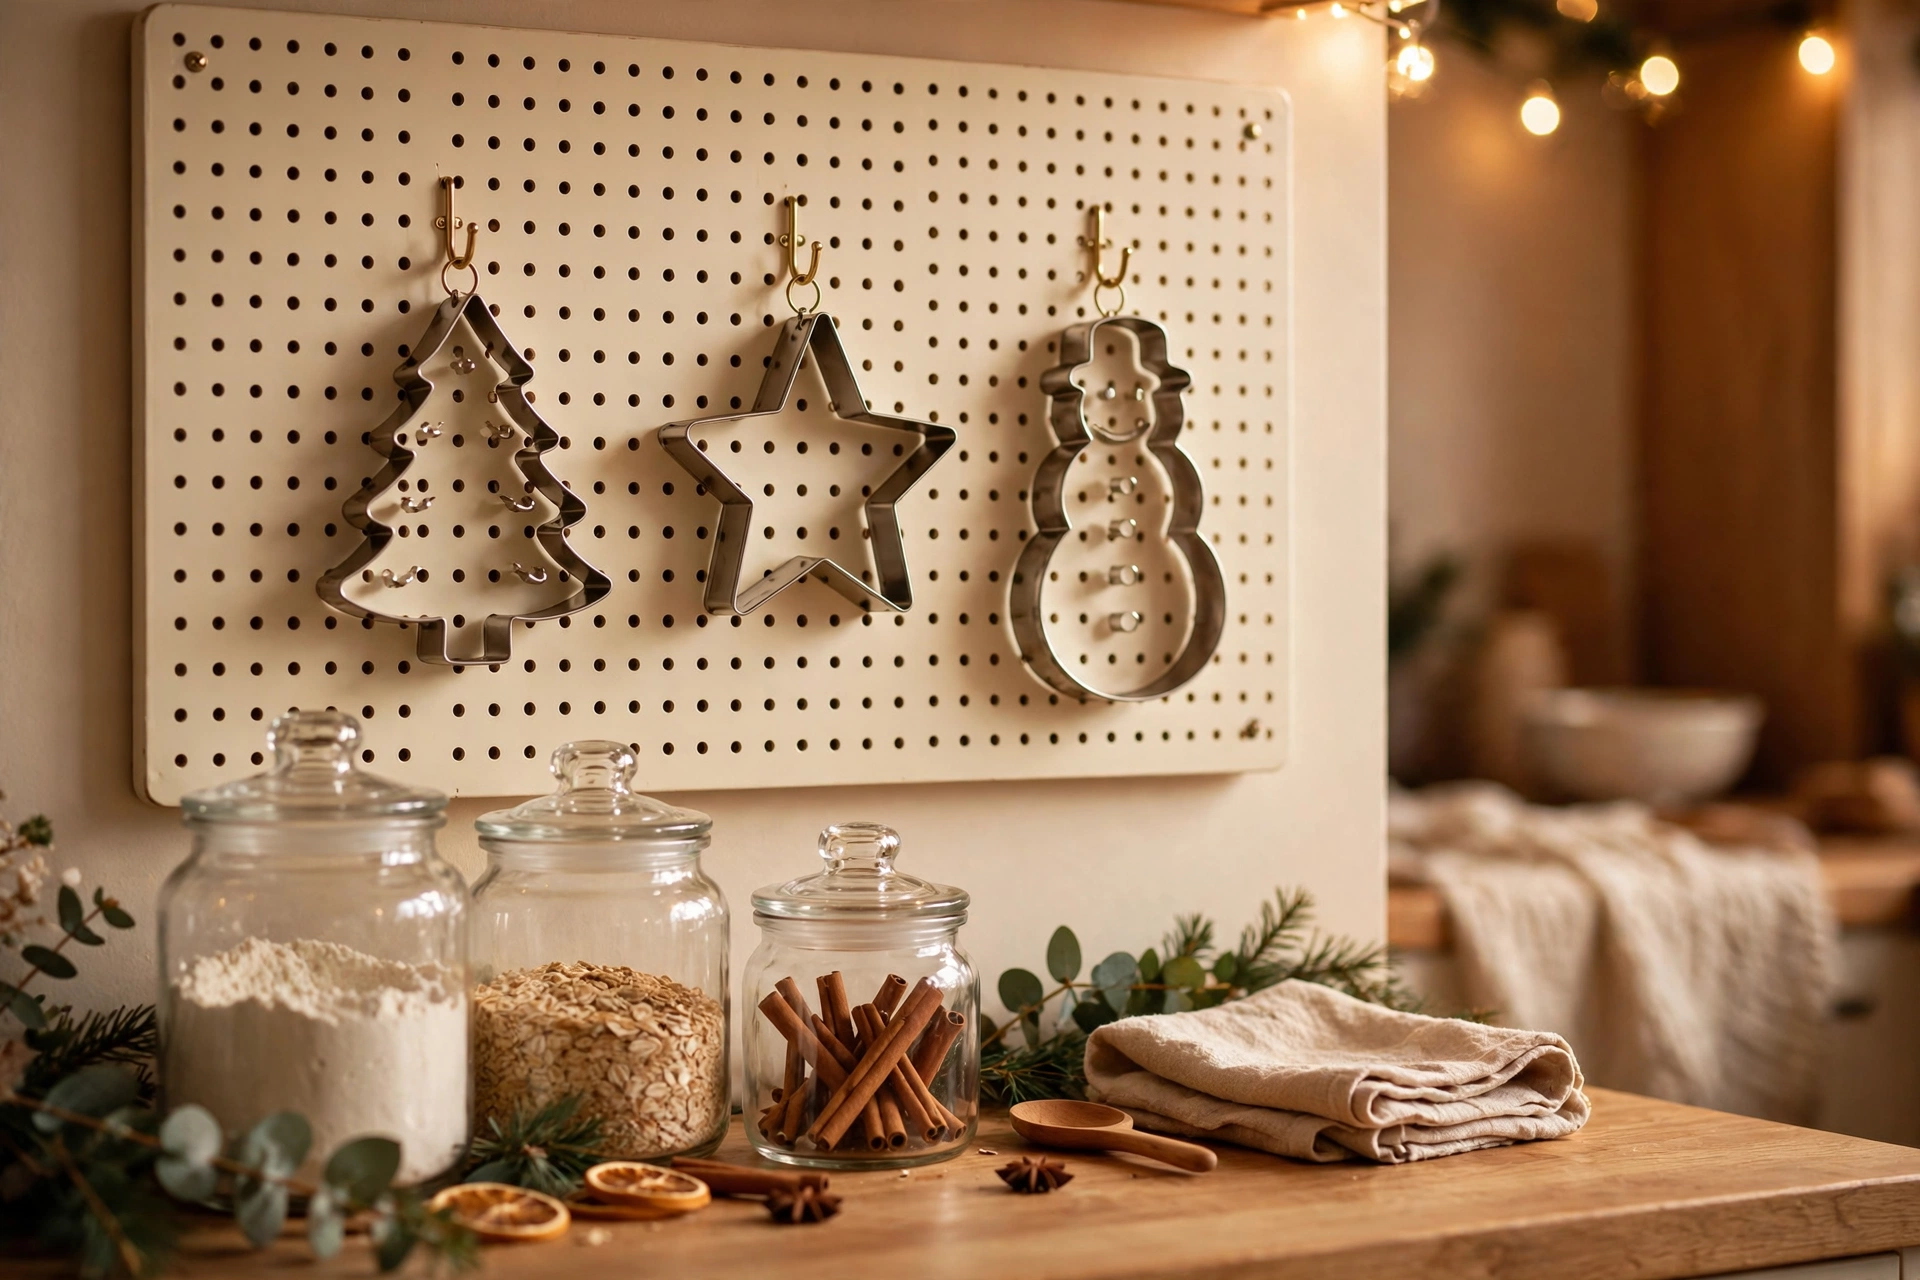
Idea 11: Use matching glass jars with wood lids for the big four
Flour, sugar, brown sugar, and powdered sugar each get a matching glass jar with a wood lid, all the same size, all in a row. The matching set is what makes it look intentional instead of accidental. Write the labels by hand on kraft paper tags and tie them on with twine. Keep the brown sugar jar sealed tight, because brown sugar turns into a brick the second air gets in. A little piece of bread in the jar keeps it soft, which is an old trick that actually works.
Idea 12: Hunt for vintage canisters at the thrift store
If matching jars feel too perfect for you, go the other way on purpose. Thrift stores are full of old canisters, tins, and crocks for a dollar or two, and a mismatched set with a little age on it looks wonderful on a baking station. Look for enamel tins, old coffee cans, and ceramic crocks with lids. The trick is to keep one thing consistent, the same color family or the same material, so the collection looks curated instead of random.
Idea 13: Keep one apothecary jar for the fun stuff
Sprinkles, chocolate chips, crushed candy canes, and dried cranberries deserve their own jar, because they are the fun part of winter baking. Use a tall apothecary jar with a lid, set it at the front of the station where kids can see it, and fill it with whatever you are using this week. When the jar is empty, refill it with something else. The jar stays, the contents change with the season, and the station never looks stale.
Idea 14: Open shelves for the pretty stuff, closed bins for the messy stuff
Here is the storage rule that keeps a station from looking cluttered. The pretty things go on open shelves: the matching jars, the cookie cutters, the little tree, the twinkle light jar. The messy things go in closed bins inside a cabinet: the extra bags of flour, the bulk chocolate chips, the cupcake liners, the piping tips. If it is beautiful, show it. If it is a bag, hide it.
4. The Little Tools That Make Baking Easier
Nobody decorates with measuring spoons on purpose, but on a baking station the tools ARE the decor. A wall of cookie cutters, a crock of wooden spoons, a rail of measuring cups, these things look wonderful when they are organized, and they make baking faster because you can grab them without thinking. The trick is to give every tool a home that is visible and within reach.
Idea 15: Hang cookie cutters on hooks, sorted by season
Cookie cutters live in a tangled pile in most kitchens, and you only find the one you want after emptying the whole drawer. Hang them instead. A row of small hooks under a shelf or on a pegboard holds every cutter where you can see it. Sort them by season, Christmas trees and stars together, hearts together, pumpkins together, and put the current season front and center. The cutters become wall art, and you will use them more because you can actually see them.
Idea 16: Display the rolling pin instead of hiding it
A wooden rolling pin is one of the prettiest tools in the kitchen, so stop hiding it in a drawer. Rest it on two small hooks on the wall, or stand it upright in a tall crock next to the mixer. If you have more than one, a French tapered pin and a classic handled pin, display both. Wipe the pin with a dry cloth after each use, never soak it, and it will last for decades. Some of the best rolling pins in the world are older than the people using them.
Idea 17: Put measuring cups and spoons on a rail, always in reach
Measuring cups and spoons are the tools you reach for first in every recipe, so they should live at arm level, not in a drawer across the kitchen. Hang them on a short rail or a row of hooks right above the mix zone, biggest cup to smallest, spoons nested together. The rule is simple: if you use it in every batch, it hangs on the rail. If you use it once a year, it goes in the drawer.
Idea 18: Add an apron hook and a hand towel bar right there
An apron that lives on a hook next to the station gets worn. An apron folded in a drawer gets forgotten. Put one sturdy hook on the wall or the side of a cabinet, hang your favorite apron on it, and add a small bar or a ring for a hand towel right beside it. A red apron on the hook doubles as a pop of color, and the towel is always there when you need it. If you bake with kids, add a second lower hook for their apron. This station is a lot like my coffee station decor, one corner, one job, everything in reach.
5. Cookie Trays, Cooling Racks, and the Sharing Corner
Baking is only half the job. The other half is what happens after the oven dings, and that is where the share zone earns its keep. The share corner is the prettiest part of the station, the tiered tray full of warm cookies, the cookie jar that looks like it came from a bakery, the little basket of gift bags for neighbors. It is also the part guests see first, so make it count.
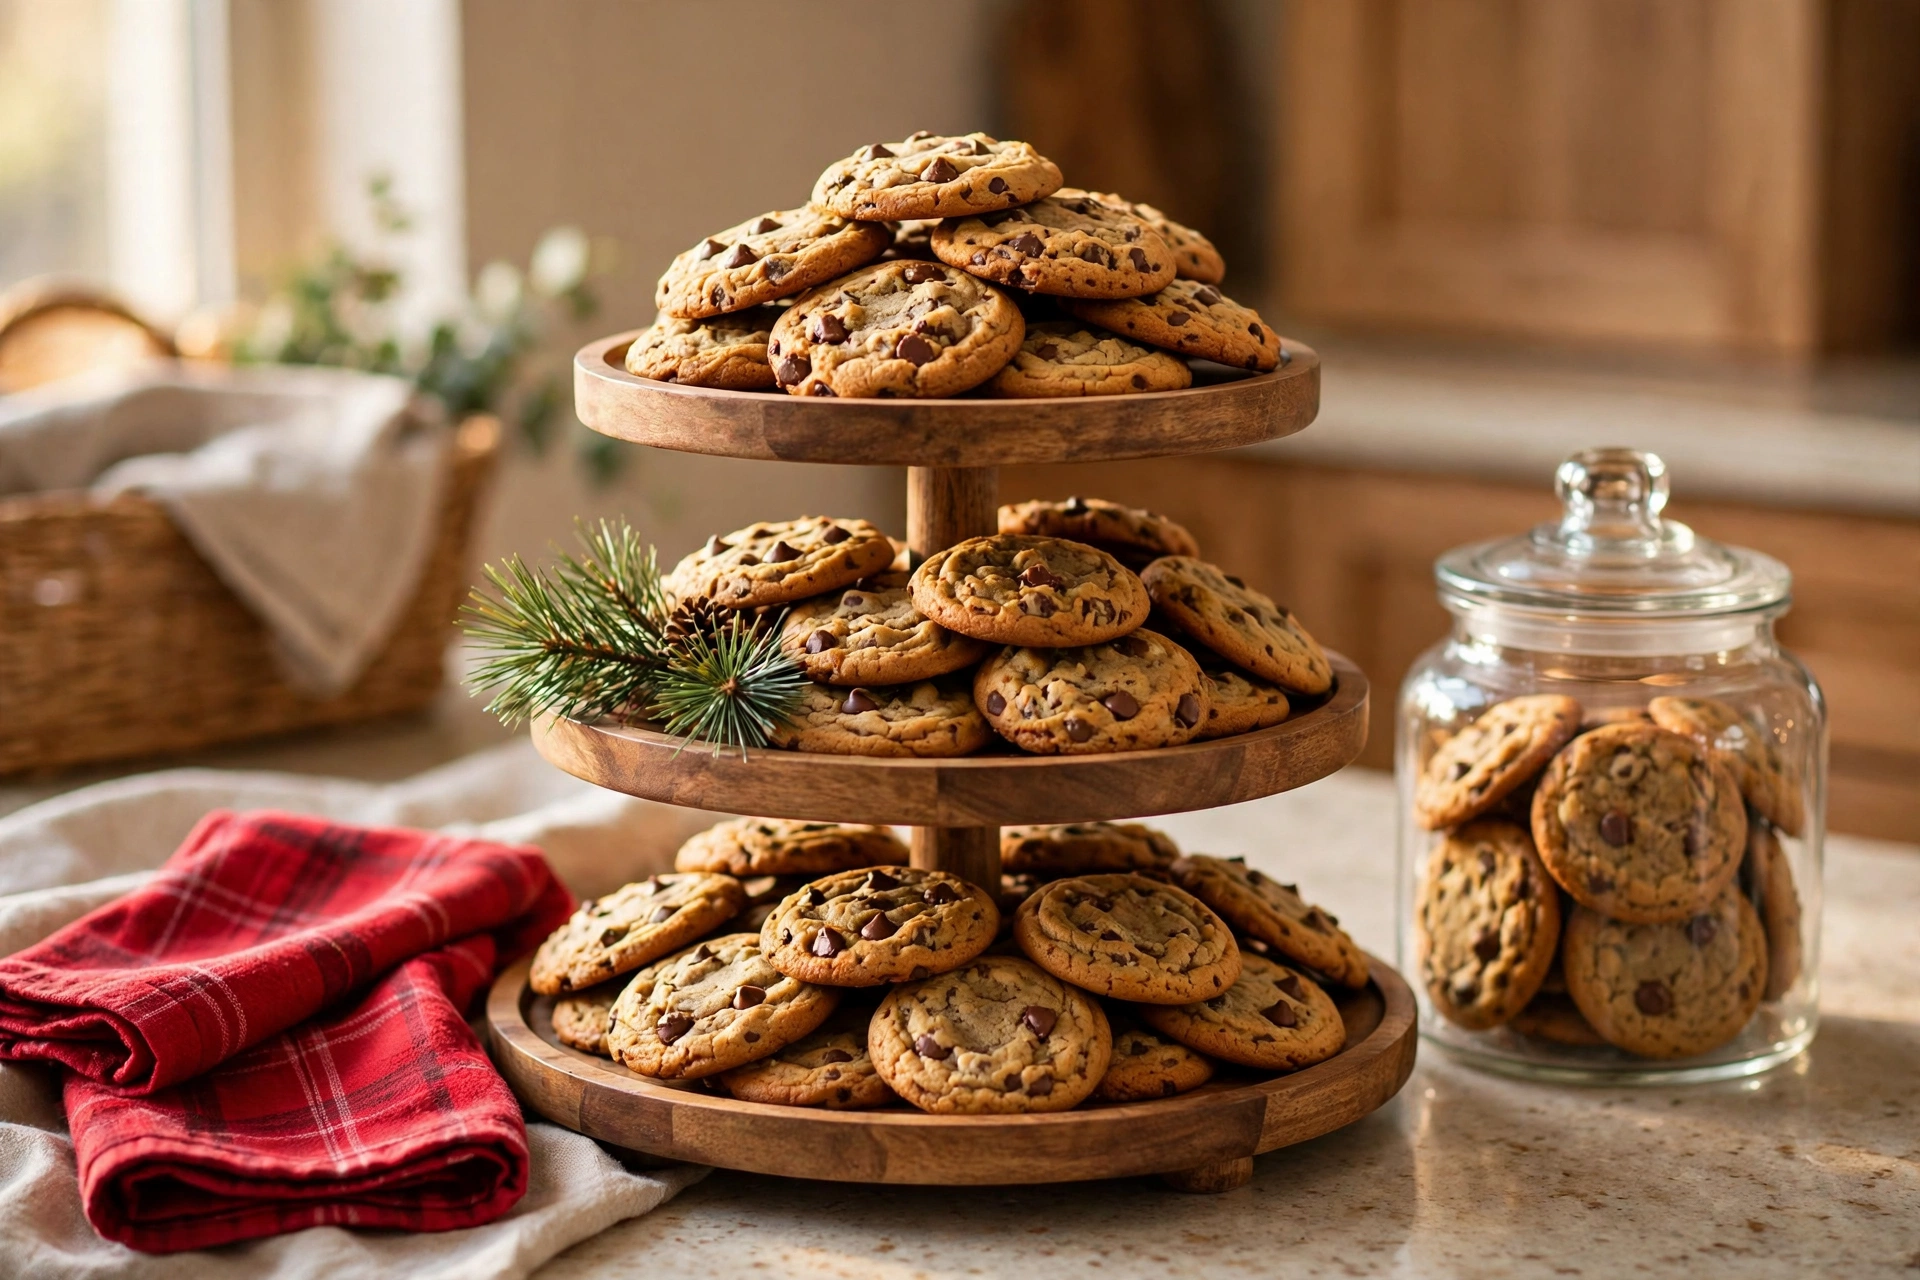
Idea 19: Set out a tiered tray for the finished cookies
A two or three tier tray, wood or white ceramic, is the single best way to show off a fresh batch. Pile the cookies on the tiers, tuck a sprig of pine between them, and the tray becomes a centerpiece. It also saves counter space, because three tiers hold as much as three flat plates in a third of the footprint. Keep the tray on the share corner all season, and fill it with whatever came out of the oven that day. And if you run a hot cocoa bar nearby, the cookies and the cocoa basically serve themselves.
Idea 20: Build a cooling rack station that stacks away
Hot cookies need air underneath them or the bottoms go soft, so a cooling rack is not optional. The problem is that racks are big and flat and awkward to store. The fix is a set of stackable racks that nest together when you are done, or a folding rack that leans against the wall. Keep one rack out on the share corner during baking season and stack the rest behind the mixer. A wire rack with a rimmed baking sheet underneath catches the crumbs and the drips.
Idea 21: Keep a cookie jar that earns its counter space
Counter space is precious, so a cookie jar has to earn its spot. Pick a jar you love looking at, glass with a wood lid or a cheerful ceramic one, big enough to hold a real batch, and keep it full all season. A full cookie jar is an invitation. It says someone bakes here, and you are welcome to have one. If you have kids, put the jar at their eye level on the share corner, not up high. A cookie jar they can reach is a cookie jar that gets used.
Idea 22: Add a gift wrap corner with bags, twine, and tags
Half of winter baking is giving it away, to neighbors, to teachers, to the mail carrier, so build a tiny gift wrap corner right into the station. One basket holds small paper bags, a ball of twine, a stack of gift tags, and a pen. When a batch comes out of the oven, you bag a few, tie the twine, write the tag, and the gift is done before the cookies are even cool. Keep the basket on the share corner where it looks like part of the decor.
6. Small Kitchens and Renter-Friendly Baking Stations
Not everyone has a big kitchen, and that is fine. Some of the best baking stations I have seen live in apartments with almost no counter at all. The secret is that a station is a system, not a piece of furniture. If the tools and ingredients travel together, the station goes wherever you do.
Idea 23: Use a rolling cart as a portable baking station
A three tier rolling cart is the best small kitchen baking station there is. Top tier holds the mixer or the mixing bowl, middle tier holds the jars and the tools, bottom tier holds the trays and the baking sheets. Roll it to the counter when you bake, roll it into a corner or a closet when you are done. In December, tie a little garland around the handle and the cart becomes part of the Christmas decor.
Idea 24: Build a tray station that sets up in thirty seconds
If you have no spare counter at all, use a big wooden tray. Load it with the jars, the measuring cups, the rolling pin, and the cookie cutters, and keep it on a shelf. When it is time to bake, carry the tray to the table or the counter, and you have a station. When you are done, wipe it down, load it back up, and put it away. The tray is the boundary, everything that belongs to baking lives on it, and nothing else sneaks on.
Idea 25: Add a fold down shelf for the mixer
A fold down shelf, the kind that brackets to the wall and folds flat when you are done, gives you a whole extra stretch of counter exactly where you need it. Mount it next to the oven at counter height, unfold it when you bake, fold it away when you are done. If you rent, look for a no drill version that clamps to the counter edge, or use a sturdy TV tray table instead.
Idea 26: Use adhesive hooks and tension rods, the renter’s best friends
Renters can have a beautiful baking station without a single hole in the wall. Adhesive hooks hold the apron, the measuring cups, and the cookie cutters. A tension rod inside a cabinet holds the rolling pin. A tension rod under a shelf holds the tea towels. All of it comes off clean when you move, and none of it damages the paint. Your landlord will never know, and your baking station will look like it was built in.
Idea 27: Follow the one basket rule for everything else
Here is the last idea, and it is the one that holds the whole system together. Everything that does not have a hook, a jar, or a shelf lives in one basket. The piping tips, the cupcake liners, the food coloring, the extra spatulas, all of it goes in one labeled basket on a shelf or in a cabinet. When you bake, you pull the basket out. When you are done, you put it back. One basket means you never buy a third set of piping tips because you forgot you already owned two.
The Heat and Flour Check: Run the Flour Test Before You Commit
Before you call the station done, run the Flour Test. It takes one batch, and it tells you everything. Bake a full batch of cookies start to finish without leaving your station corner. If you have to cross the kitchen for the vanilla, move the vanilla closer. If the cooling rack is in another room, move it to the share corner. Most stations fail the test the first time, and that is fine. Move two or three things, run it again, and you will feel the difference immediately.
The other half of the check is heat and flour, the two things that damage a baking station. Flour dust gets into everything, so wipe the jars and the shelf once a week with a damp cloth, and keep the garland and the twinkle light jar above the work surface where the dust does not settle. Heat is the bigger risk. Nothing meltable lives near the oven, no plastic bins, no candle right next to the stove, no chocolate chips stored above the oven where the heat softens them. Keep the chocolate and the butter in the coolest spot in the station, and keep the oven mitts hanging where you can grab them without reaching across a hot tray.
Budget: Buy Once vs Refresh Each Season
A baking station does not have to cost much, and it helps to split the spending into two piles. The buy once pile is the stuff that lasts for years: matching glass jars, a good rolling pin, stackable cooling racks, a tiered tray, a recipe stand. Buy these once, buy them well, and you will still be using them in ten years. The refresh pile is the stuff that changes with the season: plaid towels, ribbon, sprinkles, a fresh garland, gift tags, a new cookie cutter or two. That pile costs very little, and it is what makes the station feel new every December. A starter station runs about fifty dollars, and the mixer is the one big purchase. For the rest of the kitchen, my winter kitchen decor ideas use the same buy once logic, so the two guides work well together.
Small Spaces and Rentals, One More Time
If you take one thing from this guide, let it be this: a baking station is a system, not a renovation. Renters have three rules. No holes, no paint, nothing that cannot move with you. Adhesive hooks, tension rods, a rolling cart, a tray, and one basket follow all three rules, and together they make a station that works just as well as a built in one. Small kitchens have one rule: everything travels together. You do not need a big kitchen to bake like someone who has one. You need a corner, a cart, or a basket, and the habit of putting everything back when you are done.
Troubleshooting: 6 Fixes When Your Baking Station Feels Wrong
Flour gets everywhere. Bake on a rimmed sheet pan or a big tray set under your mixing bowl. The tray catches the spills, you dump it in the sink when you are done, and the counter stays clean.
There is no counter space. Roll the cart over, or set a wooden board across the sink to make a temporary work surface. A stove top cover does the same job when the oven is off.
Everything looks cluttered. Use the one color rule. Pick one accent color, red or green, and let everything else stay neutral. Then take away three things. A station always looks better with a little empty space on it.
Tools keep disappearing. Give every tool a hook or a home, and label the crock. If a tool has no home, it will wander. If it has a hook, it comes back every time.
The station only gets used in December. Give it one everyday job for the rest of the year. Keep the coffee supplies there, or the toast and jam, or the fruit bowl. A station with a daily job stays tidy, and when December comes, it is already set up.
Kids make a huge mess. Give them their own low drawer with their own tools: a small rolling pin, a few cutters, an apron their size. When kids have their own spot, they stop grabbing yours, and the mess stays in one drawer you can clean in two minutes.
That is the whole guide, and here is my honest take. You do not need a perfect kitchen to have a wonderful winter of baking. You need one corner, a few jars, and the habit of putting things back. Set the station up this weekend, bake one batch, run the Flour Test, and fix whatever fails. By the second batch, it will feel like the station was always there. And when someone walks into your kitchen in December, smells the cookies, and sees the twinkle lights glowing in the jar, they will not ask where you bought it all. They will ask if they can have a cookie. Keep the tiered tray full, and say yes.
Frequently Asked Questions
What is a baking station?
A baking station is one dedicated corner of your kitchen where everything you need to bake lives together: ingredients, tools, trays, and a spot to cool and share cookies. It saves time because you stop hunting for the rolling pin and the vanilla, and it makes baking feel calm instead of chaotic.
How much counter space do I need for a baking station?
Two feet of counter is plenty for a baking station. A stand mixer, a row of jars, and a rail for tools all fit in that space, and a rolling cart or a tray station works if you have no spare counter at all.
Can I set up a baking station in a small kitchen or rental?
Yes. A rolling cart, a tray that sets up in thirty seconds, or one basket that holds all your tools works in any kitchen, and adhesive hooks and tension rods mean renters never have to drill a hole.
How do I keep a baking station from looking cluttered?
Give every tool a home, use matching jars for the ingredients you use most, and hide the bags and bulk supplies in a closed bin. If it is beautiful, show it on an open shelf, and if it is a bag, put it in a cabinet.
What should I put in a winter baking station?
Start with the big four in matching jars: flour, sugar, brown sugar, and baking powder, plus a stand mixer, a rolling pin, measuring cups, and a cooling rack. Then add the winter touches: a small garland, twinkle lights in a jar, plaid towels, and a tiered tray for the finished cookies.