25 Thanksgiving Thankful Tree Ideas for a Cozy Home
My first thanksgiving thankful tree was a branch I cut from the maple in our backyard, stuck in a jam jar, with five paper leaves hanging off it by string. It looked, honestly, like a stick someone had forgotten to throw away. Then my mother wrote the first leaf, in her careful handwriting, and hung it on the lowest branch where everyone could read it. By dinner, that sad little branch held twenty-three leaves, and my uncle, who never says anything sentimental, had written three. That is the whole secret of a thanksgiving thankful tree: the tree is just a branch, but the leaves are the whole dinner, and guests remember the leaves long after they forget the turkey.
So this guide is built around twenty-five thanksgiving thankful tree ideas that turn a simple branch into the warmest corner of your house. Some of them are real trees you style, some are paper trees on a wall, and some are gratitude jars, which are the thankful tree’s tabletop cousin. A thankful tree costs almost nothing, it takes an afternoon to set up, and it gives every guest something to do with their hands while the turkey rests. IMO, it is the single best Thanksgiving decoration for a host who wants the house to feel loved rather than staged, because nobody can fake a leaf written by a kid who means it.
Two ideas run through everything below. The first is the Branch, the Leaf, the Jar rule: every thankful tree needs three things, a branch to hold it up, leaves to carry the messages, and a jar or base to anchor it. Skip any one of the three and the tree wobbles, or the leaves have nowhere to go, or the whole thing tips over when a kid reaches for it. The second is the Morning-Of Test: set the tree up a week early, then check it the morning of Thanksgiving, leaves still hanging, pens working, kids able to reach the lowest branch. FYI, the Morning-Of Test takes five minutes and it is the difference between a tree guests use and a tree guests admire from across the room.
The Tree Itself: Pick Your Branch
1. A bare branch in a tall vase
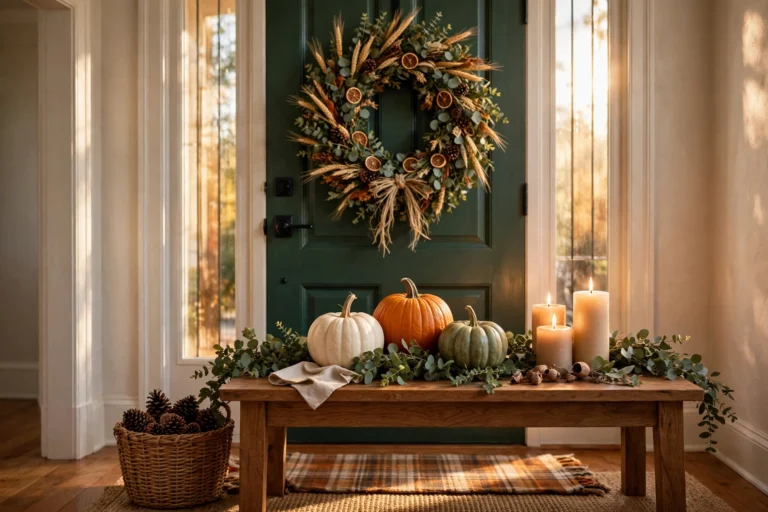
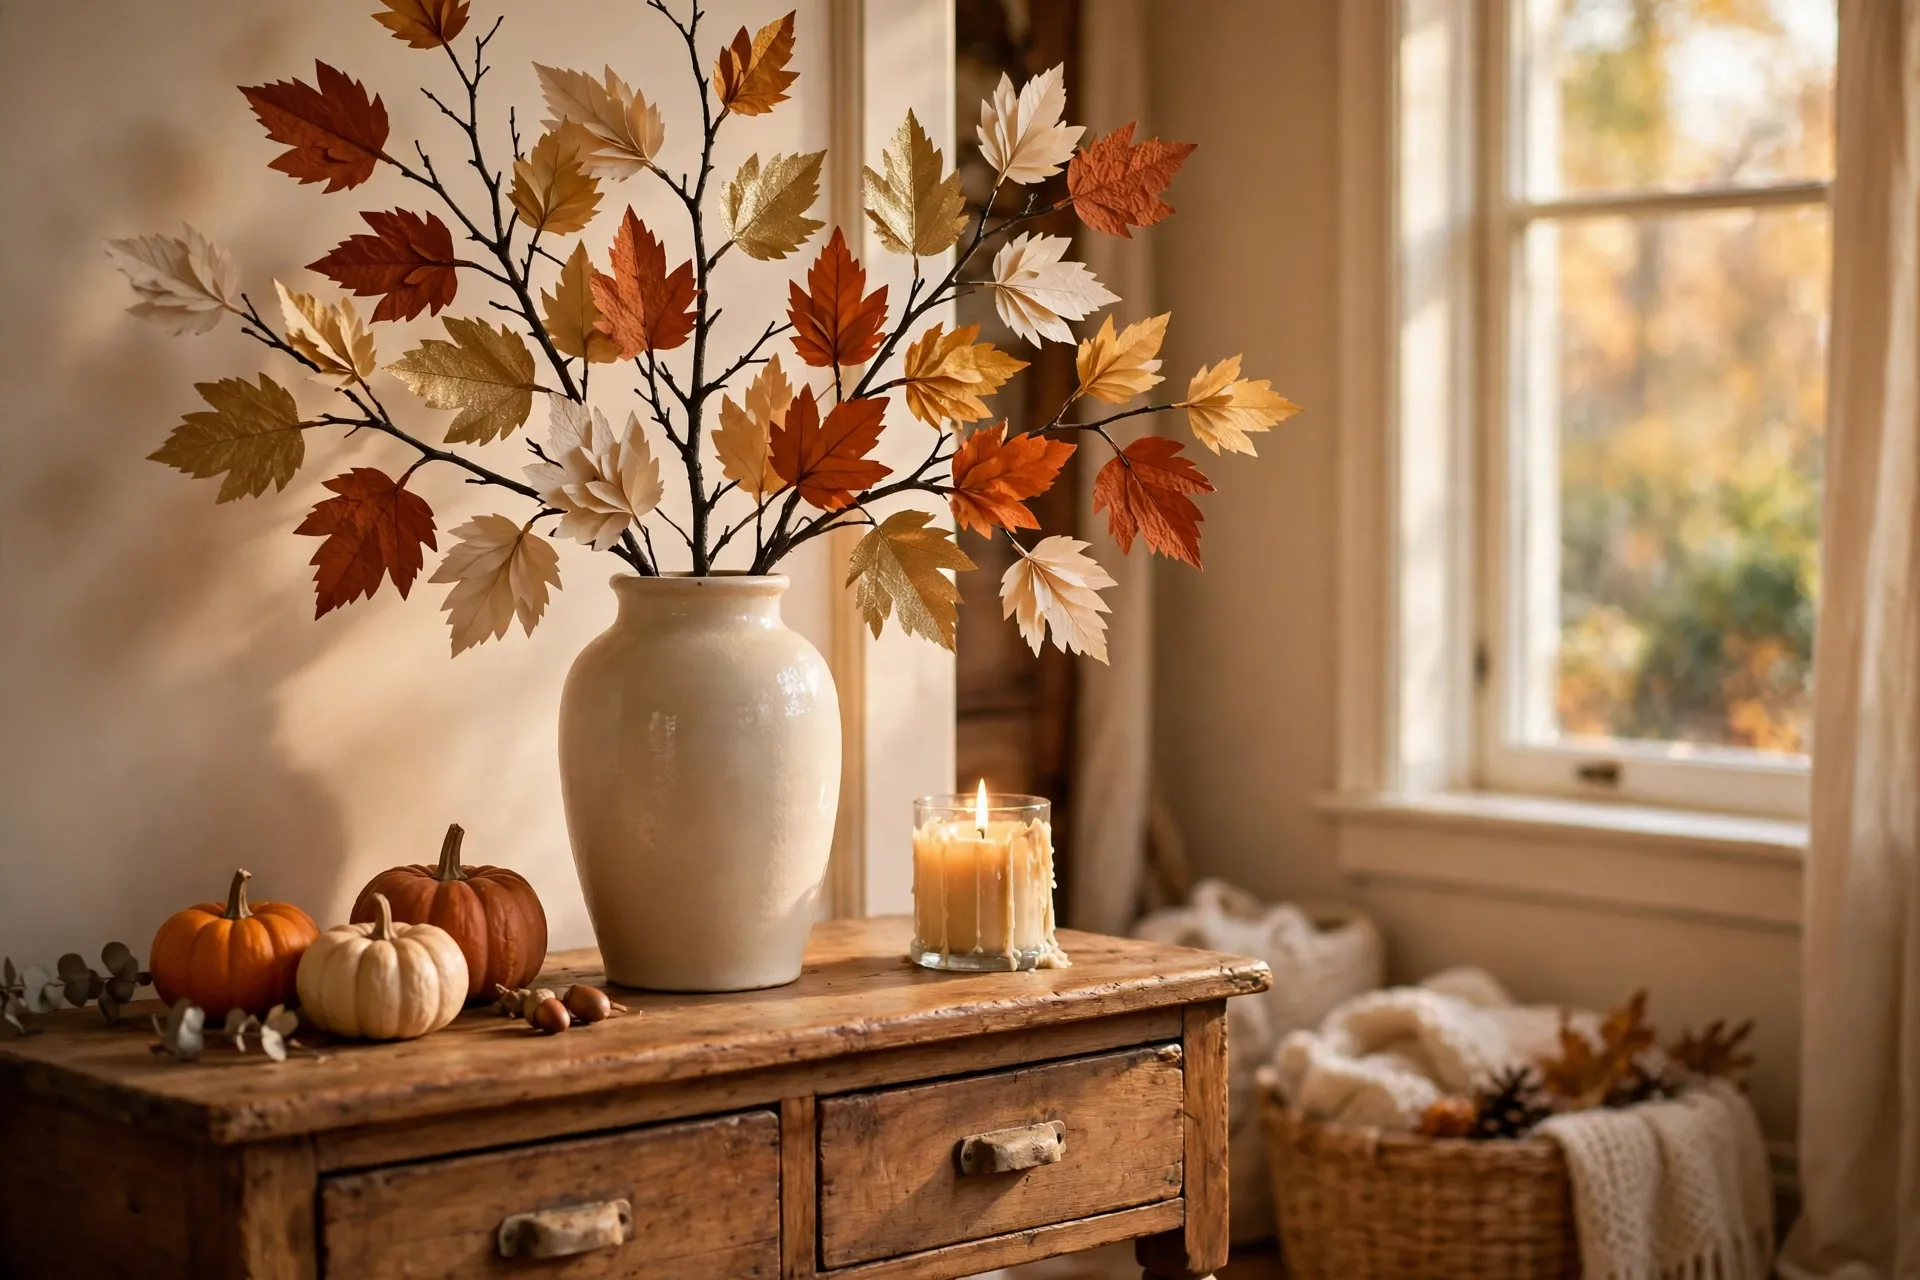
A bare branch in a tall vase is the classic thankful tree, and it is classic because it works. Cut a branch with three or four smaller branches coming off it, trim it to about two feet tall, and stand it in a heavy vase filled with pebbles or dried beans so it cannot tip. The bare branch is the whole point, because the leaves are the decoration, and a branch with its own leaves still on it fights the paper ones. Choose a branch with interesting shapes, a little curve, a fork near the top, because a straight stick looks like a stick and a curved branch looks like a tree. Our thanksgiving entryway decor guide uses the same tall-vase trick on the console table, and the two ideas share the same warm wood and cream palette.
2. A potted mini tree from the garden center
A small potted tree, a dwarf maple or a little olive tree in a terracotta pot, makes a thankful tree that lives past Thanksgiving. The pot is heavy enough that no guest can knock it over, the leaves you hang are paper so they stand out against the real green ones, and after dinner you can move the whole pot to a sunny window and keep it. Buy the tree a week early so it settles in the pot and you are not repotting on Thanksgiving morning. Water it lightly the day before, because a thirsty tree drops its own leaves and then your paper ones are the only ones left, which is actually fine, but a healthy tree photographs better.
3. A wall tree made of washi tape and paper leaves
A wall tree is the thankful tree for a house with no spare surface, because it lives on the wall and takes up no table at all. Lay washi tape in the shape of a bare tree on a blank wall, trunk up the middle, branches spreading out, and stick paper leaves to the tape with little dots of poster putty. The tape peels off clean in December, the leaves come down without a mark, and the whole thing costs less than a bag of groceries. Put it at kid height, not adult height, because kids are the ones who will fill it first, and a wall tree they cannot reach is just wallpaper. This is the version I recommend for a rental, because nothing is nailed, screwed, or glued to anything that matters.
4. Driftwood branches in a basket
Driftwood branches in a low basket make a thankful tree that looks like it came from a beach house, and it is the sturdier version in this guide. Three or four driftwood pieces, crossed and wedged into a basket of sand or stones, hold paper leaves without a single wobble, and the pale wood looks beautiful against rust and gold leaves. Collect the driftwood yourself if you live near water, or buy a bundle at a craft store for a few dollars, and rinse it well before you bring it inside. The basket doubles as storage after Thanksgiving, because the branches lift out and the sand stays for next year.
5. A tabletop tree for the kids table
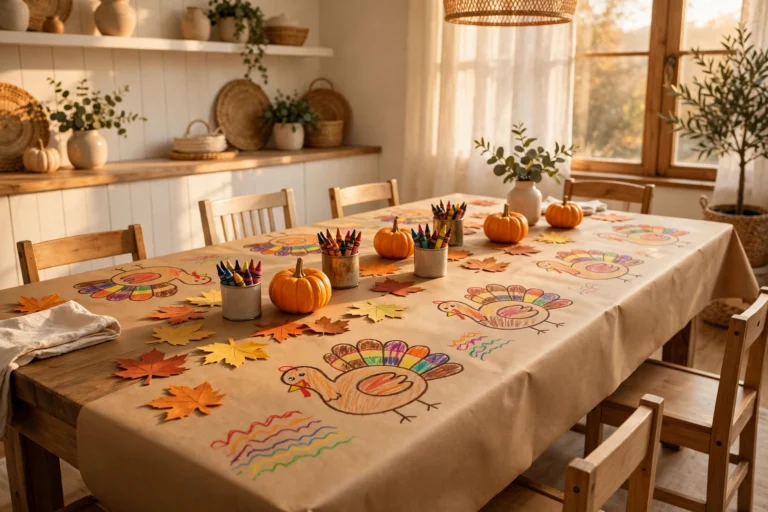
A tabletop tree, one small branch in a jam jar on the kids table, is the thankful tree that gets the most use, because it sits where the kids sit. Keep it short, about a foot tall, so it never blocks anyone’s view across the table, and use big paper leaves with fat crayons, because little hands need big targets. The kids will fill it before the adults even sit down, and by dessert their leaves are the best part of the table. Our thanksgiving kids table decor guide puts the tree right beside the coloring placemats, and the two ideas keep the kids busy while the adults talk.
Leaves Guests Actually Fill In
6. Paper leaves and a pen tied with twine
Paper leaves with a pen tied to the vase with twine are the simplest leaf system there is, and simple is what gets used. Cut leaves from card stock in rust, gold, and cream, punch one hole at the stem end, thread a short loop of twine through it, and hang a basket of blank leaves beside the tree with two pens tied to the vase. The twine matters more than it sounds, because a pen that wanders off to the kitchen is a leaf that never gets written. Make twice as many leaves as you have guests, because the first leaf is always a practice one and the second one is the real one.
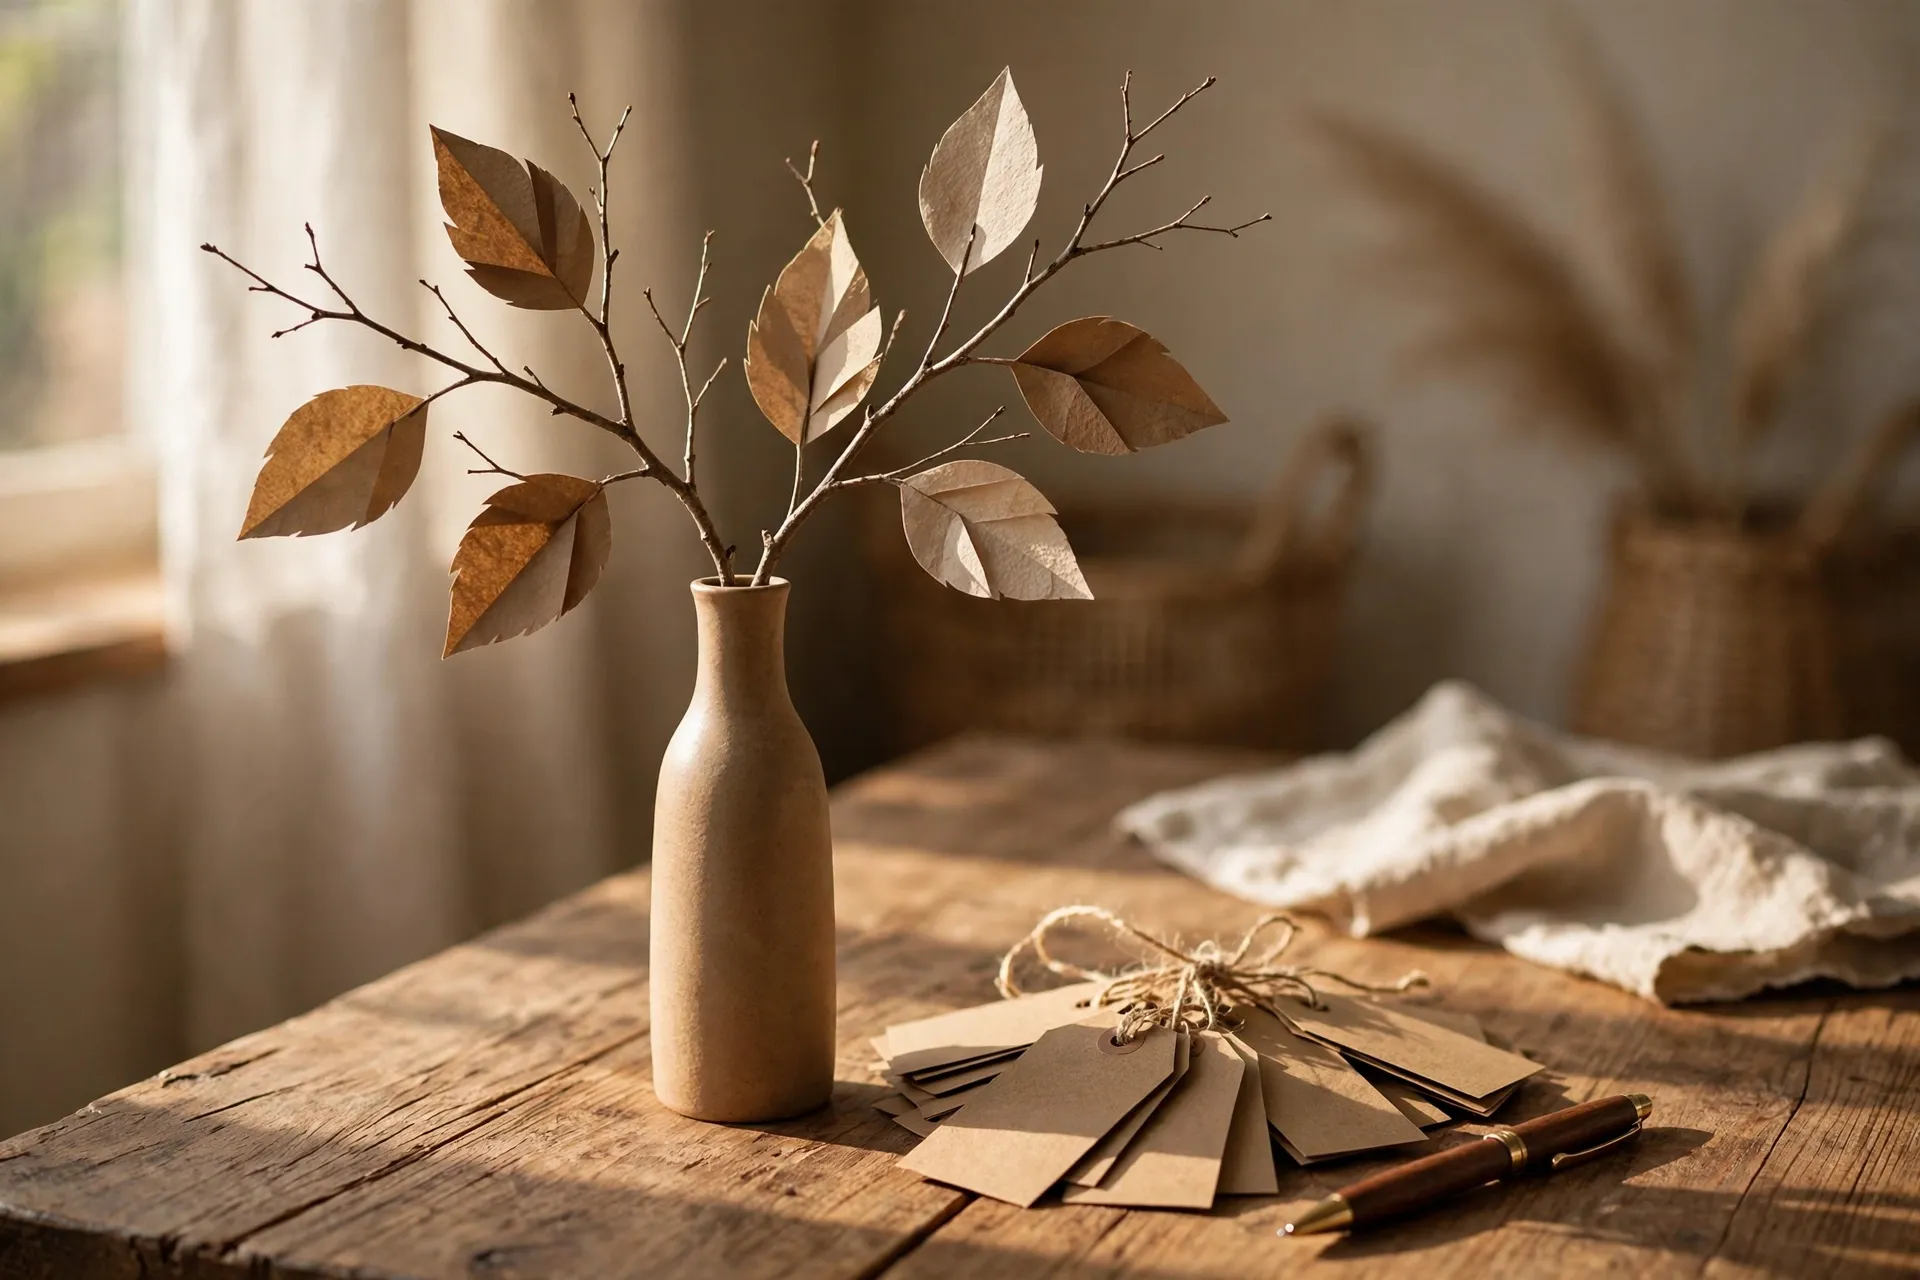
7. Kraft tags with a hole punch and ribbon
Kraft tags, the little brown luggage tags from the craft store, make a thankful tree that looks like a country store display. They cost pennies, they take a pen beautifully, and the ribbon loop makes them hang straight instead of spinning. Write a tiny prompt on each tag before guests arrive, like “I am thankful for” in small letters at the top, because a blank tag stalls people and a prompt starts them. Hang the finished tags with the writing facing out, and turn the tree once a day so the fresh leaves get seen.
8. Fabric leaves you reuse every year
Fabric leaves, cut from felt in fall colors, are the buy-once version of the paper leaf, and they are the version for a host who loves the tree enough to keep it. Cut the leaves once, sew or glue a small loop on each one, and write on them with a fabric marker that washes out in cold water. The leaves feel substantial in the hand, they never tear, and kids love them because they are soft and a little floppy. Store them in a labeled envelope with the tree stand, and next November you are setting up in ten minutes instead of starting from scratch.
9. Photo leaves with a family snapshot
Photo leaves, a small printed photo taped to a paper leaf, turn the thankful tree into a family album. Print wallet-sized photos of the year’s best moments, a birthday, a beach day, a new baby, and tape one to the back of each leaf so the photo shows when the leaf turns. Guests flip the leaves to find themselves, and the tree becomes a conversation, not just a decoration. Print the photos at home on plain paper, because glossy photo paper is too stiff to hang well, and keep the photos small, because a big photo makes the leaf sag.
10. Handprint leaves from the kids
Handprint leaves are the thankful tree idea that makes grandparents cry, and they are the easiest leaf in this guide. Trace each kid’s hand on colored paper, cut it out, and let the kid write or dictate one thing they are thankful for on the palm. Hang the handprints on the lowest branches where everyone can see them, because they are small and they get lost up high. Date them on the back in pencil, and at the end of the month you have a record of how small those hands were this year, which is worth more than any decoration you could buy.
The Gratitude Jar: The Tabletop Cousin
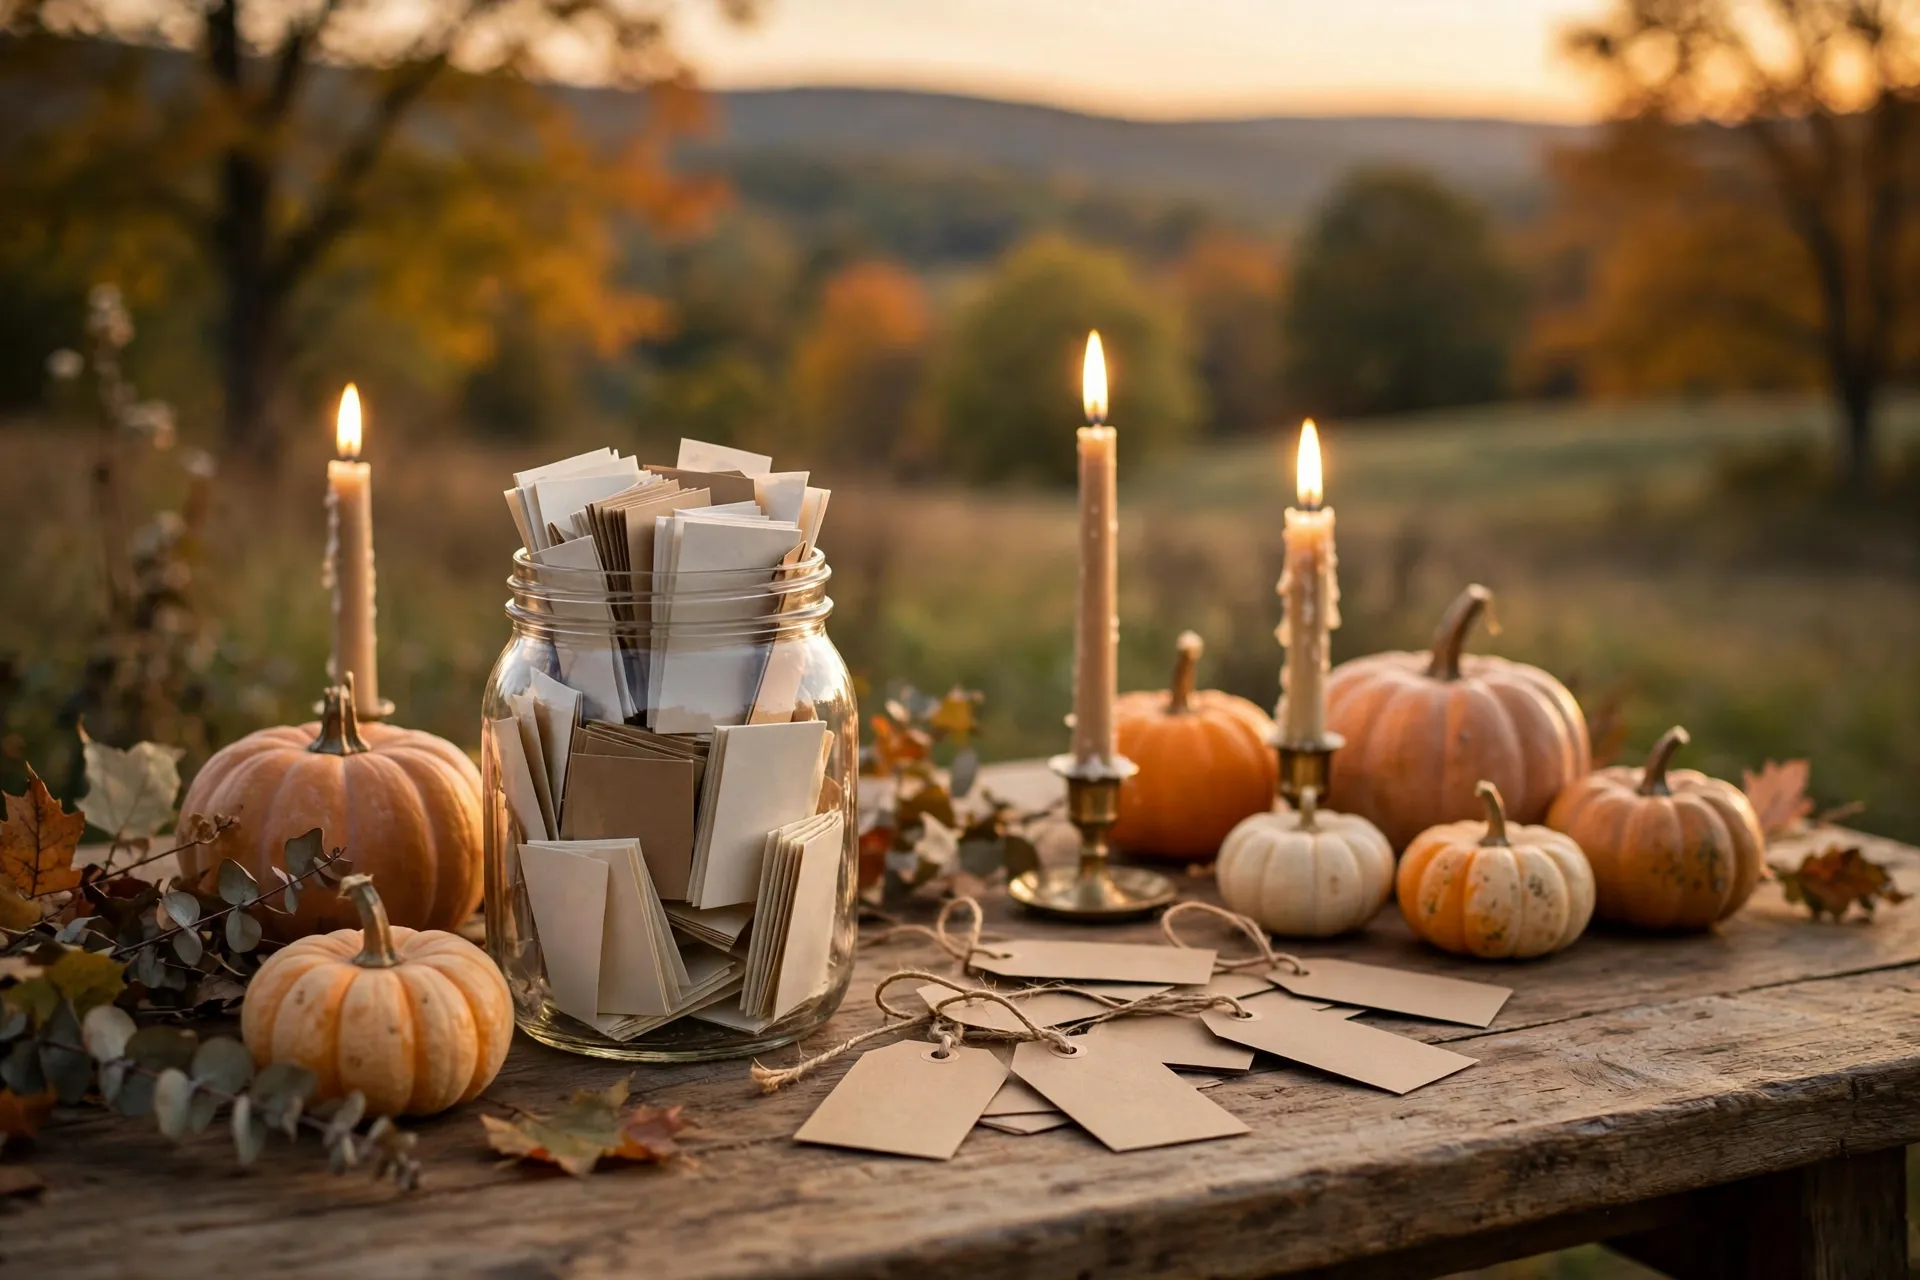
11. A mason jar of folded notes on the table
A mason jar of folded notes is the thankful tree for a host with no room for a branch, because it fits in the middle of the table and takes up no more space than a candle. Set the jar out with a stack of small paper slips and a pen, and ask each guest to fold one note and drop it in before dessert. The jar is private, which matters, because some guests will write things they would never hang on a branch for everyone to read. Read a few aloud after dinner, and keep the rest for the host, because the jar is a gift to the person who cooked.
12. A jar by the front door for arrivals
A gratitude jar by the front door catches guests the second they walk in, when they are happiest and most likely to write something real. Put the jar on the entryway console with a small sign that says “Leave a thank you before you take off your coat,” and a stack of slips beside it. Guests write while they are still holding their coats, and by the time everyone is inside, the jar is already half full. This is the version that works best for a big crowd, because it spreads the writing across the whole evening instead of bunching it at the table.
13. A kids-only jar with crayons and big paper
A kids-only gratitude jar, with fat crayons and paper slips the size of a postcard, is the jar that actually gets filled by kids. Adult slips are too small for little hands and adult pens are too thin for little grips, so give the kids their own jar, their own crayons, and paper big enough to draw on. Let them draw instead of write, because a drawing of a dog is a thank you too, and tape the best drawings to the wall beside the jar. The kids will guard their jar all evening, which is exactly the point, because a guarded jar is a used jar.
14. The jar as the centerpiece itself
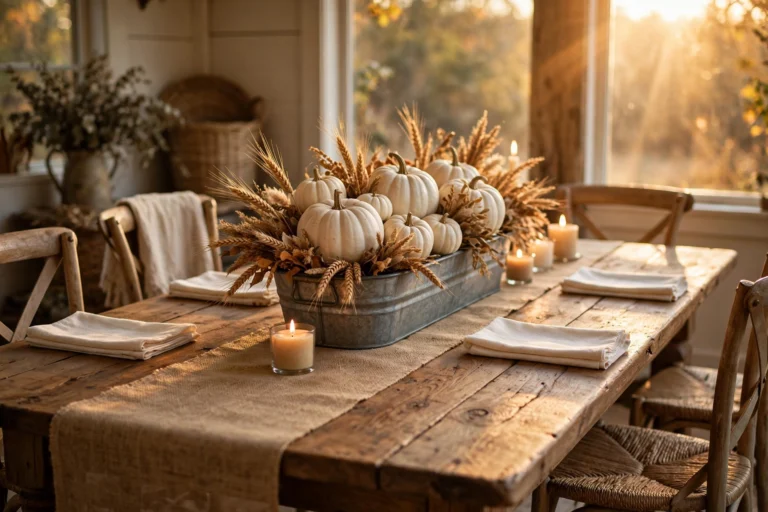
The gratitude jar as the centerpiece is the thankful tree idea for a host who wants one thing on the table, not three. Put a big glass jar in the middle of the table, fill the bottom with dried beans or wheat so it looks finished, and ring it with the paper slips and two pens. The jar is the centerpiece, the activity, and the conversation starter all at once, and it photographs beautifully with the candles behind it. Our thanksgiving centerpiece ideas guide uses the same jar-and-candle pairing, and the two ideas share the same warm amber glass.
Where to Put Your Thankful Tree
15. The entryway console, first thing guests see
The entryway console is the best spot for a thankful tree, because it is the first thing guests see and the last thing they pass on the way out. A branch in a tall vase on the console, with the leaf basket beside it, turns the entryway into a welcome instead of a hallway. Keep the tree to one side of the console so the other side stays clear for keys and coats, and put a small lamp behind it so the leaves glow when guests arrive after dark. Our thanksgiving entryway decor guide styles the same console with pumpkins and a wreath, and the tree fits right in beside them.
16. The mantel, beside the garland
The mantel is the thankful tree spot for a host whose mantel is already the center of the room. Set a short branch in a low vase at one end of the mantel, and let the garland run behind it, so the tree reads as part of the mantel rather than a guest on it. Keep the tree short, because a tall branch on a mantel blocks the mirror or the art above it, and a short tree with a dozen leaves looks fuller than a tall tree with three. The mantel tree is the one guests photograph most, because it sits in the frame with the fire and the garland, so hang the prettiest leaves facing the room.

17. The dining table, between the centerpiece and the candles
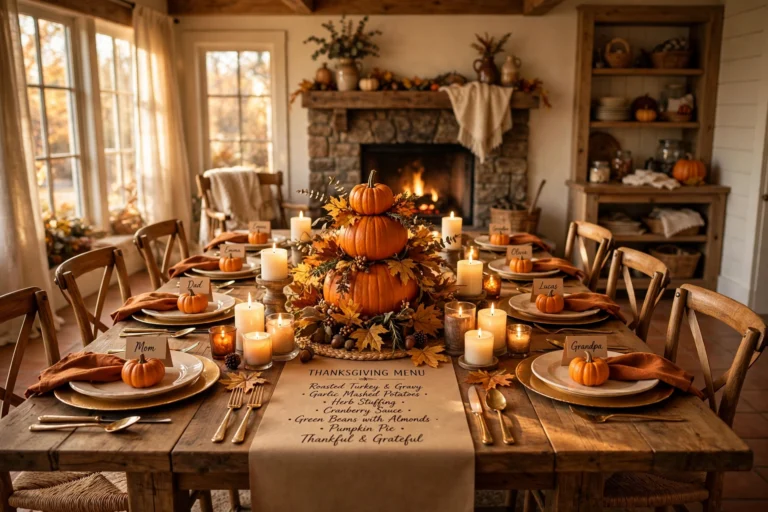
The dining table is the thankful tree spot for a host who wants the tree in the middle of the meal, not off in a corner. Set a low branch in a short vase between the centerpiece and the candles, and keep it under a foot tall so nobody has to peer around it to talk. The tree on the table gets filled during dinner, which is the whole point, because guests write between courses and hang the leaf without leaving their chair. Put the blank leaves in a small bowl beside the tree, and one pen per side of the table, because a pen that has to travel across the table never arrives.
18. The kids table, at their height
The kids table is the thankful tree spot that gets the most leaves, because kids write fast and they write honestly. Set the tree on the kids table at their eye level, which is lower than you think, and use a jam jar with pebbles so it cannot tip when someone reaches across for the rolls. The kids will fill it before the adults sit down, and their leaves are the ones the adults read first when they wander over after dinner. Keep a second stack of leaves ready, because the kids table always runs out first, and running out is the best problem a thankful tree can have.
Styling It Like Real Decor
19. Fall colors only: rust, gold, cream
Fall colors only, rust, gold, and cream, is the styling rule that makes a thankful tree look like decor instead of a school project. Cut all the leaves in those three colors, use a cream vase and a rust ribbon, and the tree reads as a deliberate piece of fall styling. The mistake is every color in the craft drawer, because a rainbow tree looks like a classroom, and a three-color tree looks like a home. If a guest wants a different color, hand them a gold leaf and a brown pen, because the constraint is what makes it beautiful.
20. Metallic leaves for a little shine
Metallic leaves, gold and copper card stock mixed in with the paper ones, give a thankful tree the little shine that makes it photograph well. Use one metallic leaf for every four paper ones, because too many metallics look like tinsel and just enough look like autumn light. Hang the metallic leaves on the outer branches where they catch the lamp, and keep the paper leaves in the middle where the writing is easy to read. The metallics are also the leaves guests reach for first, so make a few extra, because the gold ones always run out.
21. Fairy lights woven through the branches
Fairy lights woven through the branches turn a thankful tree into the warmest corner of the room after dark. Use a short string of warm white battery lights, twenty lights at most, and weave them loosely so the leaves still hang free. The lights make the leaves glow from behind, which is why this is the version guests photograph, and the battery pack hides in the vase or behind the basket. Turn the lights on at dusk and off before bed, because a thankful tree should glow, not burn, and the batteries last the whole month on a timer.
22. Dried oranges and cinnamon tied to the branches
Dried oranges and cinnamon sticks tied to the branches make a thankful tree smell like Thanksgiving, which is the sense most decorations forget. Tie two or three dried orange slices and a cinnamon bundle to the outer branches with twine, and the tree smells warm from across the room. The oranges also fill the gaps between leaves, so a tree with only a few leaves still looks finished. Keep the fruit and spice on the outer branches and the leaves in the middle, because a leaf hidden behind an orange is a leaf nobody reads.
Keeping It Up All Month
23. Refresh the leaves every Sunday
Refresh the leaves every Sunday, because a thankful tree that never changes is a tree everyone stops seeing. Take down the leaves from the past week, read them once more, and put out a fresh stack of blanks, so the tree is always half new. The Sunday refresh takes five minutes and it is the habit that keeps the tree alive all month, because a tree that changes is a tree people keep looking at. Keep the old leaves in an envelope, because by the end of November you have a month of gratitude in one small pile.
24. Read the leaves aloud at dinner
Read the leaves aloud at dinner, because a thankful tree that nobody reads is just a craft project. After the plates are cleared, pick five leaves at random and read them out, and let the writers claim them or stay quiet, whichever they prefer. The reading takes three minutes and it is the best part of the evening, because the leaves say things nobody would say out loud at the table. Do it every year and it becomes the tradition, and traditions are what make people come back next Thanksgiving.
25. Save the leaves in a book for next year
Save the leaves in a book for next year, because the leaves are the real decoration and the branch is just the hanger. At the end of November, take the leaves down, press the best ones flat in a book, and write the year on the envelope. Next November, hang three or four old leaves on the new tree before anyone arrives, so the tree starts with a memory instead of a blank branch. Our thanksgiving mantel decor guide keeps the same kind of year-to-year book for its mantel cards, and the two traditions grow together. A thankful tree that remembers last year is a tree that means something this year.
The Durability and Care Check: Paper, Humidity, and Heat
A thankful tree is mostly paper, so check three things before you set it up. First, humidity: paper leaves curl in a steamy kitchen, so keep the tree out of the kitchen and away from the dishwasher, and use card stock, not printer paper, because card stock holds its shape. Second, heat: keep the tree at least a foot from any candle, because a paper leaf near a flame is a fire risk, and use battery candles on the same table if the tree sits close. Third, branches: a fresh-cut branch dries out and drops its own leaves, so cut it a week early, soak the cut end in water overnight, and let it dry before you style it. This three-minute check keeps the tree standing all month, because a tree that wilts in week one is a tree nobody uses in week three.
Buy Once vs Buy Every Thanksgiving
Buy once, and buy well: the vase, a heavy basket or stand, the fabric leaves if you choose them, and the fairy lights. These four pieces carry the tree year after year, and spending a little more on them pays off every single November. Buy every year, and buy cheap: the paper leaves, the kraft tags, the pens, and the twine. The fresh pieces are what make the tree feel new, and they are also the pieces you will happily replace. My rule is simple: if it holds the tree up or lights it, buy it once and buy it well; if it gets written on or tied on, buy it fresh and cheap every year.
Small-Space Variations
A tiny home can still have a thankful tree, it just needs a smaller version of the formula. Use one short branch in a jam jar on the windowsill, or a wall tree of washi tape on the inside of the front door, or a single gratitude jar on the kitchen counter, and skip the big floor vase entirely. If your home has no entryway console, the tree lives on the dining table, and if the dining table is small, the jar is the tree. In a rental, lean on the wall tree and the jar, because those two change nothing permanent and come down in five minutes. And if you have no wall space at all, hang the leaves on the fridge with magnets, because the fridge is the wall every family actually looks at.
Troubleshooting Fixes
If the leaves keep falling off, the twine loops are too long, so shorten them to an inch and use a tighter knot, because a leaf that swings falls off and a leaf that hangs still stays put. If the tree tips over, the base is too light, so fill the vase with pebbles or dried beans until it is heavy enough that a kid leaning on it cannot move it. If guests are too shy to write, hang three leaves yourself before anyone arrives, because a tree with leaves on it is an invitation and a bare tree is a test. If the kids reach too high, move the blank leaves to the lowest branch and put a small stool nearby, because a kid who can reach the tree uses the tree. If the tree still feels bare, add three dried oranges and a string of fairy lights, because fruit and light fill gaps faster than any extra leaf.
Frequently Asked Questions
What is a thanksgiving thankful tree?
A thanksgiving thankful tree is a branch, real or made of paper, that guests hang paper leaves on, each leaf carrying one thing they are thankful for. It is a decoration and a family activity at the same time, and it costs almost nothing to set up.
When should I put up a thankful tree?
Put the tree up at the start of November, so it has three weeks to fill up before Thanksgiving dinner. Set the branch and the blank leaves out early, and do the Morning-Of Test on Thanksgiving morning to check the leaves, pens, and reach.
What do guests write on the leaves?
Guests write one thing they are thankful for, in a sentence or two, like a person, a place, a meal, or a small moment from the year. A tiny prompt on each leaf, like “I am thankful for,” helps shy guests start.
Can I make a thankful tree with kids?
Yes, and kids are the best part of it. Give them big paper leaves, fat crayons, and a tree at their height, and let them draw instead of write if they prefer. Handprint leaves and a kids-only gratitude jar keep them busy all evening.
How do I keep the paper leaves from falling off?
Use card stock, not printer paper, punch one hole at the stem end, and thread a short twine loop of about an inch through it with a tight knot. Short loops and tight knots are the whole trick, and fabric leaves never fall off at all.