27 Friendsgiving Table Decor Ideas That Make Hosting Feel Easy and Fun
My first Friendsgiving was the year after college, in a one-bedroom apartment with a kitchen the size of a closet. Six friends, one wobbly folding table, plates that did not match, and a centerpiece so tall that nobody could see the person sitting across from them. We spent the whole night leaning sideways around a dried corn stalk arrangement like we were watching a tennis match. The food was incredible. The table was a disaster.
That night taught me something that took me years to put into words. Friendsgiving table decor ideas are not the same as formal Thanksgiving table decor. Nobody is wearing a blazer. Someone will bring a dish in the pan they baked it in, a glass of red wine will get knocked over at least once, and the night will run late. Your table has to look great in the group photo and survive all of that. That is the whole job.
Since then I have hosted a Friendsgiving almost every November and made every mistake so you do not have to. These 27 friendsgiving table decor ideas are organized the way the evening actually unfolds, using a system I call the Table Map. Casual, affordable, and built to survive real friends having a real good time. FYI, most of what you need you already own.
My Two Friendsgiving Rules: The Table Map and The Friendsgiving Test
Before a single pumpkin touches the table, let me give you the two frameworks I run every year. They are the difference between a table that looks styled and a table that just looks cluttered.
The Table Map is the order you decorate in, following how the table actually gets used. Zone 1 is Center Stage: the strip down the middle everyone stares at all night. Zone 2 is the Place Settings: each seat, because friends judge the details up close. Zone 3 is The Edges: the table ends and drink corners. Zone 4 is Above the Table: the layer in every photo. Zone 5 is The Landing: the sideboard where potluck dishes arrive. Work in this order and the table tells one story instead of five. IMO, this is worth more than any shopping list on this page.
The Friendsgiving Test is the three-question check before the doorbell rings. First, the Sightline: sit down and look straight across. Can you see every face? If a centerpiece blocks even one person, it goes lower or goes away. Second, the Spill Test: imagine a full glass of red wine tipping over right now. What gets ruined? Anything that would not survive goes up high or gets swapped for a washable version. Third, the Photo Test: stand at the end of the table and snap one picture. Does it look like a party? The table is the background of every shot. Run this test every year.
27 Friendsgiving Table Decor Ideas, Zone by Zone
Zone 1: Center Stage (The Strip Down the Middle)
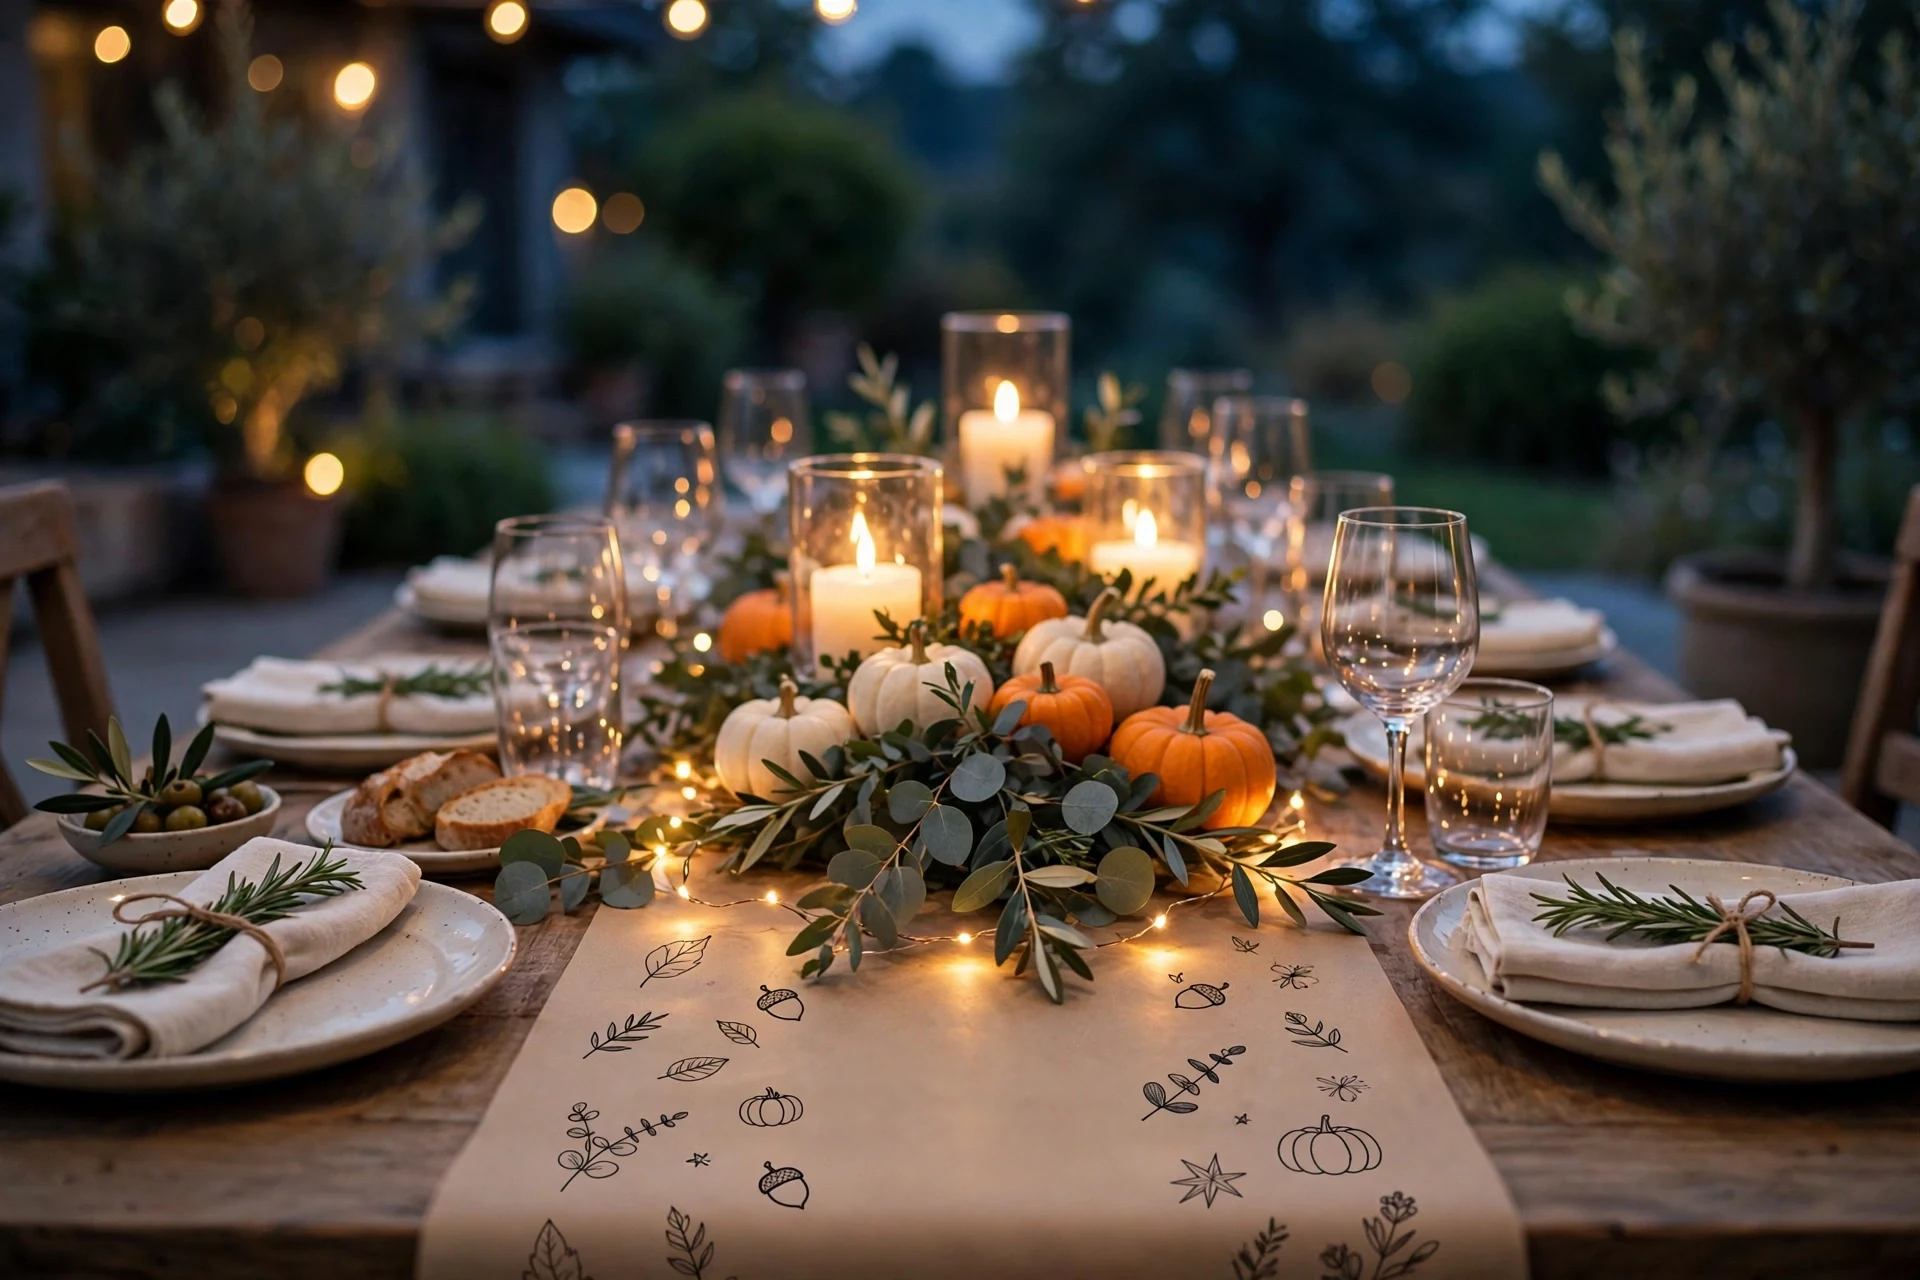
1. Start with a kraft paper runner you can draw on. This is my number one friendsgiving table decor idea, and it costs about six dollars. Roll brown kraft paper down the center of the table, tape the ends underneath, and set out a cup of markers. Guests doodle and write what they are thankful for all night. It is decor and an activity in one, and when the gravy spills you just tear off that section.
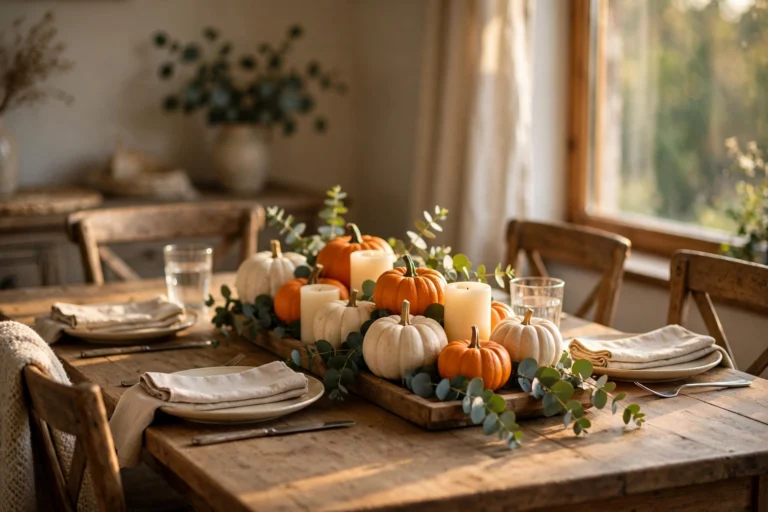
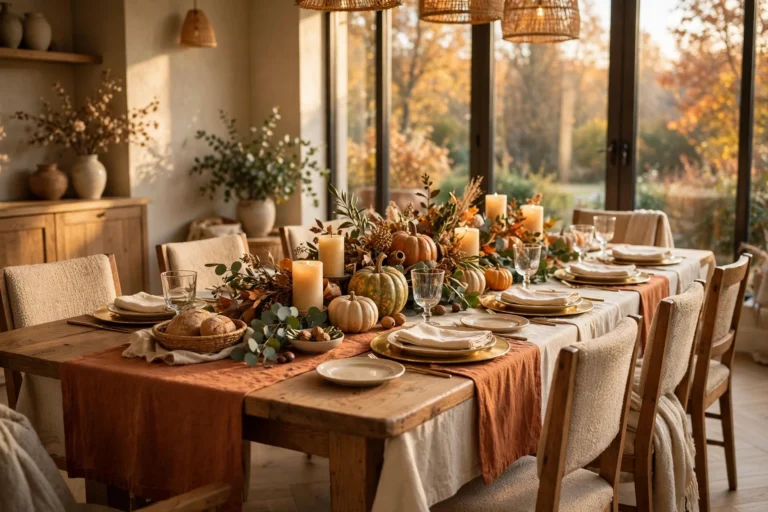
2. Keep the centerpiece low and long, never tall and round. The single biggest friendsgiving mistake is a centerpiece that blocks faces. A long, low arrangement down the middle of the table lets everyone see everyone, which is the whole point of the night. Think twelve inches high at most, with pumpkins and greenery trailing outward instead of reaching upward. My thanksgiving centerpiece ideas follow the same low-and-long logic for the formal family dinner too.
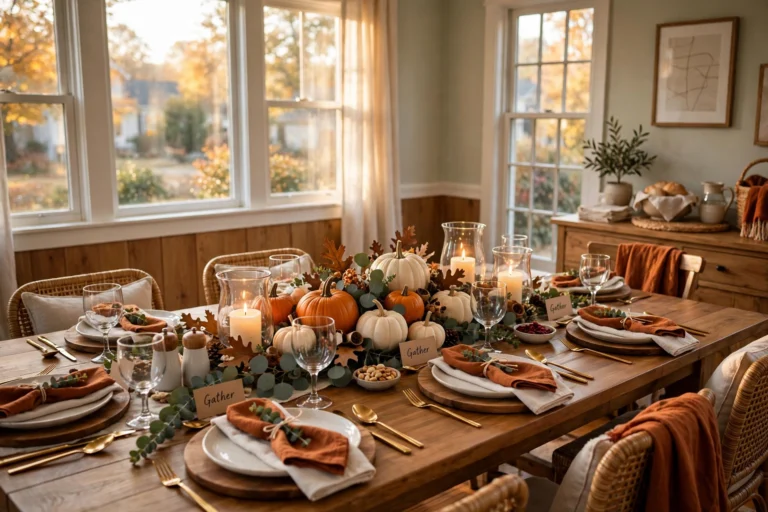
3. Mix real mini pumpkins with faux ones. Put real mini pumpkins near the table ends where they get admired, and faux ones in the crash zone in the middle where elbows fly. Nobody can tell the difference in candlelight. Cream, orange, and one oddball green keep it from looking like a grocery store display.
4. Scatter battery fairy lights along the runner. A two-dollar strand of warm-white fairy lights, battery operated with a timer, woven loosely down the center of the table. They make the pumpkins, the glassware, and every face glow. Turn them on with the candles and forget them. They photograph like magic, with no flame to worry about.
5. Add height only at the ends, never in the middle. Put tall pieces at the two ends of the table where nobody sits: a pumpkin stack, a tall lantern, a vase of branches. You get the wow moment in photos without blocking a single conversation. This is the Table Map rule I never break.
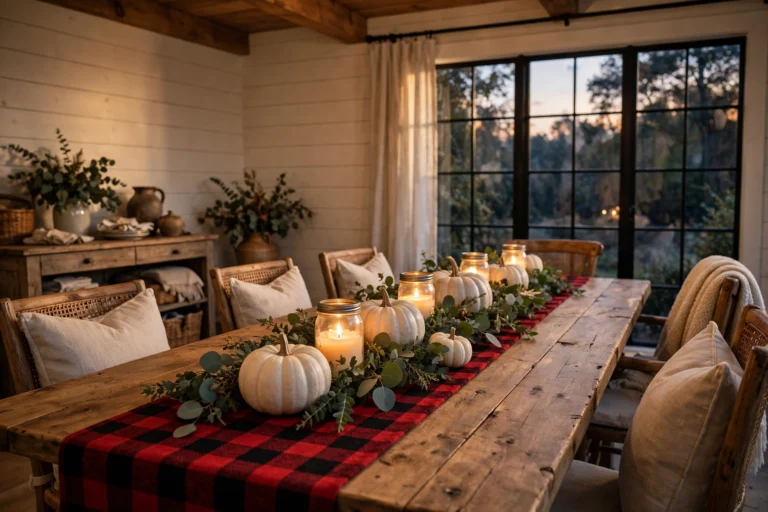
6. Layer two runners at an angle. A wide burlap or linen runner down the middle, then a narrower patterned runner (plaid, ticking stripe, even a scarf) laid slightly off center on top. The offset layering looks effortlessly styled, which is exactly the friendsgiving vibe, and it hides every stain the kraft paper misses.
7. Put every candle in a hurricane, not out in the open. Drinks get passed over candles, sleeves reach across for the rolls, someone leans in to tell a story. Glass hurricanes around your pillar candles keep the glow and remove the risk. If kids or clumsy friends are coming, go flameless inside the hurricanes. Nobody will know.
Zone 2: The Place Settings (What Friends See Up Close)
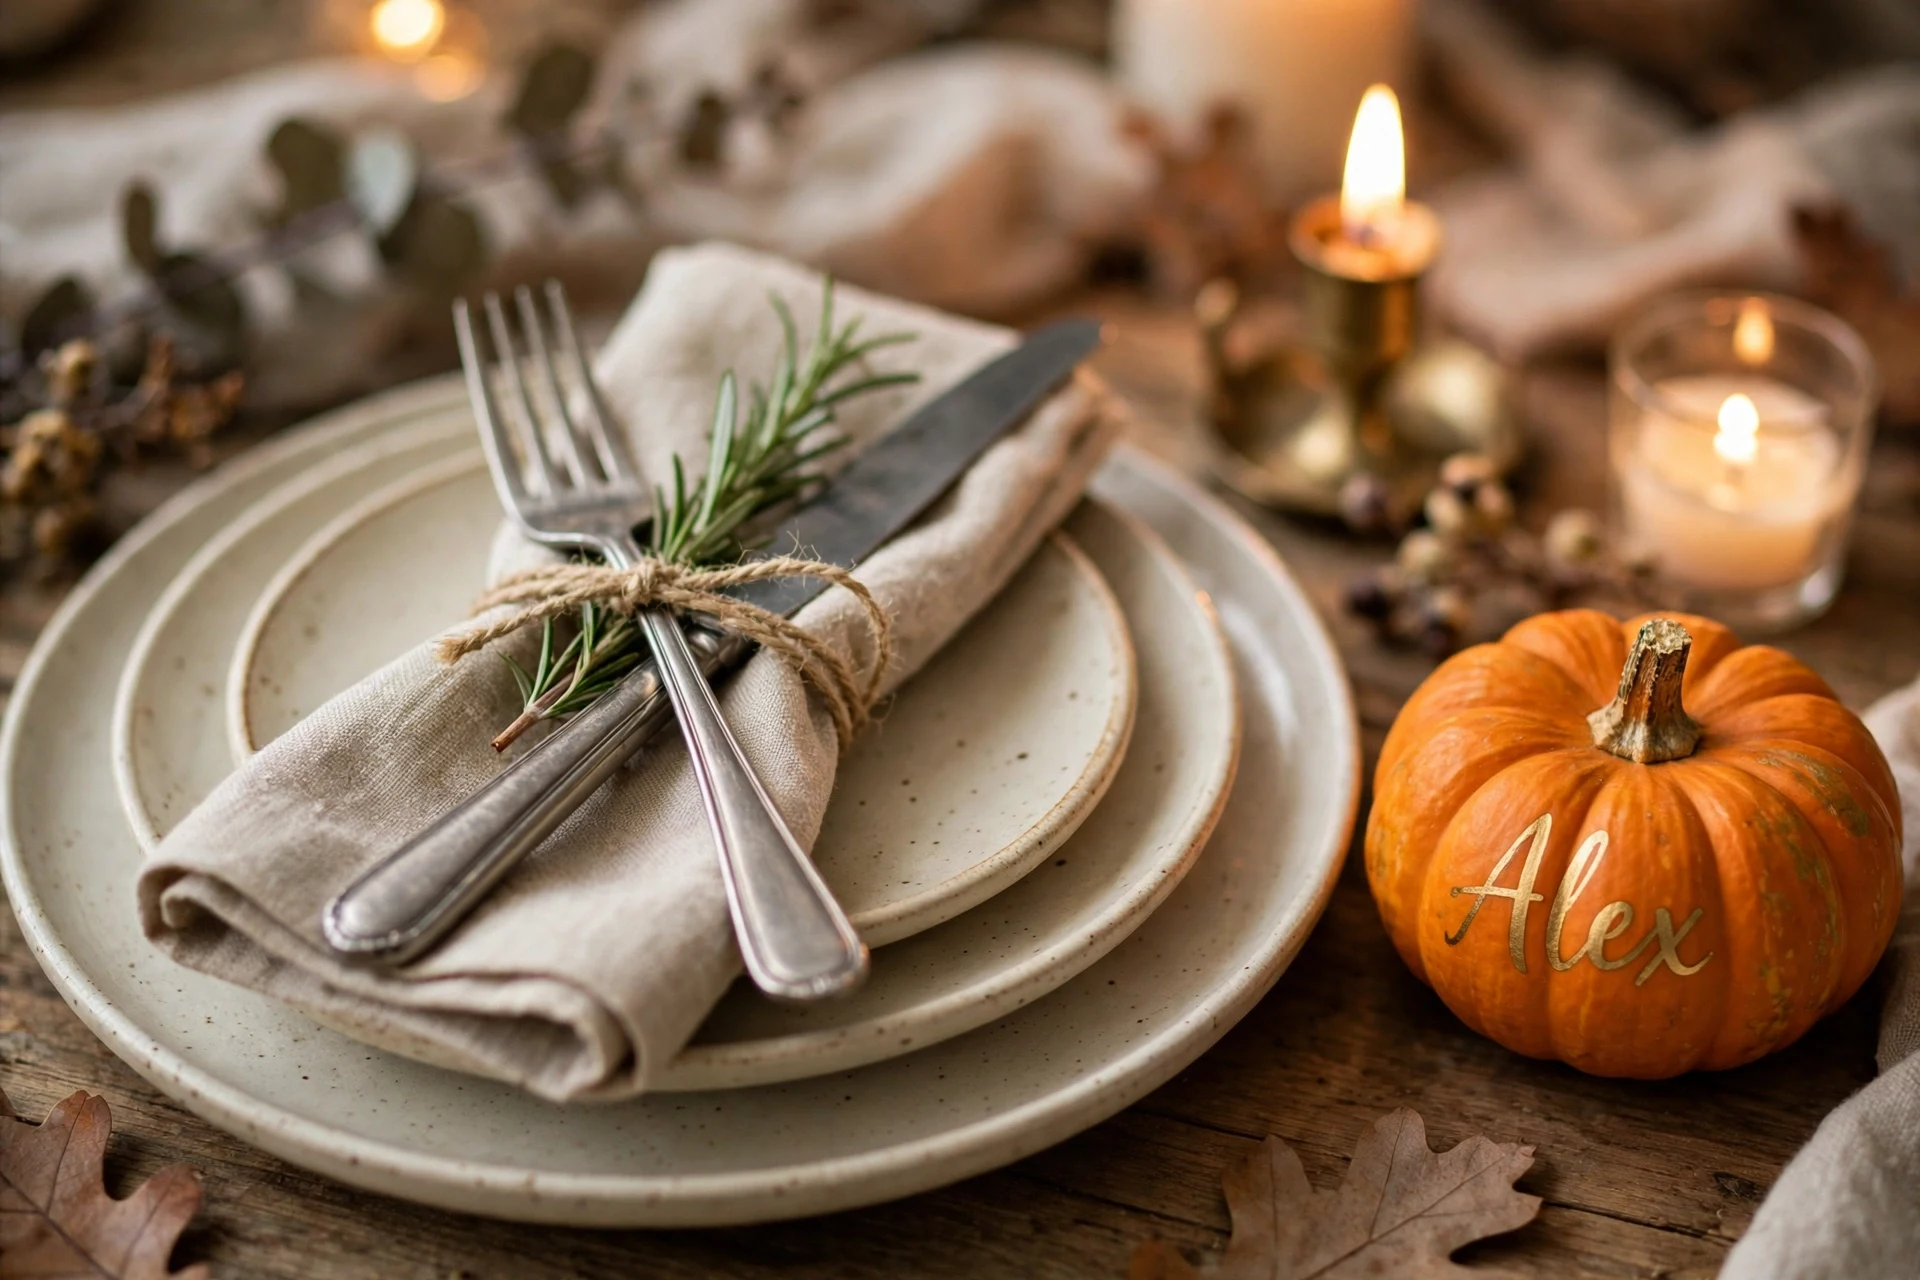
8. Make name cards out of mini pumpkins. Write each friend’s name on a mini pumpkin with a metallic gold or silver marker. Ten minutes, almost no cost, and people love finding their pumpkin. They take them home, so you get zero cleanup. My friends now get offended if their pumpkin is missing.
9. Stack mismatched plates on purpose. Dig out every plate you own, borrow extras, hit the thrift store for strays. Keep them in the same color family (all creams, all blues, all earth tones) and the mix looks collected instead of random. IMO, a mismatched table photographs better than a matching set, because it has personality.
10. Tie one cloth napkin per person with twine and rosemary. A cloth napkin (even a cheap cotton set), folded once, tied with kitchen twine, with a fresh sprig of rosemary tucked in. It smells amazing, looks like you tried really hard, and goes straight in the wash on Friday. This tiny detail gets more compliments than almost anything else on the table.
11. Set a small favor at every seat. A little paper bag of caramel corn, a mini candle in a tin, or a handwritten note saying one thing you appreciate about that person. Favors do not need to be fancy; they need to be personal. The note version costs nothing and has made more than one grown adult tear up at my table.
12. Lay the flatware crossed over the napkin and call it done. No chargers, no rings that roll away. Fork and knife crossed over the napkin, spoon on top if you are serving soup. It looks intentional, takes thirty seconds per seat, and there is nothing extra to wash.
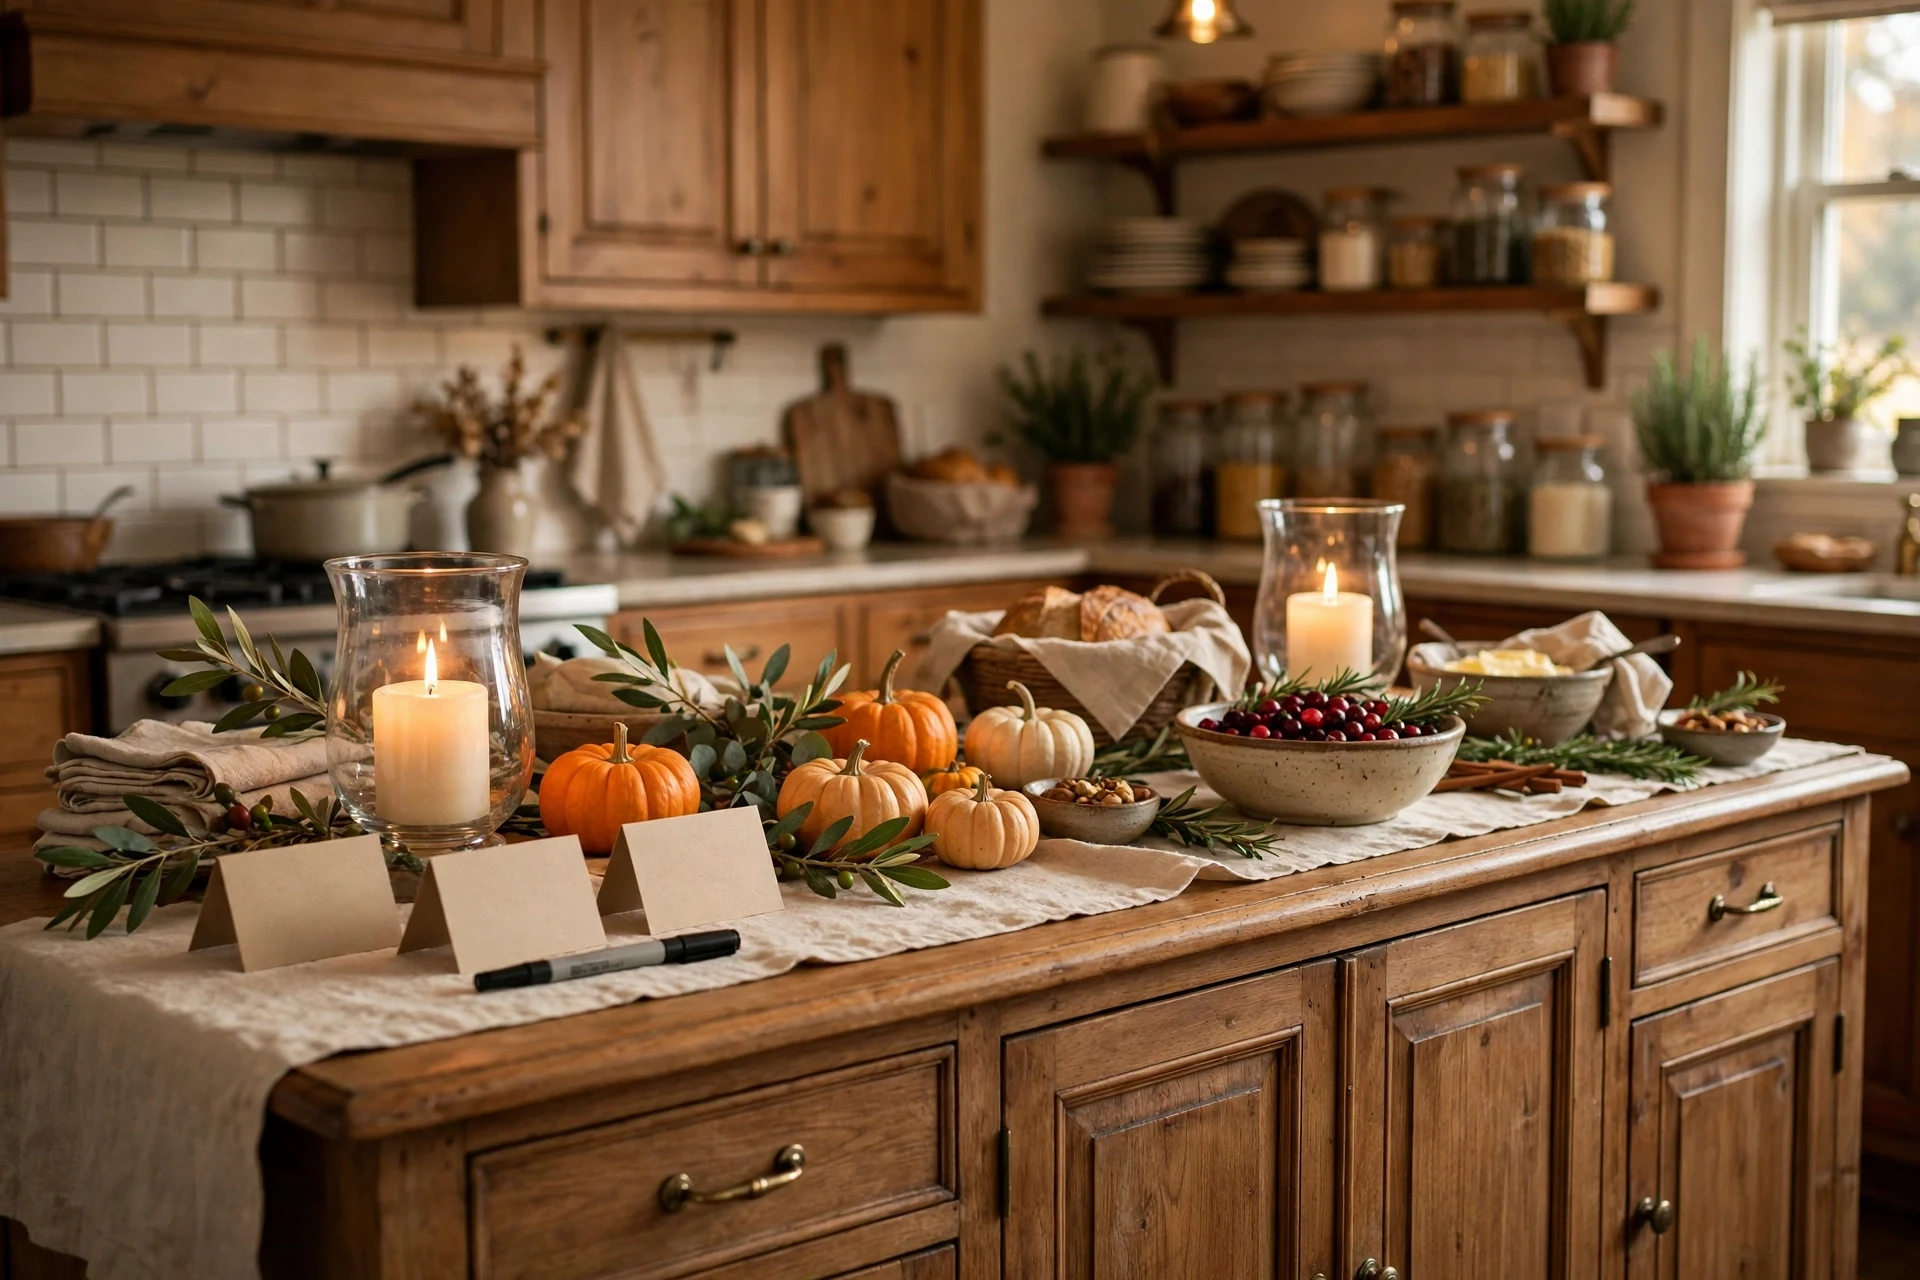
13. Put a menu card at each seat, even a handwritten one. A little tent card that says what is coming: “Maya’s mac and cheese, the famous rolls, pie x3.” Friends love knowing what to look forward to, and it quietly solves the “what is in this dish” question for anyone with allergies. People actually keep these.
Zone 3: The Edges (Table Ends, Drink Corners, Landing Spots)
14. Claim one table end as the drink station. A pitcher of apple cider, a couple of bottles of wine, a stack of cups, and a small bucket of ice. Keeping drinks at one end of the table means nobody wanders the kitchen while you are plating, and refills do not require crossing the room. Add a little “drinks here” sign and the traffic sorts itself out.
15. Put coasters at both ends and in the middle. Cork rounds, sliced wood, even folded paper napkins in a pinch. A coaster every couple of feet protects the table and signals you thought of everything. Nobody notices coasters until they are missing, and then everybody notices.
16. Set out a gratitude jar at the table end. A mason jar, paper slips, a pen. Everyone writes one thing they are grateful for and drops it in, and you read them out loud over dessert. Cheesy in the best way, costs nothing, and it has become the most emotional five minutes of every Friendsgiving I have hosted.
17. Group votives in threes along the table edges. Little clusters of three votives (real or flameless) tucked along the table edges, between the runner and the place settings. They fill the gaps, add glow at eye level, and make the whole table feel finished. Keep them inside the hurricane rule from idea 7.
18. Anchor each table corner with something heavy. A pumpkin, a small lantern, a potted plant. Corners are where runners get tugged and pulled when someone stands up too fast. A little weight at each corner keeps everything in place all night.
Zone 4: Above the Table (The Layer That Shows Up in Photos)
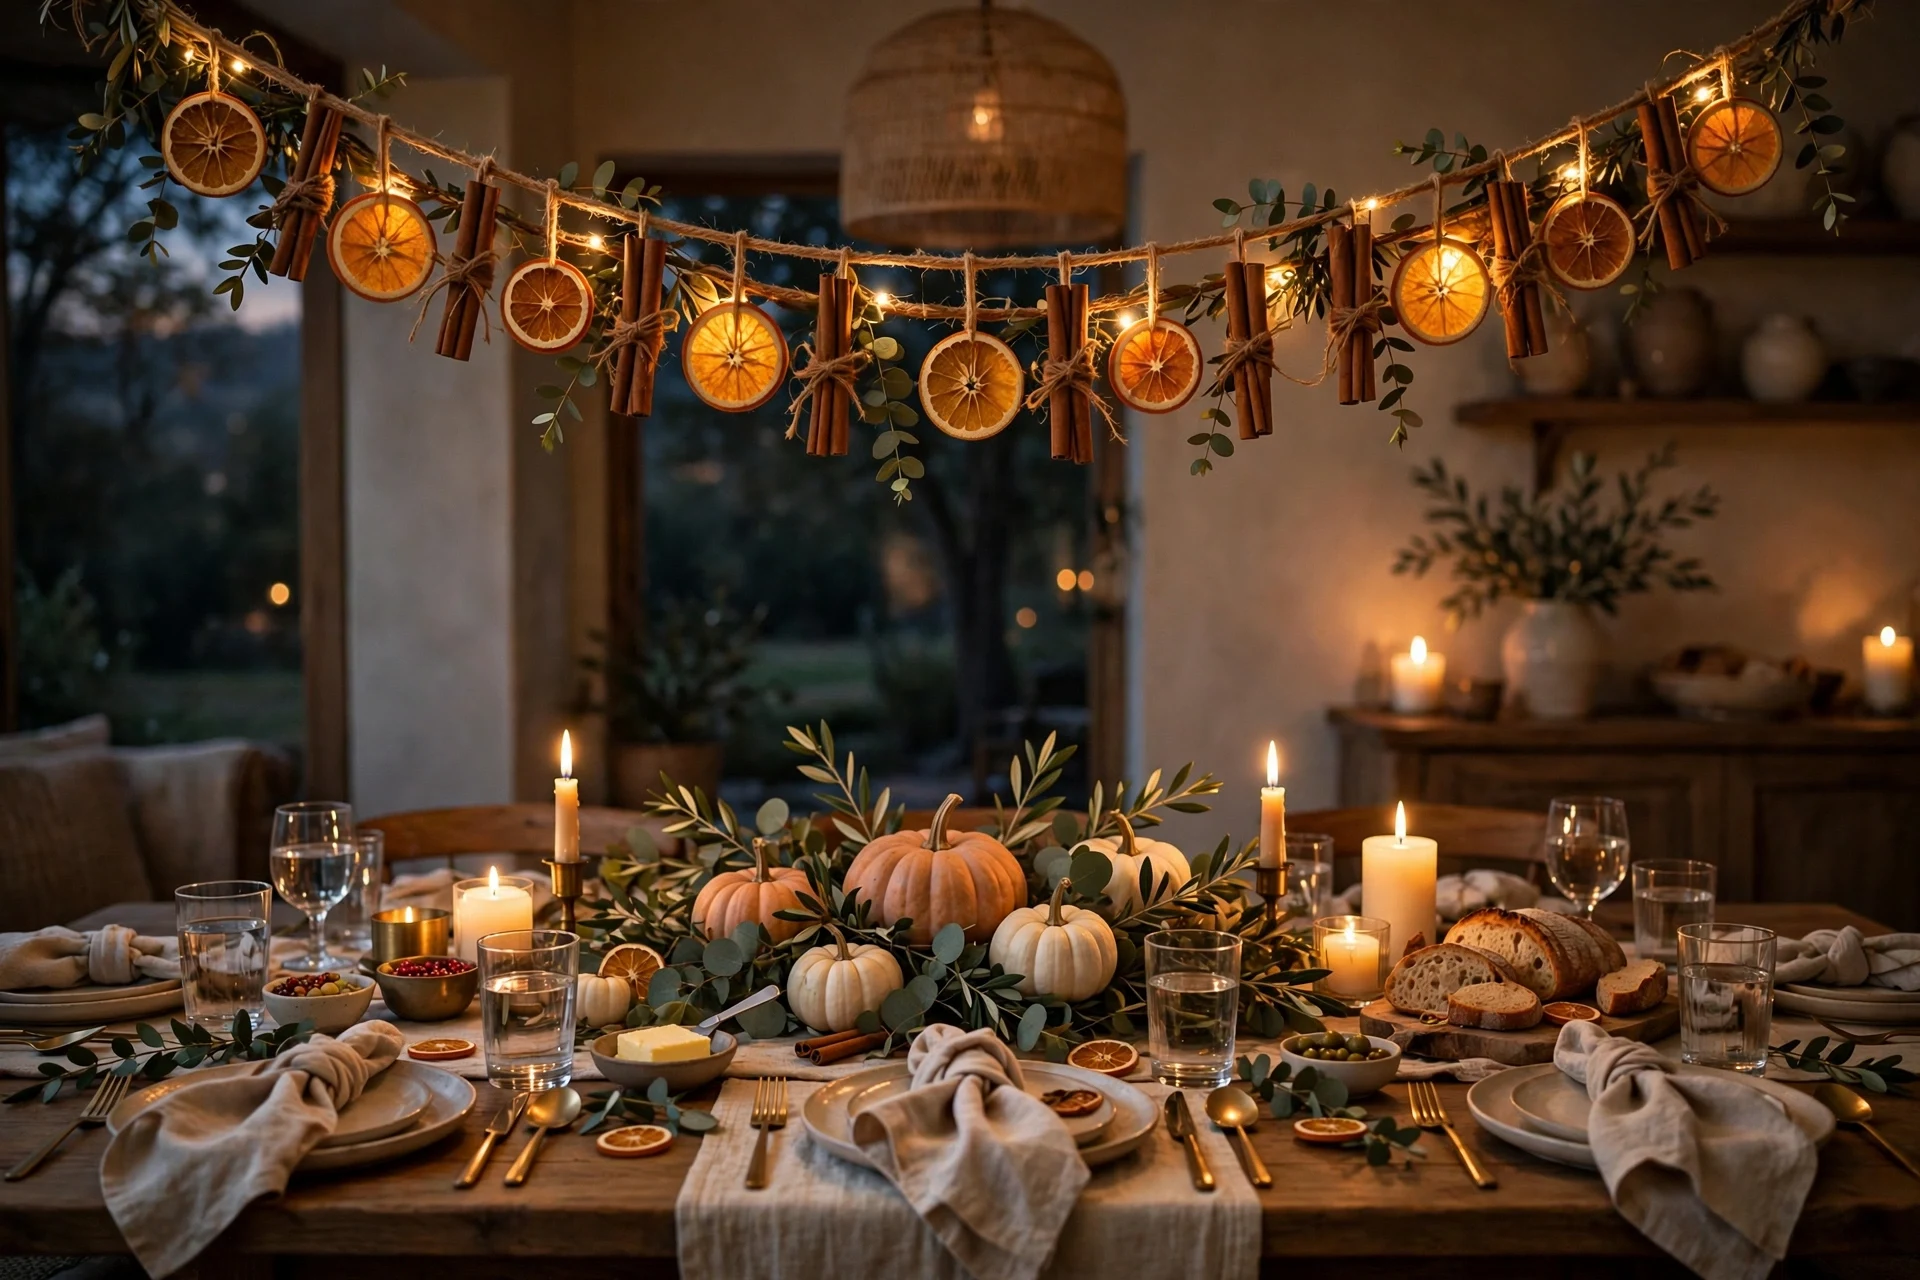
19. Hang a dried orange slice garland above the table. Dried orange slices threaded on twine, mixed with cinnamon sticks and dried eucalyptus, strung across the table at head height or draped in a gentle swag. It smells incredible, glows in the candlelight, and shows up first in every overhead photo. It pairs beautifully with my DIY thanksgiving decorations for the rest of the house.
20. Drape eucalyptus from the light fixture. A few long stems of fresh or faux eucalyptus laid over the chandelier or pendant light, ends hanging down unevenly. Dramatic, cheap, five minutes. Keep everything clear of hot bulbs, and use faux if your fixture runs warm. The hanging greenery frames the table in photos like a magazine shoot.
21. Hang paper lanterns or honeycomb balls in warm tones. Cream, amber, rust. Three or five at slightly different heights above the table. A few dollars total, zero table space, and they cannot be knocked over by an enthusiastic storyteller. Highest impact, lowest risk in the whole Above the Table zone.
Zone 5: The Landing (Where the Potluck Dishes Arrive)
22. Style the sideboard before a single dish arrives. Clear the sideboard or counter completely. Lay a runner, add two candles in hurricanes, put out a small “dishes land here” sign. When friends show up with six pans of mac and cheese and a slow cooker, the chaos has somewhere to go. An unstyled sideboard becomes a junk pile by 5 p.m. A styled one becomes a buffet.
23. Label every potluck dish with a place card. “Priya’s garlic mashed potatoes.” “The famous rolls (do not skip these).” Friends put real effort into their dishes, and a tent card gives them the credit they deserve. It also answers the allergy question without anyone asking awkwardly. Keep blank cards and a marker by the door for surprise dishes.
24. Hide the slow cooker cords under a pretty tea towel. Every Friendsgiving has a slow cooker keeping something warm, and the cord situation is never cute. Drape a tea towel or folded runner under and around the cooker. The cord disappears, the cooker looks intentional, and you lose one ugly detail from every photo.
The Finishing Touches (Ideas 25 to 27)
25. Start a simmer pot an hour before guests arrive. Orange slices, a cinnamon stick, a few cloves, a sprig of rosemary, in a pot of water on the lowest heat. The scent hits your friends before they even see the table. Scent is the most underrated layer of friendsgiving table decor and costs basically nothing. Set a timer so you do not cook it dry.
26. Dim the overheads and let the lamps and candles do the work. Lighting is decor, full stop. Turn off the harsh overhead, switch on every lamp, light the candles and fairy lights. A dim, warm room makes everyone look good and signals “this is a party, not a Tuesday.” I plan my lighting before my menu, every year.
27. Stage the before photo, then let go. Snap your perfect shot of the styled table, then stop fussing. Once friends arrive, the table will get beautifully messy, and that is the point. Take the after photo too. Side by side, they are the best Friendsgiving memory you will have.
The Spill Test: Making Your Friendsgiving Table Decor Survive the Night
Red wine spills. Gravy drips. Someone sets a hot pan on the runner. A candle gets knocked by an elbow. Nobody is being careful by 10 p.m. Here is how I bulletproof the table.
First, the kraft paper runner from idea 1 is your best friend. It catches drips, and you tear off the ruined section instead of scrubbing. If you use a real tablecloth instead, make it washable, dark or patterned, with a cheap plastic liner underneath.
Second, everything in the crash zone (the middle of the table, within elbow range) should be faux, washable, or replaceable. Real pumpkins at the table ends, faux pumpkins and battery candles in the middle, hurricanes around every open flame.
Third, keep a spill kit by the kitchen: club soda, table salt, a dark towel, a stain stick. Red wine on a cloth napkin is a five-minute fix if you act fast and a permanent souvenir if you do not. Salt on the spill, blot, club soda, done.
Fourth, coasters are not optional. A sweating cider pitcher rings your table in twenty minutes. Cork rounds are cheap, look great, and stack neatly after.
Fifth, plan the late night. By 11 p.m. the candles are guttering. Blow out the real flames before the last dessert, switch to flameless, and let the fairy lights carry the glow. Nothing ruins a great night like a candle incident at midnight.
Buy Once vs Buy Each November: The Friendsgiving Budget
Here is the money framework that keeps my Friendsgiving table under forty dollars a year. Buy once: glass hurricanes, one roll of kraft paper (lasts three years), flameless candles with a timer, cloth napkins in a neutral color, candle holders, a wide burlap runner, a metallic marker set. These are the bones, living in a box labeled “Friendsgiving” eleven months a year.
Buy each November: mini pumpkins and one oddball gourd, fresh eucalyptus or rosemary, a bag of oranges to dry for the garland, taper or votive candles to burn down. This is the fresh stuff that makes the table feel alive, and it should cost you twenty to thirty dollars total.
The expensive mistake is buying a whole new theme every year. Pick your palette once (mine is cream, amber, and deep green) and buy the fresh stuff in those colors each November. Your bones match everything and your wallet survives. FYI, the day after Thanksgiving is when the good candle holders go on clearance.
Small Table, Small Apartment: Friendsgiving Table Decor That Fits
Not everyone has a dining room. I hosted three Friendsgivings at a folding table in a studio apartment, and the table looked great every time. Here is how.
For a round table, skip the long runner and go radial: a round placemat or a wreath-style ring of greenery in the center, low and tight. Keep the drink station off the table entirely, on the kitchen counter, because every inch of a round table is prime real estate.
For a folding table, use a floor-length tablecloth. It hides the legs, the wobble, and the fact that it is a folding table. Style the top exactly like a real dining table. A rug underneath grounds the setup and makes it feel like a dining room.
For a narrow table or a bar counter, go single-file: one narrow runner, one line of low pumpkins and votives down the middle, place settings tight on both sides. It feels intimate instead of cramped, as long as the centerpiece stays low.
For seating, mix and match without shame: dining chairs, desk chairs, a bench, floor cushions with a low coffee table for the overflow crew. On a rug with a tray table, the cushions become the cool kids’ corner instead of the sad overflow. If friends spill into the living room after dinner, a few of my thanksgiving living room decor touches out there make the whole evening feel connected.
Troubleshooting: Quick Fixes for Common Friendsgiving Table Problems
The centerpiece blocks faces. Take the top third off. Move the tall pieces to the table ends. If it is still in the way, it moves to the sideboard. Faces beat flowers, every time.
The table is too crowded for the food. Move all serving to the sideboard buffet (Zone 5). The table holds plates, drinks, and decor only. This one change fixes ninety percent of crowded-table problems.
The candles are smoking. Trim every wick to a quarter inch before lighting, and keep candles away from drafts like open windows and the front door. A smoking candle will soot up your wall and your mood.
Red wine rings are appearing. Deploy the coasters from idea 15 immediately, and slide a folded paper napkin under any sweating pitcher. Future you says thank you.
Nothing matches and it looks chaotic. Commit to two colors on the spot. Pull everything that is not in those two colors off the table. Cream and amber, green and gold, rust and brown. A limited palette instantly makes chaos look intentional.
You ran out of chairs. A sturdy bench, an ottoman, floor cushions around a low table. Put the kids or the youngest friends at the low table and they will think it is the best seat in the house.
The whole table feels flat. Add glow. Light the candles, switch on the fairy lights, dim the overheads. Nine times out of ten, a flat-feeling table is just an underlit table.
Friendsgiving Table Decor FAQs
What is the difference between Friendsgiving table decor and Thanksgiving table decor?
Friendsgiving table decor is casual, budget-friendly, and built for a crowd of friends: kraft paper runners, mismatched plates, potluck buffet styling, spill-proof choices. Traditional thanksgiving table decor is more formal: matching china, tall centerpieces, a served meal. Both are beautiful; they solve different problems.
How do I decorate a Friendsgiving table on a tight budget?
Buy the bones once (hurricanes, flameless candles, cloth napkins, kraft paper roll) and only fresh items each November (mini pumpkins, eucalyptus, oranges to dry). Twenty to thirty dollars a year after the first setup. The kraft paper runner, pumpkin name cards, and gratitude jar are nearly free and high impact.
How early should I set up my Friendsgiving table?
Style the bones (runner, hurricanes, napkins, name cards) the night before or morning of. Add the fresh stuff (pumpkins, greenery, rosemary) a few hours before guests arrive. Light the candles and start the simmer pot one hour before the doorbell. Never light real candles early if you are still cooking; it is one flame too many to track.
What do I do with all the potluck dishes cluttering the table?
Keep serving dishes off the dining table. Style a sideboard or counter as the buffet landing zone before anyone arrives, with a runner, candles, and a “dishes land here” sign, and label each dish with a tent card. The table stays beautiful and you are not playing musical pans all night.
How do I make my Friendsgiving table look good in photos?
Three things: keep the centerpiece low so faces show, add glow (candles, fairy lights, dimmed overheads), and style one layer above the table (a garland or paper lanterns) to fill the background of every shot. Take the before photo, then relax and take the messy after photo too. The pair is the best memory.