25 Kitchen Backsplash Decor Ideas That Make Your Kitchen Look Custom and Expensive
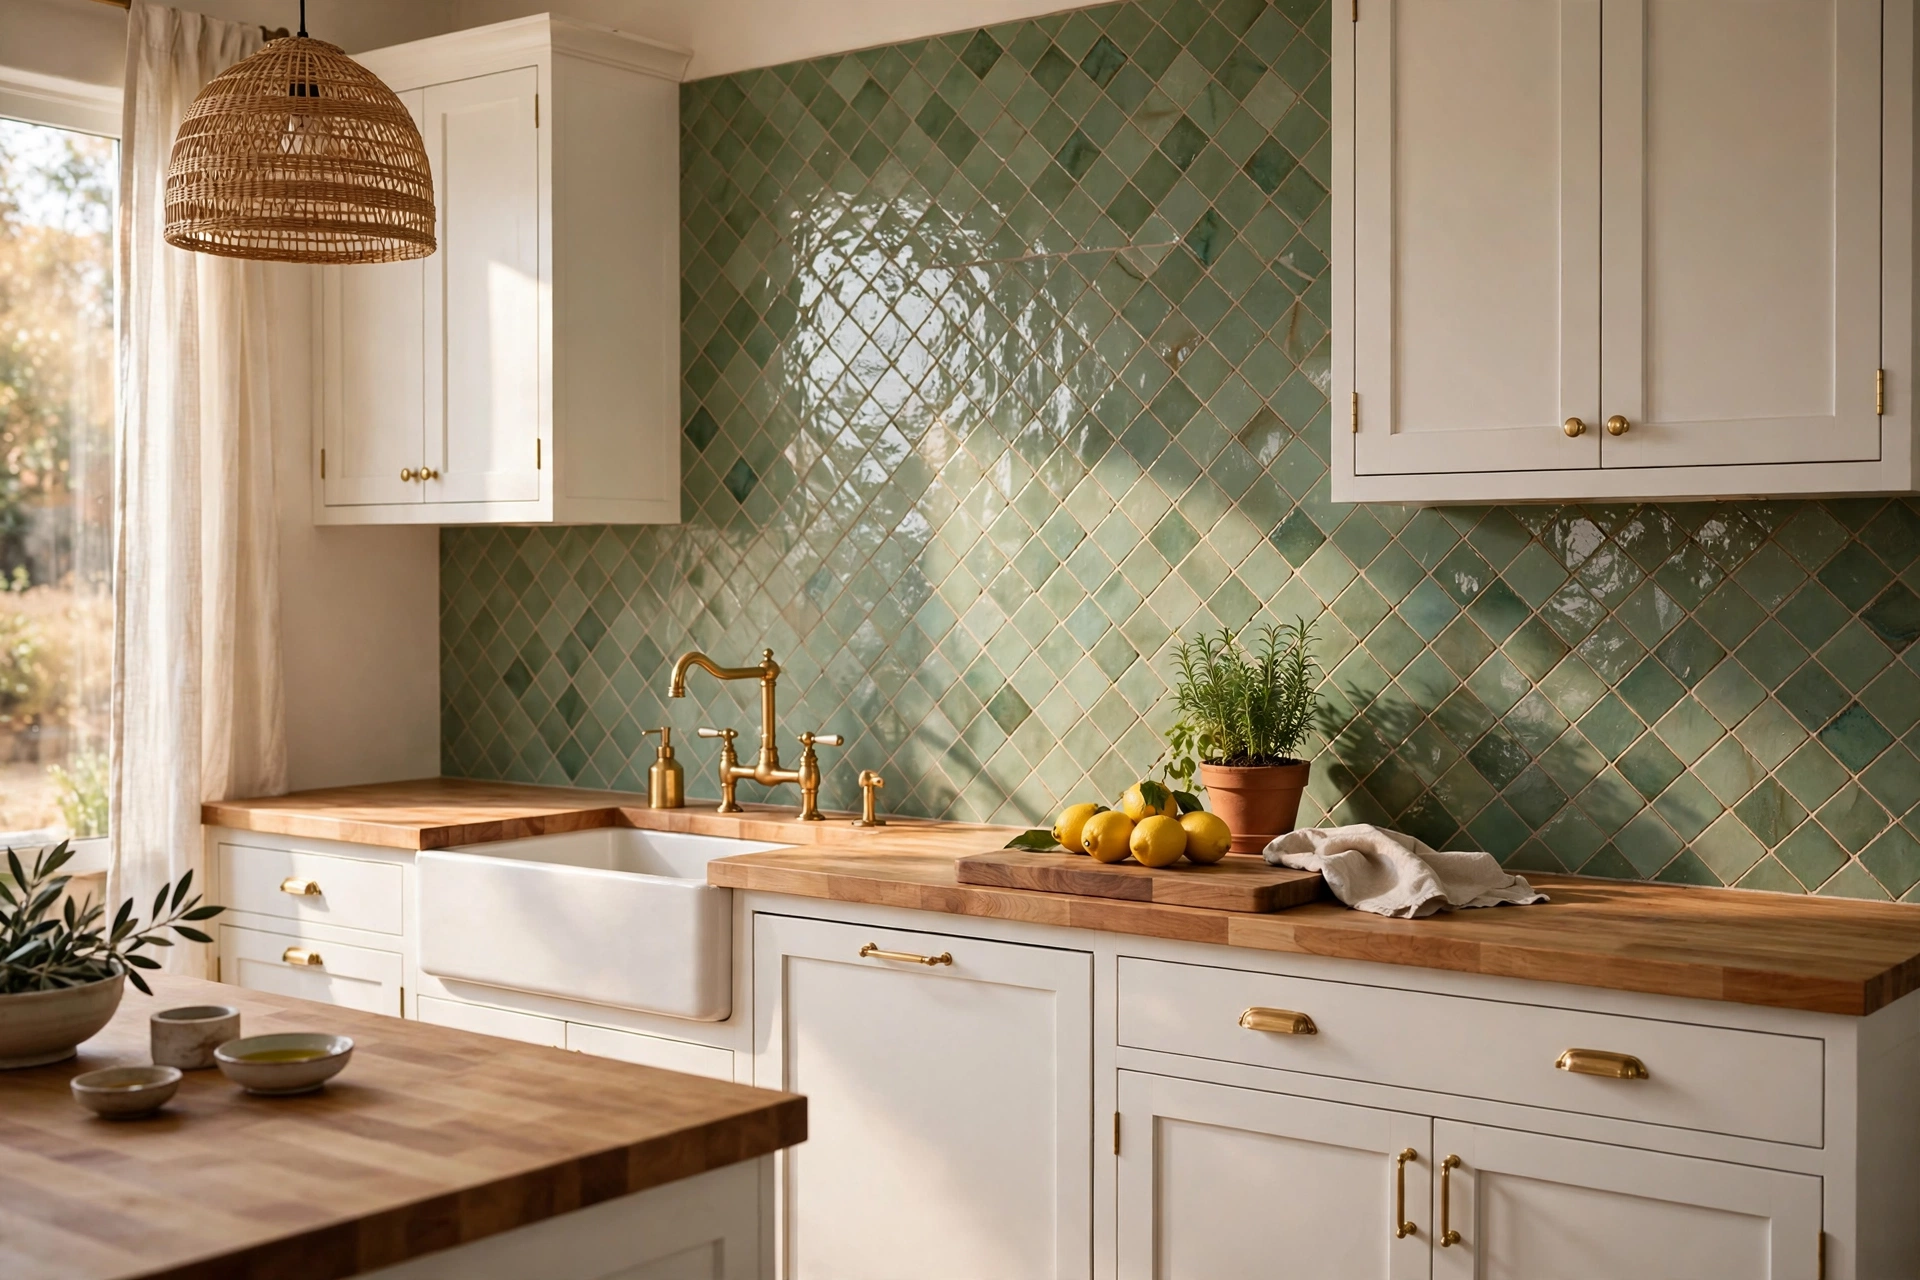
The first kitchen I ever tried to fix up had a backsplash that looked like it came free with the house. Plain white squares, gray grout, and a little chip right behind the stove where someone had dropped a pan years before I moved in. I painted the cabinets, I swapped the hardware for brass pulls, I even bought a pretty rug for the floor. It still looked like a rental. Then one Saturday I pulled off that tired old tile and put up a handmade-look backsplash in a soft green glaze, and the whole room changed overnight. Same cabinets, same counters, same light. The only thing different was the 3-foot band of wall between the counter and the cabinets, and suddenly my kitchen looked like someone had designed it on purpose.
That is the secret nobody tells you about kitchen backsplash decor. The backsplash is the smallest surface in the room and the one your eye reads first. You stand at the stove and it fills your view. You sit at the table and it frames the whole kitchen behind you. Get that one band right and everything else in the room looks more expensive, even if you changed nothing else. These 25 kitchen backsplash decor ideas are the ones I would use again, from handmade tile to full slabs of stone to a $40 paint job that fools everyone. They work in big kitchens, small apartments, and rented kitchens where you cannot touch a thing. Pick the one that fits your budget and your nerve, and your kitchen will never look builder-grade again.
Tile, Trim, Light: My Three-Part Backsplash Formula
Before we get to the ideas, here is the formula I use for every backsplash, new build or weekend refresh. I call it Tile, Trim, Light. Tile is your surface, the material and pattern that does the talking. Trim is your edge, the pencil liner, the brass strip, or the clean finished edge that makes the tile look installed on purpose instead of just stuck on a wall. Light is the under-cabinet lighting that makes the whole thing glow after dark, because a backsplash you cannot see at dinner is a backsplash you paid for twice.
When a backsplash looks flat, it is almost always missing one of the three. Gorgeous tile with a raw, unfinished edge looks like a job that ran out of money. A neat edge with no light looks dull the moment the sun goes down. And the brightest light in the world cannot save a tile you picked in a hurry. Check every backsplash against Tile, Trim, Light before you commit, and you will never wonder why the room still feels unfinished. FYI, this same formula works in the bathroom too, which is why my coastal bathroom decor ideas lean on the same three parts. And if your cabinets need the same treatment, my sage green kitchen decor ideas show how one color can carry a whole room.
Statement Kitchen Backsplash Tile That Does the Talking
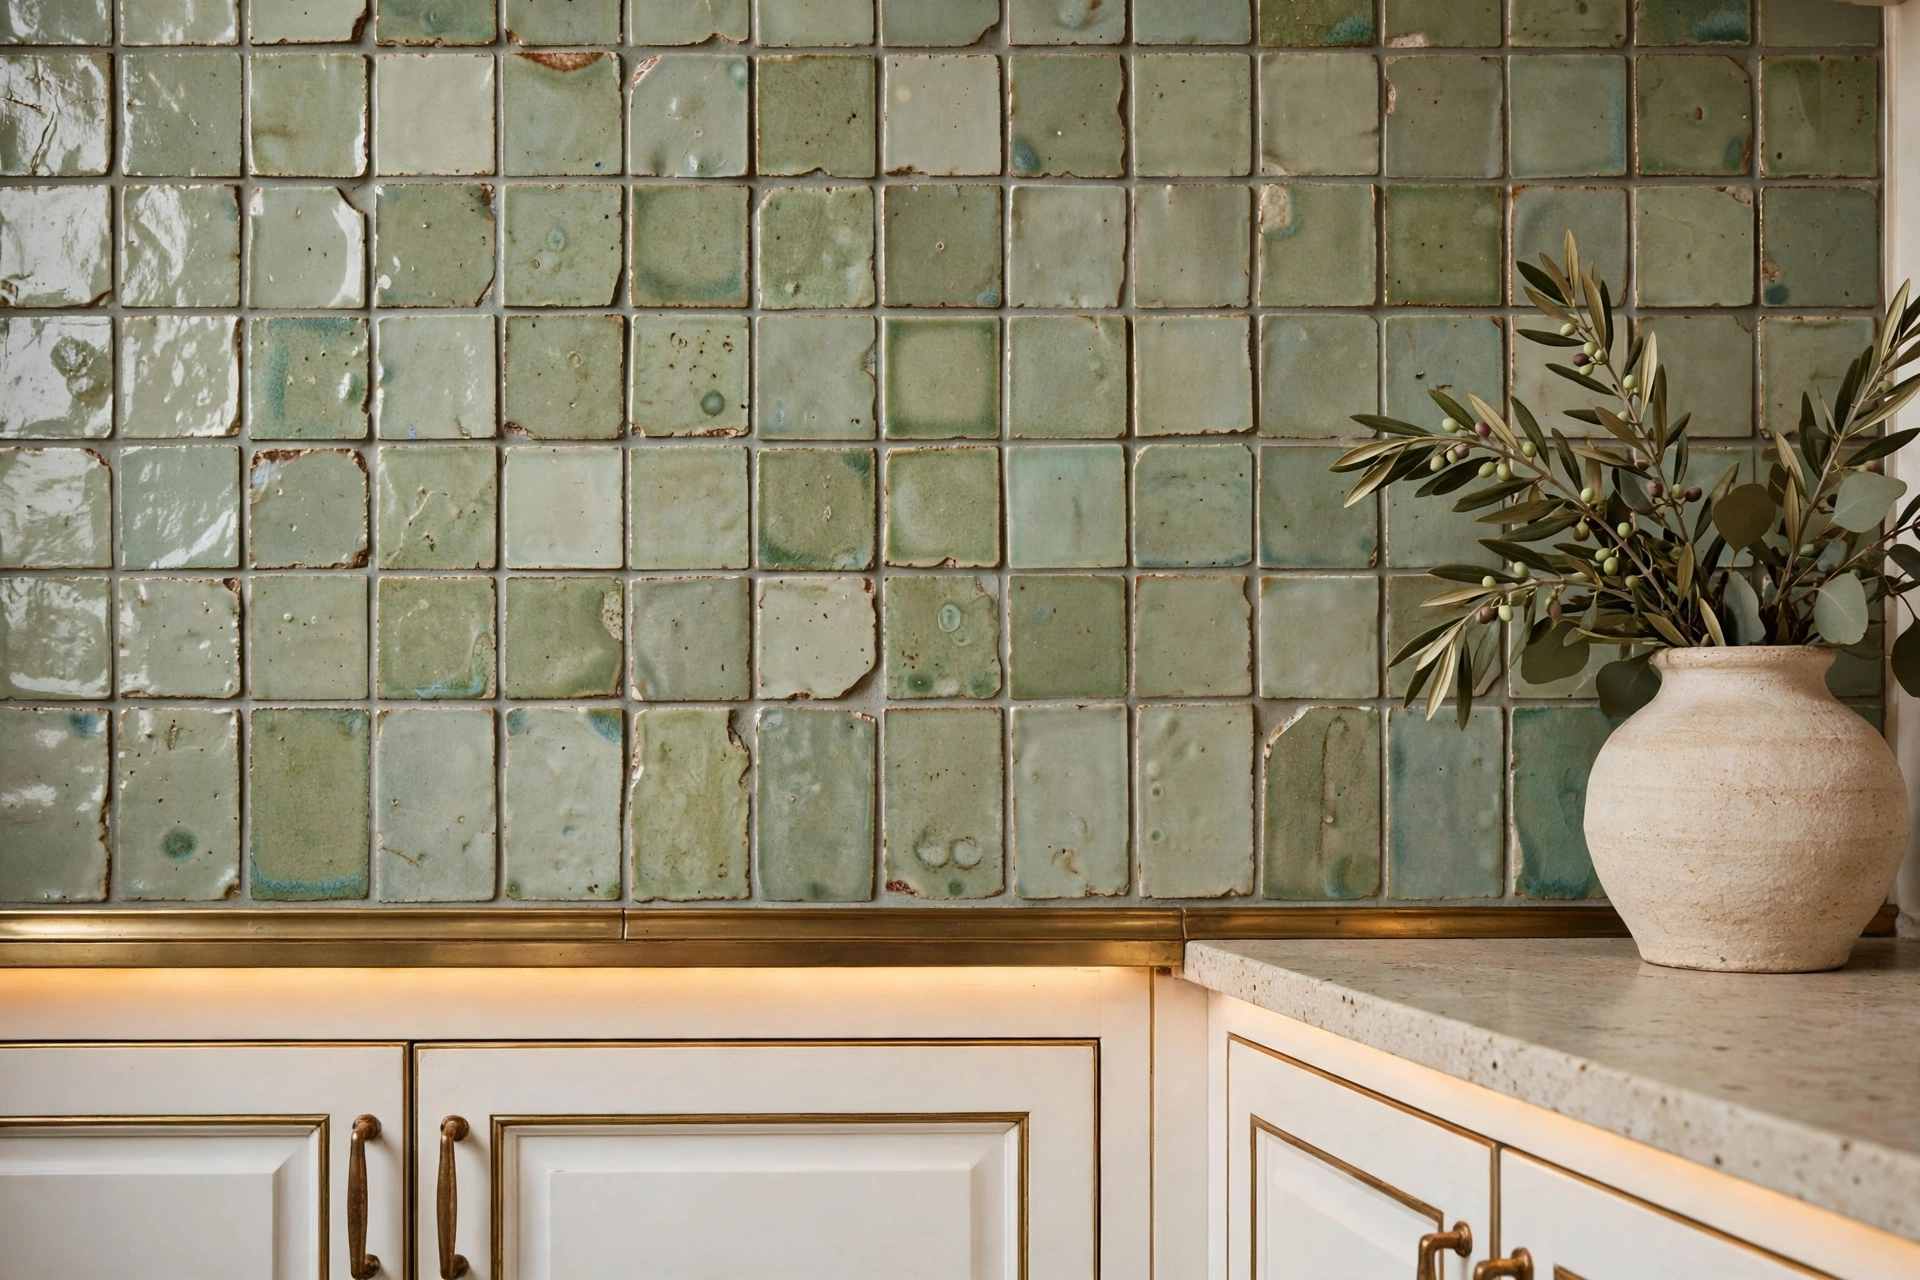
1. Handmade-Look Zellige Tile in a Soft Glaze
Zellige is the tile that made me fall in love with backsplashes. Each square has a slightly different glaze, so the wall catches the light in a hundred little ways instead of one flat shine. It looks handmade because it is, or at least it looks that way, and that imperfection is the whole point. Pick a soft green, a warm cream, or a dusty blue, and keep the grout close to the tile color so the glaze does the talking. It costs more than basic subway tile, but you need so little of it that the splurge stays small. This is my first pick when someone asks me where to spend the money.
2. Classic Subway Tile, Laid Sideways or Stacked
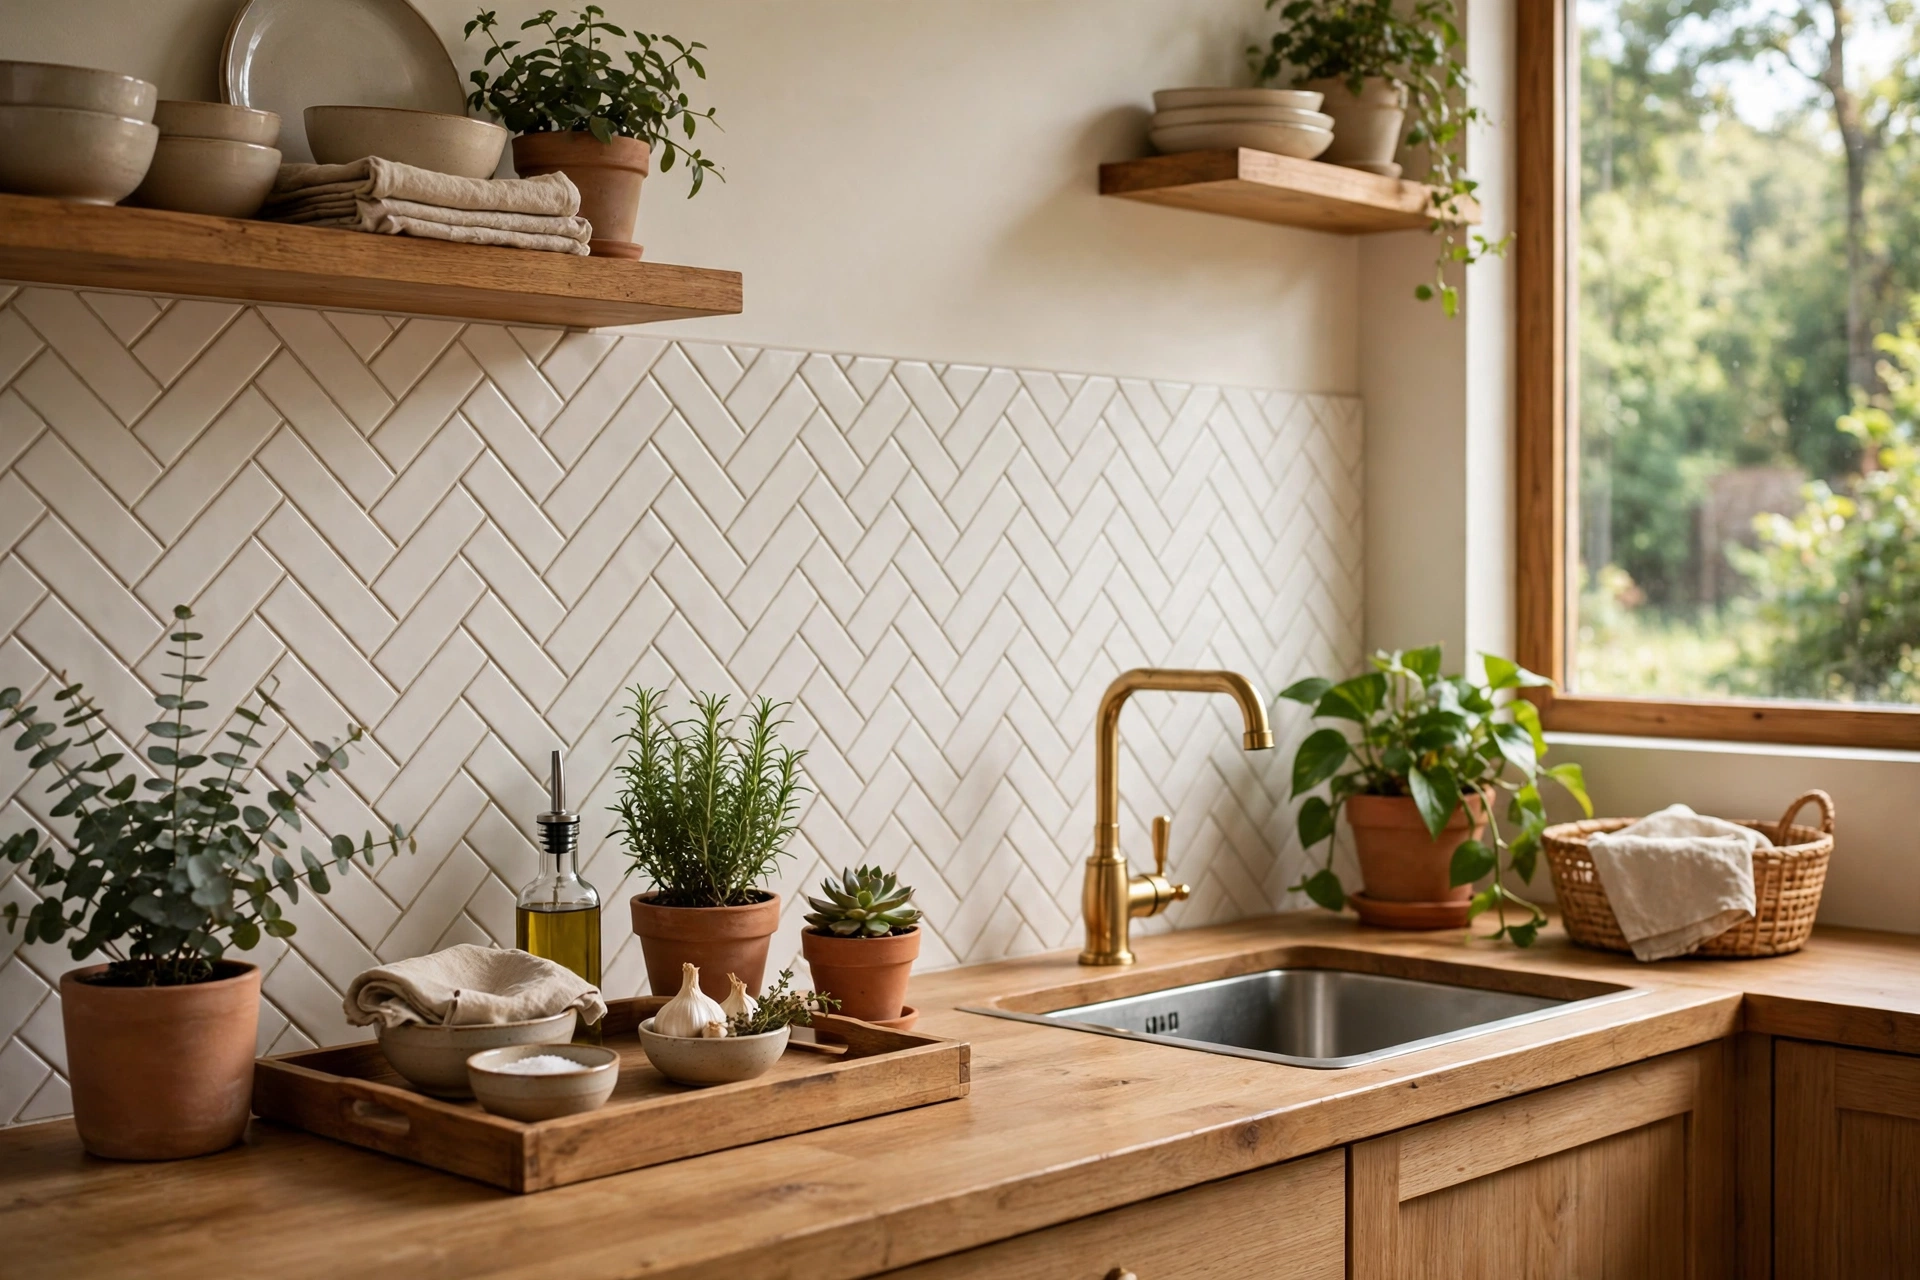
Subway tile is the most common backsplash in America, and it is common for a reason. It is cheap, it is durable, and it cleans up with a wipe. The trick is to lay it differently. Stack it in straight columns instead of brick pattern and it looks modern. Turn it vertical and the kitchen feels taller. Run it in a herringbone band behind the range and the plain field suddenly has a focal point. Same tile, three different kitchens. I like a handmade-look subway with a slightly wavy surface, because it catches the light the way flat tile never does.
3. Herringbone That Feels Custom the Moment You Walk In
Herringbone is the pattern that makes guests ask who designed your kitchen. It takes the same rectangular tile as a subway backsplash and turns every piece at 45 degrees, so the wall gets a woven, almost fabric-like texture. It costs more to install because the cuts are fiddly, so here is my trick: run herringbone only behind the range, in one framed panel, and use a simple stacked pattern for the rest of the wall. You get the custom look where the eye lands and you save the install budget where it does not show.
4. A Mosaic Moment Behind the Range
The wall behind your range is the stage of the kitchen, so give it a star. A small mosaic panel, marble, glass, or a mix of both, framed by plain tile on either side, turns the stove wall into art. Keep the mosaic to one panel about as wide as the range hood, and keep the rest of the backsplash quiet. I have seen kitchens where the mosaic ran the whole wall and it felt like a casino. One panel, framed with a thin brass or marble liner, looks like a designer chose it. It also hides splatters beautifully, which is the real reason I love it.
5. Patterned Cement Tile for a Bold, Old-World Feel
Patterned cement tile is the loudest idea on this list, and in the right kitchen it is the best one. Big graphic patterns, star shapes, Moroccan geometry, in two or three colors that pull from your cabinets and counters. It works best when everything else in the kitchen is calm: plain cabinets, a quiet counter, simple hardware. Let the tile be the only pattern in the room. Seal it well, because cement tile is porous and tomato sauce is not forgiving. IMO, this is the backsplash for someone who wants their kitchen to have a point of view.
Stone and Slab: The Seamless, Expensive Look
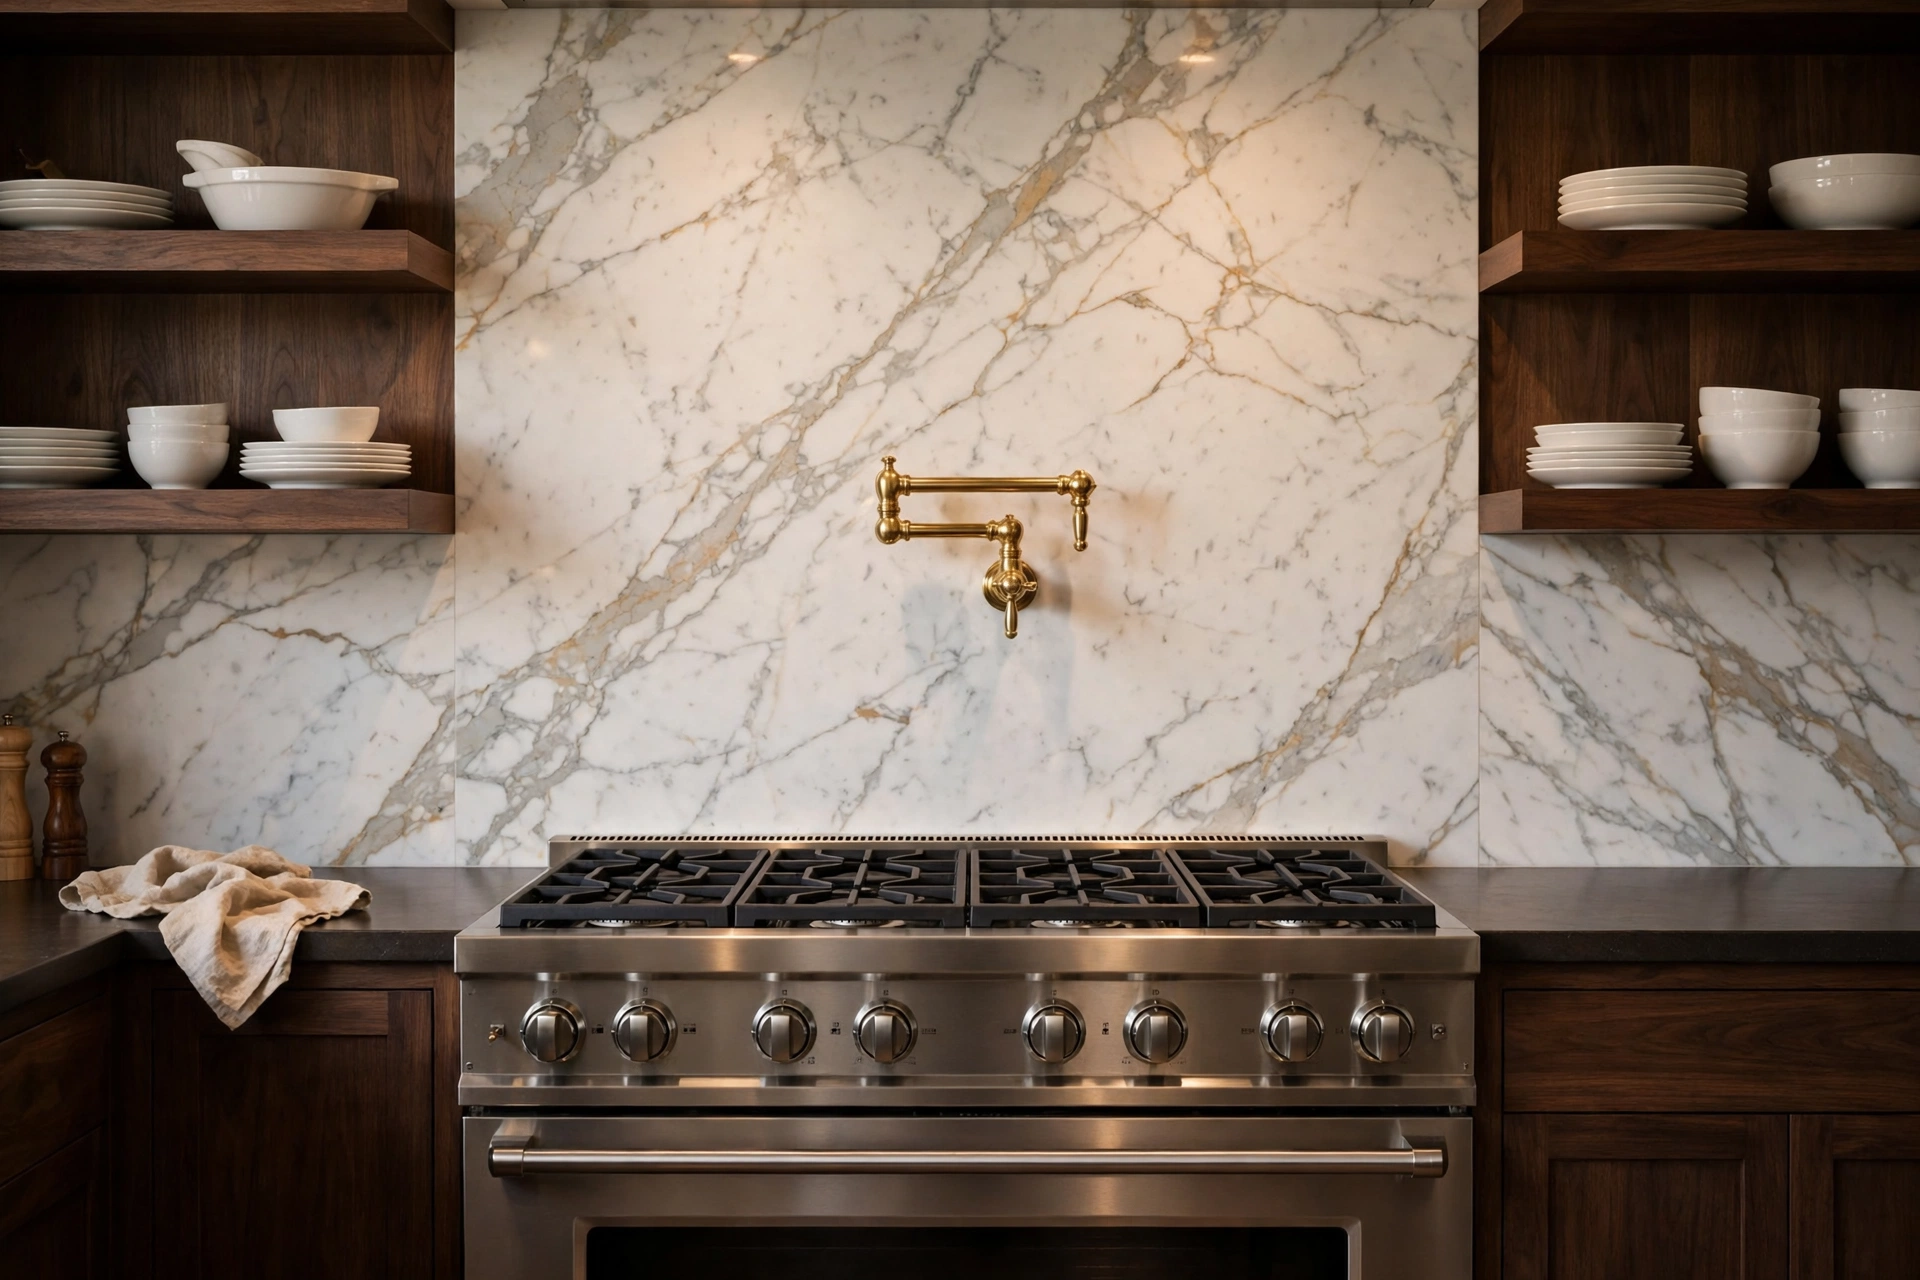
6. A Full-Height Marble Slab Behind the Range
If you want your kitchen to look like it belongs in a magazine, run one full slab of marble from the counter all the way to the ceiling behind the range. No grout lines, no pattern repeat, just one big piece of stone with veins that look like a painting. It is the most expensive idea on this list, so use it where it counts: one wall, behind the range, framed by plain tile or painted wall on the sides. Ask the stone yard about remnants. A single slab offcut can cover a range wall for a fraction of the price of a full countertop order.
7. Quartzite That Looks Like Marble but Acts Tougher
Quartzite is my honest recommendation for anyone who loves marble but cooks like a real person. It looks almost identical, soft white with gray or gold veining, but it is harder, less porous, and far more forgiving of lemon juice, wine, and tomato sauce. It costs about the same as marble, so the choice is not about price, it is about how you live. If you wipe up spills the same day, marble is fine. If you are the kind of cook who finds the splatter the next morning, quartzite will forgive you.
8. A Butcher Block Backsplash for Warmth
Wood on the wall behind the stove sounds wrong until you see it done right. A butcher block backsplash, sealed with a food-safe oil finish, brings a warmth that no tile can match. It pairs beautifully with white cabinets and black hardware, and it makes a modern kitchen feel like a farmhouse without a single chicken figurine. Keep it away from direct flame, seal it every year, and wipe it down like a cutting board. It is the coziest backsplash on this list, and the one that gets the most compliments from people who touch it.
9. Soapstone for a Soft, Moody Kitchen
Soapstone is the quiet luxury of backsplashes. It starts out a soft gray-green, darkens with use, and develops a patina that tells the story of your kitchen. It never needs sealing, it shrugs off heat, and it looks better the older it gets. Pair it with dark cabinets for a moody, old-house feel, or with white cabinets for a soft contrast that never shouts. It is not cheap, but a soapstone backsplash is one of those choices you make once and never think about again.
Color That Makes the Kitchen Yours
10. Sage Green Tile for a Calm, Collected Kitchen
Sage green is the color I reach for when a kitchen feels too stark. It is soft enough to live with for years and interesting enough that nobody calls it boring. A sage backsplash with white cabinets and brass hardware is the combination I recommend most, because it works in every light and never goes out of style. If you want the full look, my sage green kitchen decor ideas carry the color through the whole room, from cabinets to textiles.
11. Terracotta and Warm Clay Tones
Terracotta is the warmest color you can put on a kitchen wall, and it is having a real moment right now. A terracotta backsplash turns a white kitchen into a Mediterranean courtyard and a wood kitchen into a Tuscan farmhouse. Keep the grout warm, not bright white, or the tile will look like a checkerboard. Pair it with wood open shelves and a few clay pots, and the whole room smells like Sunday sauce even when the stove is off. My terracotta kitchen decor ideas show how the color works across the whole space.
12. Deep Navy That Grounds White Cabinets
A deep navy backsplash is the fastest way to make white cabinets look intentional instead of default. The dark color anchors the room, hides splatters better than any light tile, and looks incredible with brass hardware and warm wood. The trick is light: navy needs good under-cabinet lighting or it can feel like a cave after dark. Add a warm LED strip under the cabinets and the navy turns into a jewel tone at dinner time. It is the boldest color on this list, and the one I would pick for a small kitchen that needs drama.
13. A Bold Black Backsplash, Done Right
Black tile scares people, and I understand why. Done wrong it looks like a chalkboard. Done right it looks like a boutique hotel. The secret is texture: matte black handmade tile with a slight sheen variation, or glossy black subway with light grout so the pattern reads. Keep the counters light, keep the cabinets light, and let the black band be the one dark line in the room. It hides every splatter, it makes brass hardware pop, and it photographs like a dream.
Budget Kitchen Backsplash Moves That Look Like a Splurge
14. Peel and Stick Tile That Actually Fools People
Peel and stick tile used to look like a sticker, and frankly it was. The new generation is different. Thick vinyl tiles with real texture, beveled edges, and grout lines that look real from two feet away. The trick is in the install: clean the wall with rubbing alcohol first, use a level for the first row, and press every tile firmly with a rolling pin so the edges seal. I have seen peel and stick backsplashes that fooled contractors. It is the best option for renters, and the best option for anyone who wants to try a bold pattern without committing to it forever.
15. Paint It: The $40 Backsplash Refresh
Here is the cheapest idea on this list, and it is not even close. A quart of tile paint, a good primer, and a Saturday afternoon can take a dated backsplash from beige 1998 to fresh and modern. Clean the tile with a degreaser, scuff it lightly with sandpaper, prime, and paint two thin coats. Use a semi-gloss or gloss finish so it wipes clean. I would not paint the wall directly behind the range, where the heat is highest, but everywhere else it holds up beautifully for years. Forty dollars, one weekend, a whole new kitchen.
16. Beadboard for Instant Cottage Charm
Beadboard is the backsplash for a kitchen that wants to feel like a cottage, not a showroom. Painted white or soft cream, it adds texture and warmth for very little money, and it installs with a nail gun and a saw. Seal it well, especially near the sink, because beadboard and standing water are not friends. Pair it with a farmhouse sink and open shelves and the room feels like it has been loved for decades. It is also one of the few backsplashes you can install in a single afternoon.
17. A Shelf Ledge Instead of Full Tile
Sometimes the best backsplash is barely a backsplash at all. A short 4-inch tile or stone ledge, topped with a slim open shelf, gives you a place for pretty things, a cutting board, a jar of wooden spoons, a tiny plant, while the wall above stays painted and calm. It costs a fraction of a full-height backsplash, it is easy to change, and it makes the kitchen feel styled rather than tiled. This is my pick for a kitchen where the budget is tight but the taste is not.
The Details Around the Tile
18. Brass Trim That Frames the Tile Like Art
A thin strip of brass trim along the top edge of your backsplash is the jewelry of the kitchen. It costs almost nothing, it installs in minutes, and it turns a plain tile edge into a finished picture frame. Use it where the tile meets the painted wall, or to frame a mosaic panel behind the range. Keep the finish consistent with your faucet and hardware, or the room will have too many metals arguing with each other. One metal, used three times, looks like a plan.
19. Under-Cabinet Lighting That Makes the Tile Glow
Under-cabinet lighting is the single best money you can spend after the tile itself. A warm LED strip, tucked under the cabinet so you see the glow and not the bulb, makes handmade tile shimmer, makes dark tile readable, and makes the whole kitchen feel warm at 7 in the evening. Choose a warm color temperature, around 2700K, or the light will look like an office. Put it on a dimmer if you can. This is the detail that makes guests say your kitchen feels expensive without knowing why.
20. Grout Color Is a Design Choice, Not an Afterthought
Most people let the installer pick the grout color, and that is a mistake. White grout on white tile looks seamless and calm. Dark grout on white tile makes every tile pop and hides stains forever. Colored grout, a soft gray or a warm beige, can tie the tile to the counter in a way nothing else can. My rule is simple: if you want the pattern to show, use contrast grout. If you want the color to show, match the grout to the tile. And seal it. Unsealed grout behind a stove is a stain waiting to happen.
21. Pretty Outlet Covers and Switch Plates
Nothing ruins a beautiful backsplash like a cracked plastic outlet cover. Swap them for brass, matte black, or a cover that matches your tile, and the wall looks finished instead of interrupted. If your outlets sit in the middle of the tile field, ask your electrician about outlets mounted under the cabinets instead. It costs a little more and it is worth every penny, because the tile stays unbroken and the counters stay clear of cords.
Small Kitchens, Renters, and Real Life
22. Small Kitchen? Go Light, Glossy, and Up to the Ceiling
A small kitchen needs a backsplash that makes the room feel bigger, not busier. Light colors, glossy finishes, and a run that goes all the way to the ceiling will stretch the wall upward and bounce light around the room. Skip the busy pattern and let the shine do the work. A glossy white or pale green tile, run to the ceiling behind the range, makes a galley kitchen feel twice as tall. It is the opposite of what most people do, which is why it works so well.
23. Renter-Friendly Backsplash Tricks That Leave No Trace
If you rent, you can still have a beautiful backsplash. Peel and stick tile comes off cleanly when you move, and so does a painted foam board cut to fit behind the stove. My favorite renter trick is a large framed piece of pretty tile, leaned against the wall behind the range like art. It protects the wall, it looks intentional, and it moves with you to the next kitchen. Ask your landlord first, take photos before and after, and you will get your deposit back with a kitchen that looked loved.
24. The One-Wall Wonder: Tile Just the Range Wall
You do not have to tile the whole kitchen. Tiling just the range wall, the one everyone looks at, gives you 80 percent of the impact for 30 percent of the cost. Run the tile from the counter to the ceiling, frame the edges neatly, and leave the rest of the walls painted. It looks like a deliberate design choice, not a budget compromise, because it is a deliberate design choice. This is the move I recommend when the budget is real but the taste is high.
25. Mix Two Materials Without Making a Mess
The last idea is the one that ties the whole list together. Mixing two materials, tile plus stone, or tile plus wood, works when one of them is quiet and the other does the talking. A marble slab behind the range with simple subway tile on the sides. A wood ledge above a plain tile field. The mistake is mixing two loud materials, patterned tile plus veined marble, and letting them fight. Pick your star, pick your supporting player, and let the quiet one make the loud one look even better. That is how a kitchen looks designed instead of decorated.
The Splash Test: My Final Check Before You Commit
Before you order a single box of tile, do the Splash Test. Stand at your stove with a wooden spoon in your hand, like you are mid-recipe, and look at the wall. Now imagine a pot of tomato sauce bubbling over, a splash of olive oil, a spray of lemon juice. Can you wipe that wall clean in ten seconds with a damp cloth? Does the material forgive you, or does it stain, chip, or need a special cleaner you will never buy? If the answer is yes, it wipes clean and still looks good, you have found your backsplash. If the answer is no, keep looking, no matter how pretty the sample is. A backsplash is the one wall in your house that gets cooked on, so beauty that cannot take a splash is not beauty, it is a chore. IMO, the Splash Test has saved me from more bad decisions than any design magazine ever has.
Keeping It Clean: The Backsplash Durability Check
A backsplash lives a hard life, so pick for durability as much as for looks. Glazed ceramic and porcelain wipe clean and never need sealing. Natural stone needs sealing once a year and a pH-neutral cleaner, never vinegar, which eats the finish. Cement tile needs sealing before grouting and after, or it will drink up every stain. Wood needs oil and a wipe-down after cooking. Grout, whatever the tile, needs sealing too, especially behind the stove and sink. FYI, the backsplash you love on day one is the backsplash you will clean on day one hundred, so choose the one you will still like wiping down when you are tired and the sauce is everywhere.
Buy Once or Refresh? A Simple Budget Guide
Here is how I think about backsplash money. Buy once: the tile itself, the slab, the trim, and the lighting. These are the things that are hard to change, so spend where it lasts. A $200 box of handmade tile is a buy-once splurge that pays you back every day. Refresh each season: the styling on the ledge, the little plant, the cutting board leaning against the wall. Those are the things you can swap for free. If your budget is under $100, paint or peel and stick will transform the room. Between $100 and $500, a good porcelain tile and new trim will too. Over $500, you are in slab and handmade tile territory, and the kitchen will look like a different house. There is no wrong budget here, only a wrong material for the way you cook.
Troubleshooting: When the Backsplash Fights Back
A few honest fixes for the problems I hear about most. Tiles popping off? The wall was probably dusty or greasy when they went up, so clean it properly and use the right adhesive for the tile weight. Grout turning yellow behind the stove? It was never sealed, so clean it, seal it, and the problem stops. Peel and stick lifting at the edges? The wall was not clean enough, or the room is too steamy, so press it down with a rolling pin and add a thin bead of clear caulk along the top edge. Tile that looks great in the store and wrong at home? You picked it under showroom light. Always take the sample home, tape it to the wall, and look at it in morning light, evening light, and under your own under-cabinet lighting before you order. And if the backsplash clashes with the counter, the counter wins, so pick a tile that pulls one color from the stone and let that be the link. If your counters need attention too, my Christmas kitchen decor ideas show how a seasonal refresh can tie the whole kitchen together, and my kitchen island decor ideas cover the other surface everyone touches.
Frequently Asked Questions
What is the most popular kitchen backsplash right now?
Handmade-look tile in soft colors is the most popular choice right now, especially zellige and glossy subway tile in sage, cream, and dusty blue. Full-height stone slabs are close behind for higher budgets. Both looks work because they add texture without shouting, and they pair with almost any cabinet color.
How much does a kitchen backsplash cost?
A DIY peel and stick or painted backsplash costs $40 to $150 for a standard kitchen. A professionally installed ceramic or porcelain tile backsplash usually runs $800 to $2,000 including labor. A full-height stone slab behind the range can cost $1,500 to $4,000 depending on the stone. The tile itself is often the cheapest part, labor and trim are where the money goes.
What backsplash is easiest to clean?
Glazed ceramic and porcelain tile are the easiest to clean, because nothing soaks in and a damp cloth handles most splatters. Large-format tile and full slabs are even easier, since they have fewer grout lines to scrub. Avoid unsealed natural stone and cement tile if you hate cleaning, or seal them properly and keep a pH-neutral spray by the stove.
Can I install a kitchen backsplash myself?
Yes, for peel and stick tile, paint, and beadboard, most homeowners can do it in a weekend with basic tools. Traditional tile needs a wet saw, a level, and patience, and the cuts around outlets are the tricky part. If you have never tiled before, practice on a small wall first, or hire a pro for the range wall and do the rest yourself.
How high should a kitchen backsplash go?
The standard height is 18 inches, from the counter to the bottom of the upper cabinets. Going full height to the ceiling behind the range is the most popular upgrade right now, because it makes the kitchen feel taller and more custom. In a kitchen with no upper cabinets, a full-height backsplash or a short ledge with open shelving both look intentional.
A backsplash is a small thing, but it does a big job. It protects your walls, it frames your cooking, and it tells everyone who walks into your kitchen that someone here cares about the details. Pick one idea from this list, do the Splash Test, and order the sample. Tape it to the wall, live with it for a week, and watch it in morning light and evening light. When it still makes you smile on day seven, you have found your backsplash. Your kitchen will thank you every time you cook, and so will everyone who ever eats at your table.