25 Halloween Party Decor Ideas for a Memorable Celebration
The first Halloween party I hosted in our house, I bought three bags of decorations on the way home from work and put up all of them. Bats on every wall, a plastic skeleton on the porch, orange garland over the doorway, a fog machine I had never tested, and a table so crowded that nobody had room for a plate. My friend Rachel arrived, looked around, laughed, and said, “It looks great, but where do we sit?” She was right. The party was fun, but the decor was in the way. That night taught me the rule I still use for halloween party decor: decorate the path guests actually walk, and leave the rest alone.
That is why I now plan every party around what I call the Guest Path. It has five stops: Door, Drink, Table, Photo, and Goodbye. Guests arrive at the door, they get a drink, they sit at the table, they take a photo somewhere, and they leave through the same door. If each of those five stops has one clear moment, the whole party feels decorated, even if the rest of the house is almost normal. If one stop is empty, guests notice, even if the walls are covered in bats. IMO, this is the difference between a house that looks like a Halloween store and a house that feels like a party.
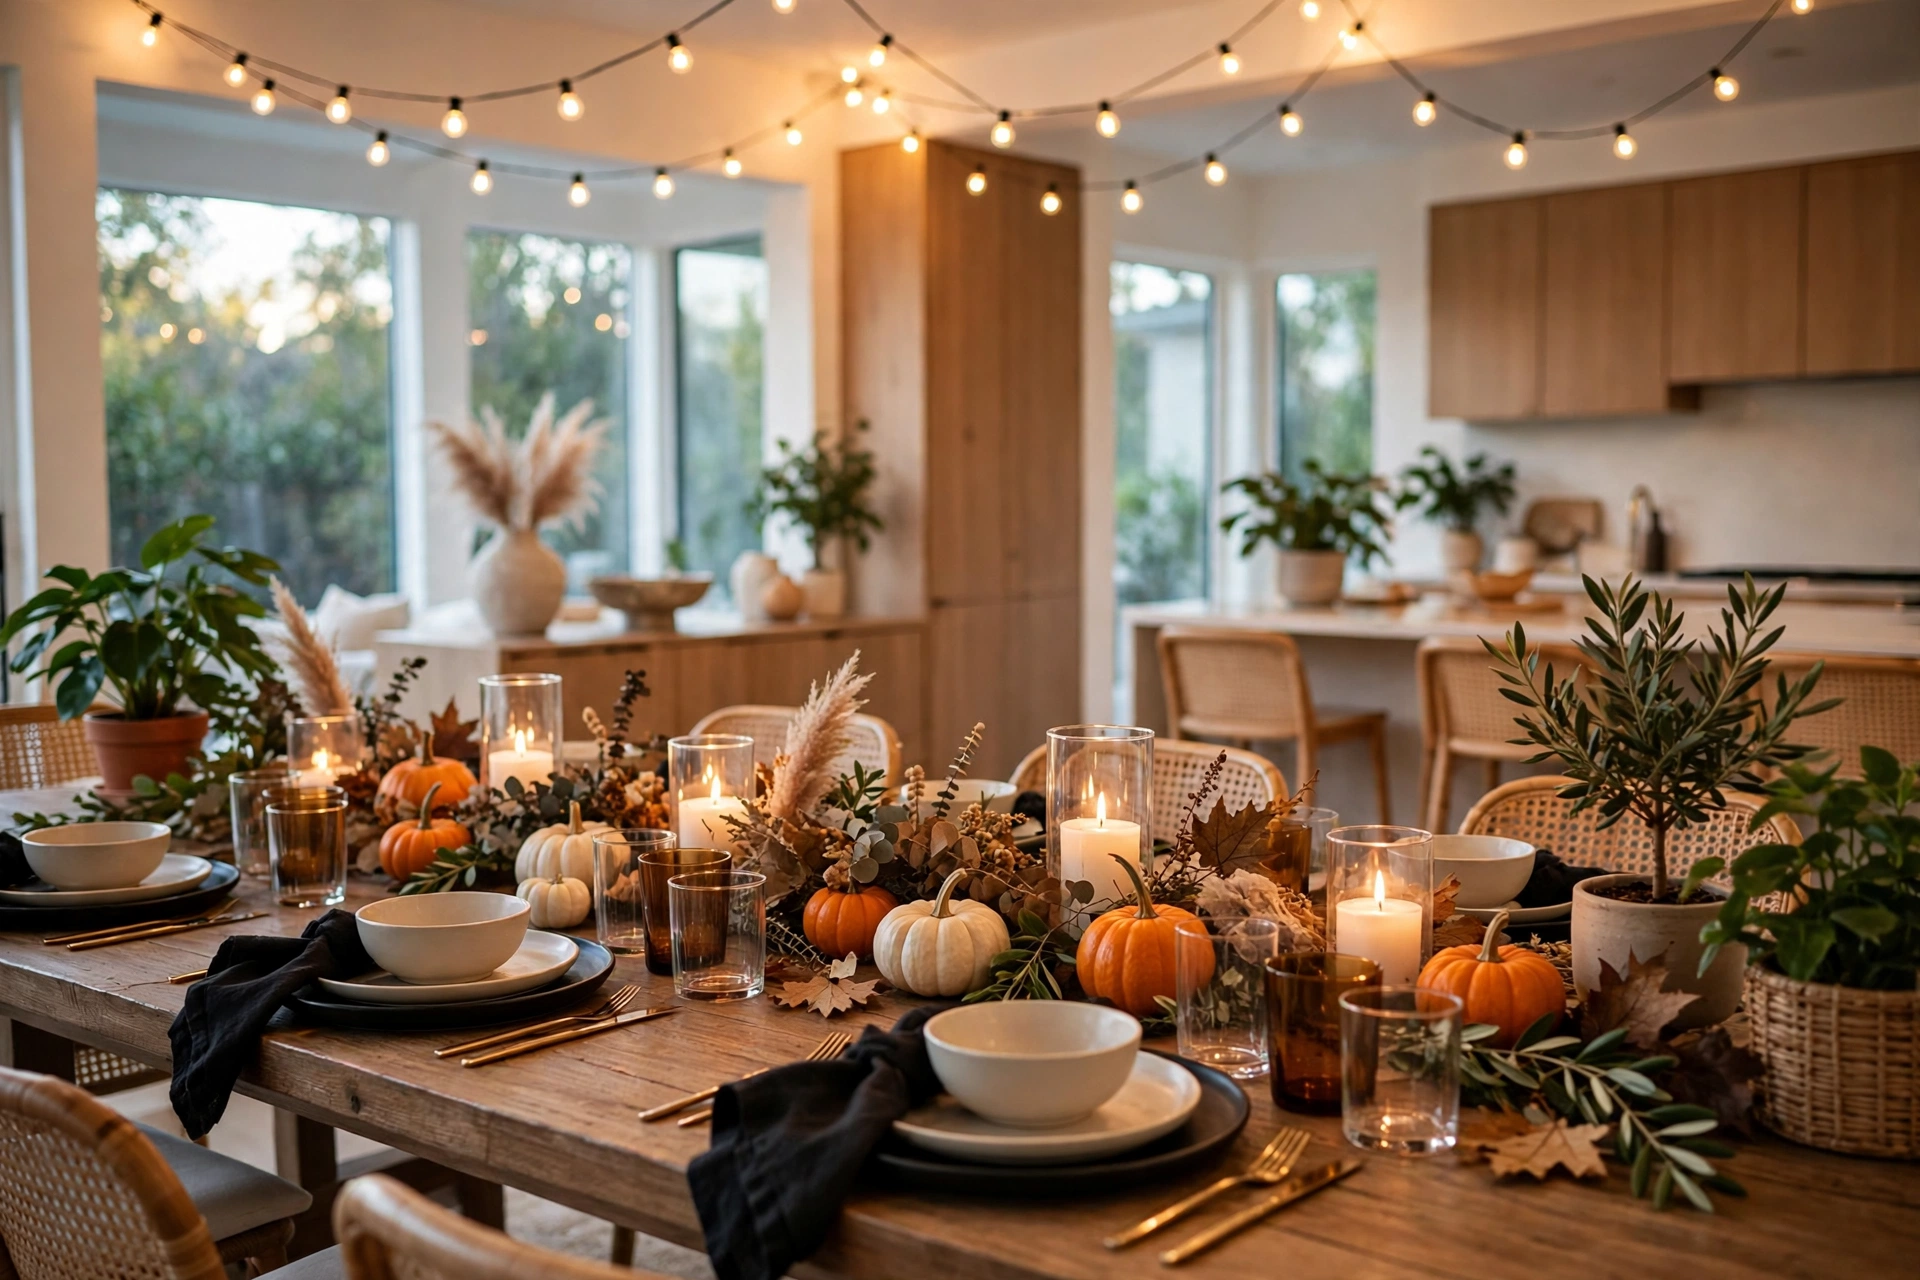
The second idea that saved my parties is what I call the Table Trio. Every good party table needs height, light, and one living thing. Height means something tall in the middle, like branches or taper candles, so the table does not look flat. Light means candles or string lights, so faces glow at dinner. One living thing means fresh greenery, a small plant, or even a bowl of real apples, so the table does not feel like plastic. Get those three right, and the table carries the party. The 25 ideas below follow the Guest Path and the Table Trio, in zones, so you can do one zone at a time and still finish before guests arrive.
Halloween Party Decor That Welcomes Guests at the Door
1. Clear the Porch and Add One Big Moment
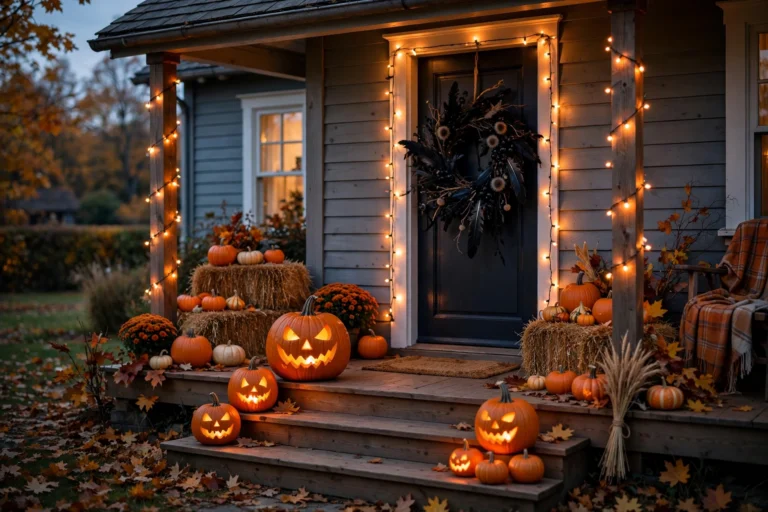
Start outside, not inside. Sweep the porch, move the shoes and the Amazon boxes, and add one big moment guests see from the sidewalk. A pair of pumpkins by the door, a wreath with black ribbon, or a doormat layered over a larger black and cream rug is enough. One big moment photographs better than ten small ones, and it tells guests they are in the right place. Keep the walkway clear and well lit. I learned this the hard way when a guest tripped over a pumpkin I had placed right on the step. Pumpkins belong beside the step, never on it, and a battery lantern by the door helps everyone find the handle in the dark.
2. Make the Entryway the First Stop on the Guest Path
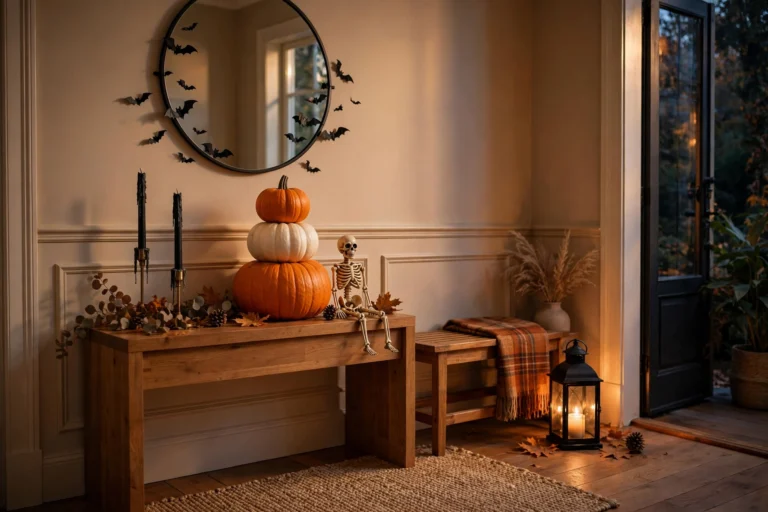
The entryway is stop one on the Guest Path, so give it a job. Hang a small sign or a framed print that says welcome, set a bowl for keys, and add one seasonal touch, like a vase of branches or a stack of pumpkins on the console. If you want more entryway inspiration, these Halloween entryway ideas show how to style a foyer without blocking the door. Keep coats and bags off the floor. A hook, a bench, or even a labeled basket by the door keeps the entry clear and saves you from tripping over jackets all night. FYI, the entryway is also the last stop, Goodbye, so leave room for guests to find their things quickly when they leave.
3. Set Up a Drink Greeting Before Anyone Asks
Stop two on the Guest Path is Drink, and the easiest version is a small greeting table just inside the door. Set out a pitcher of cider, a stack of cups, and a small sign with the drink name. Guests help themselves, they relax faster, and you are not stuck in the kitchen pouring drinks while everyone else is talking. Add one decoration to this table, like a small pumpkin or a candle in a jar, and nothing more. The drinks are the decoration here. If kids are coming, put the kid drinks on a lower table or a separate tray, clearly labeled, so nobody has to guess which cup is safe.
4. Use a Simple Welcome Sign That Guests Can Read in the Dark
A welcome sign only works if guests can read it. Use large letters, high contrast, and one short line. “Welcome, witches” or “Come in, if you dare” is plenty. Hang it at eye level, not above the door where nobody looks, and light it with a small battery light or a nearby lamp. I once hung a beautiful sign in dark gray letters on a black background, and nobody could read it after sunset. It looked great in daylight photos and did nothing at the party. Light, dark, or white letters on black, with a light nearby, is the version that actually works when guests arrive after dark.
The Table, Where Halloween Party Decor Earns Its Keep
5. Start With the Table Trio Before You Add Anything Else
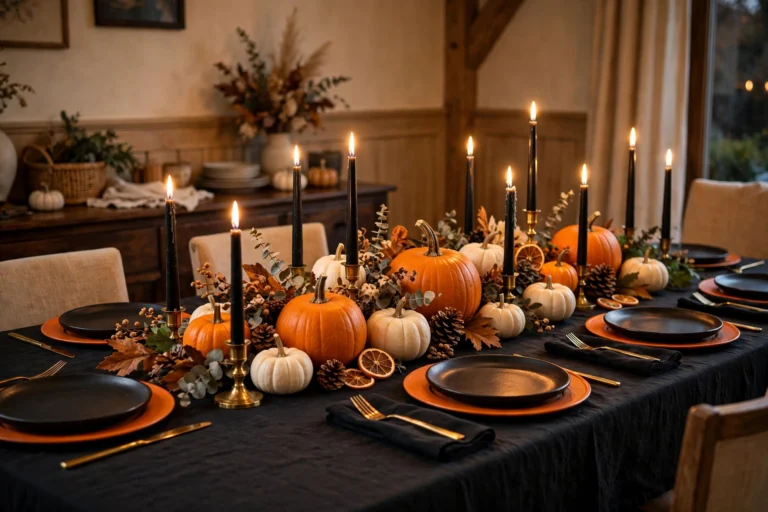
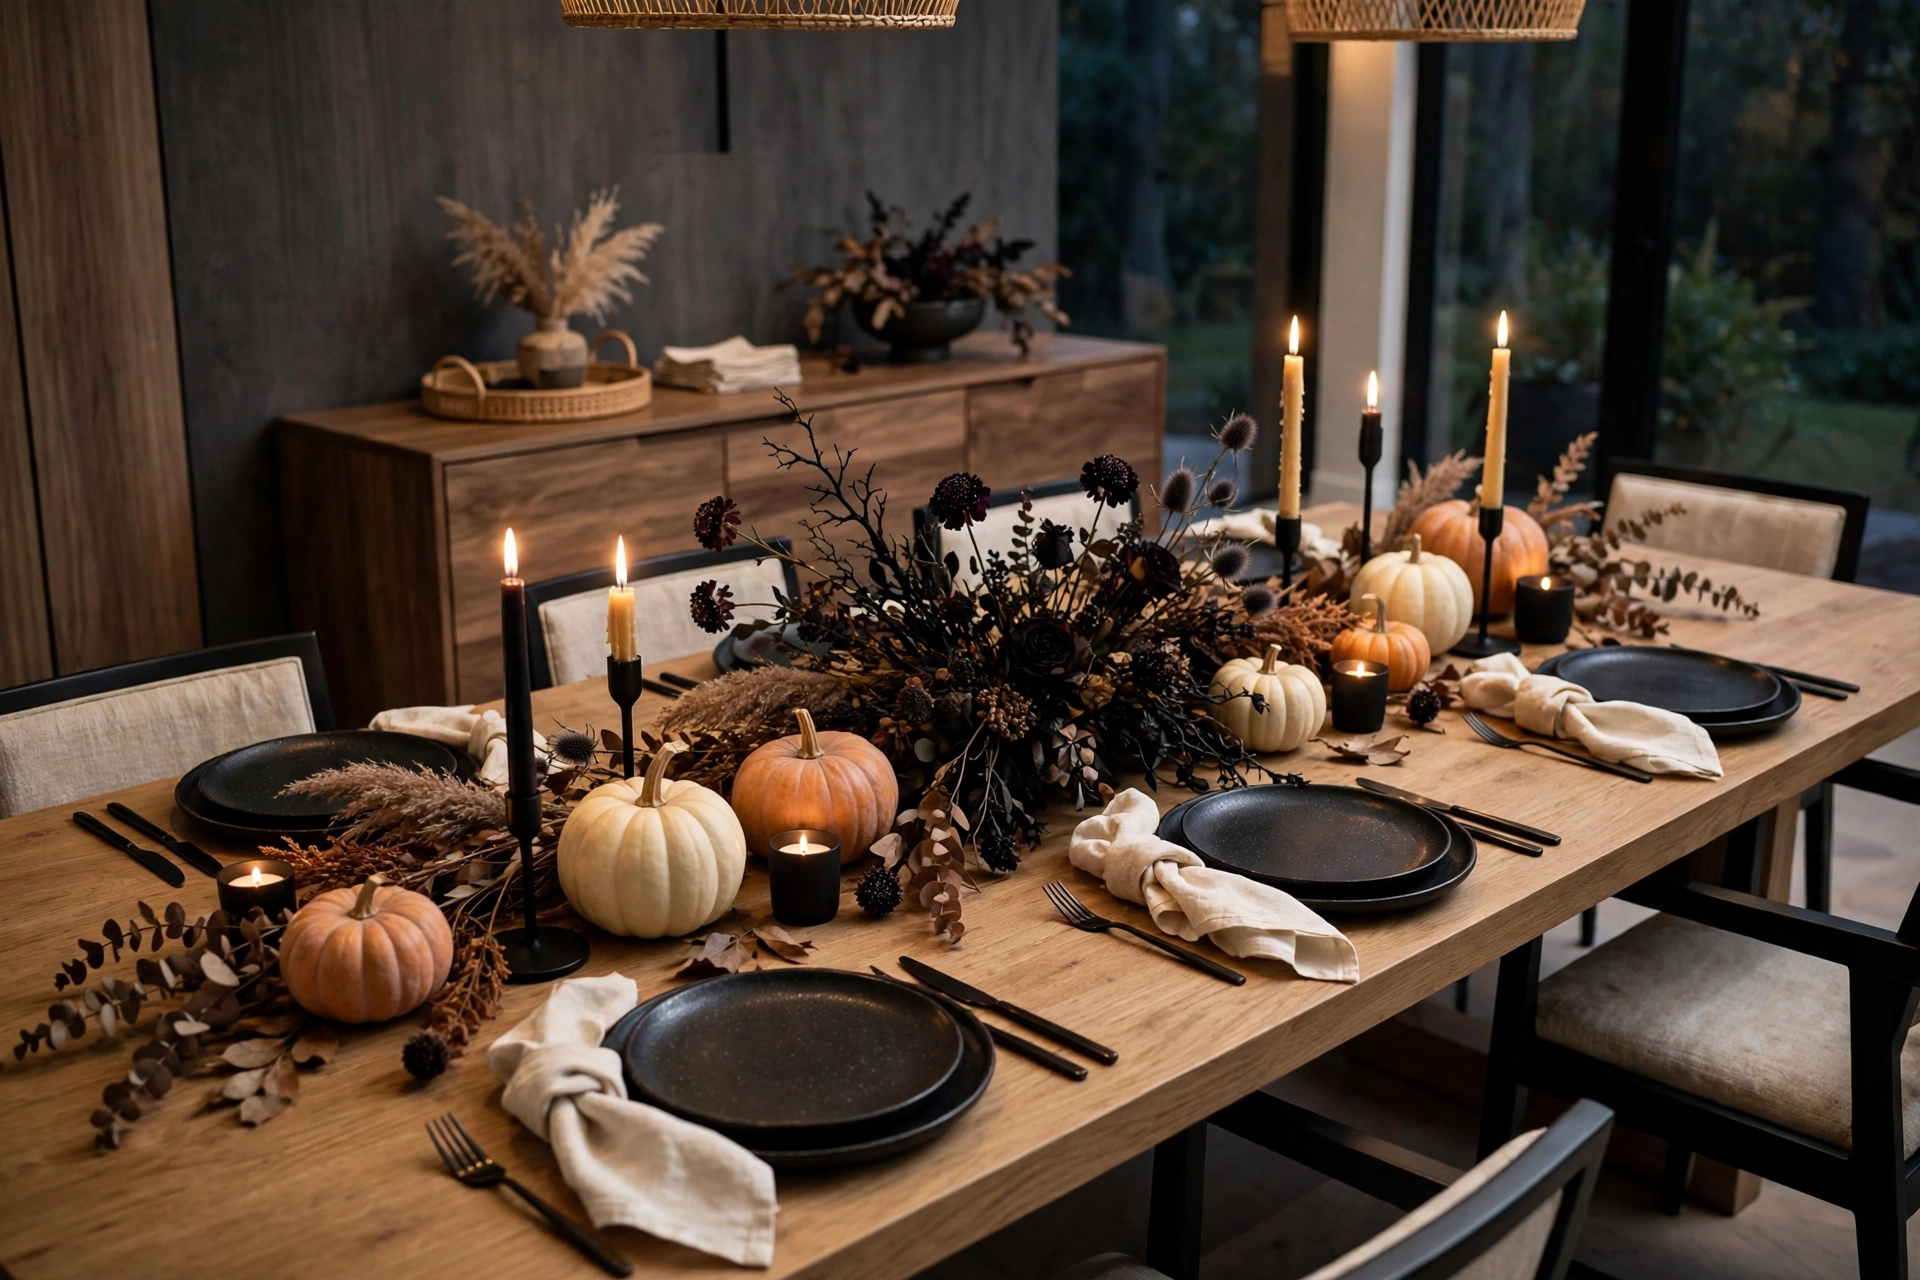
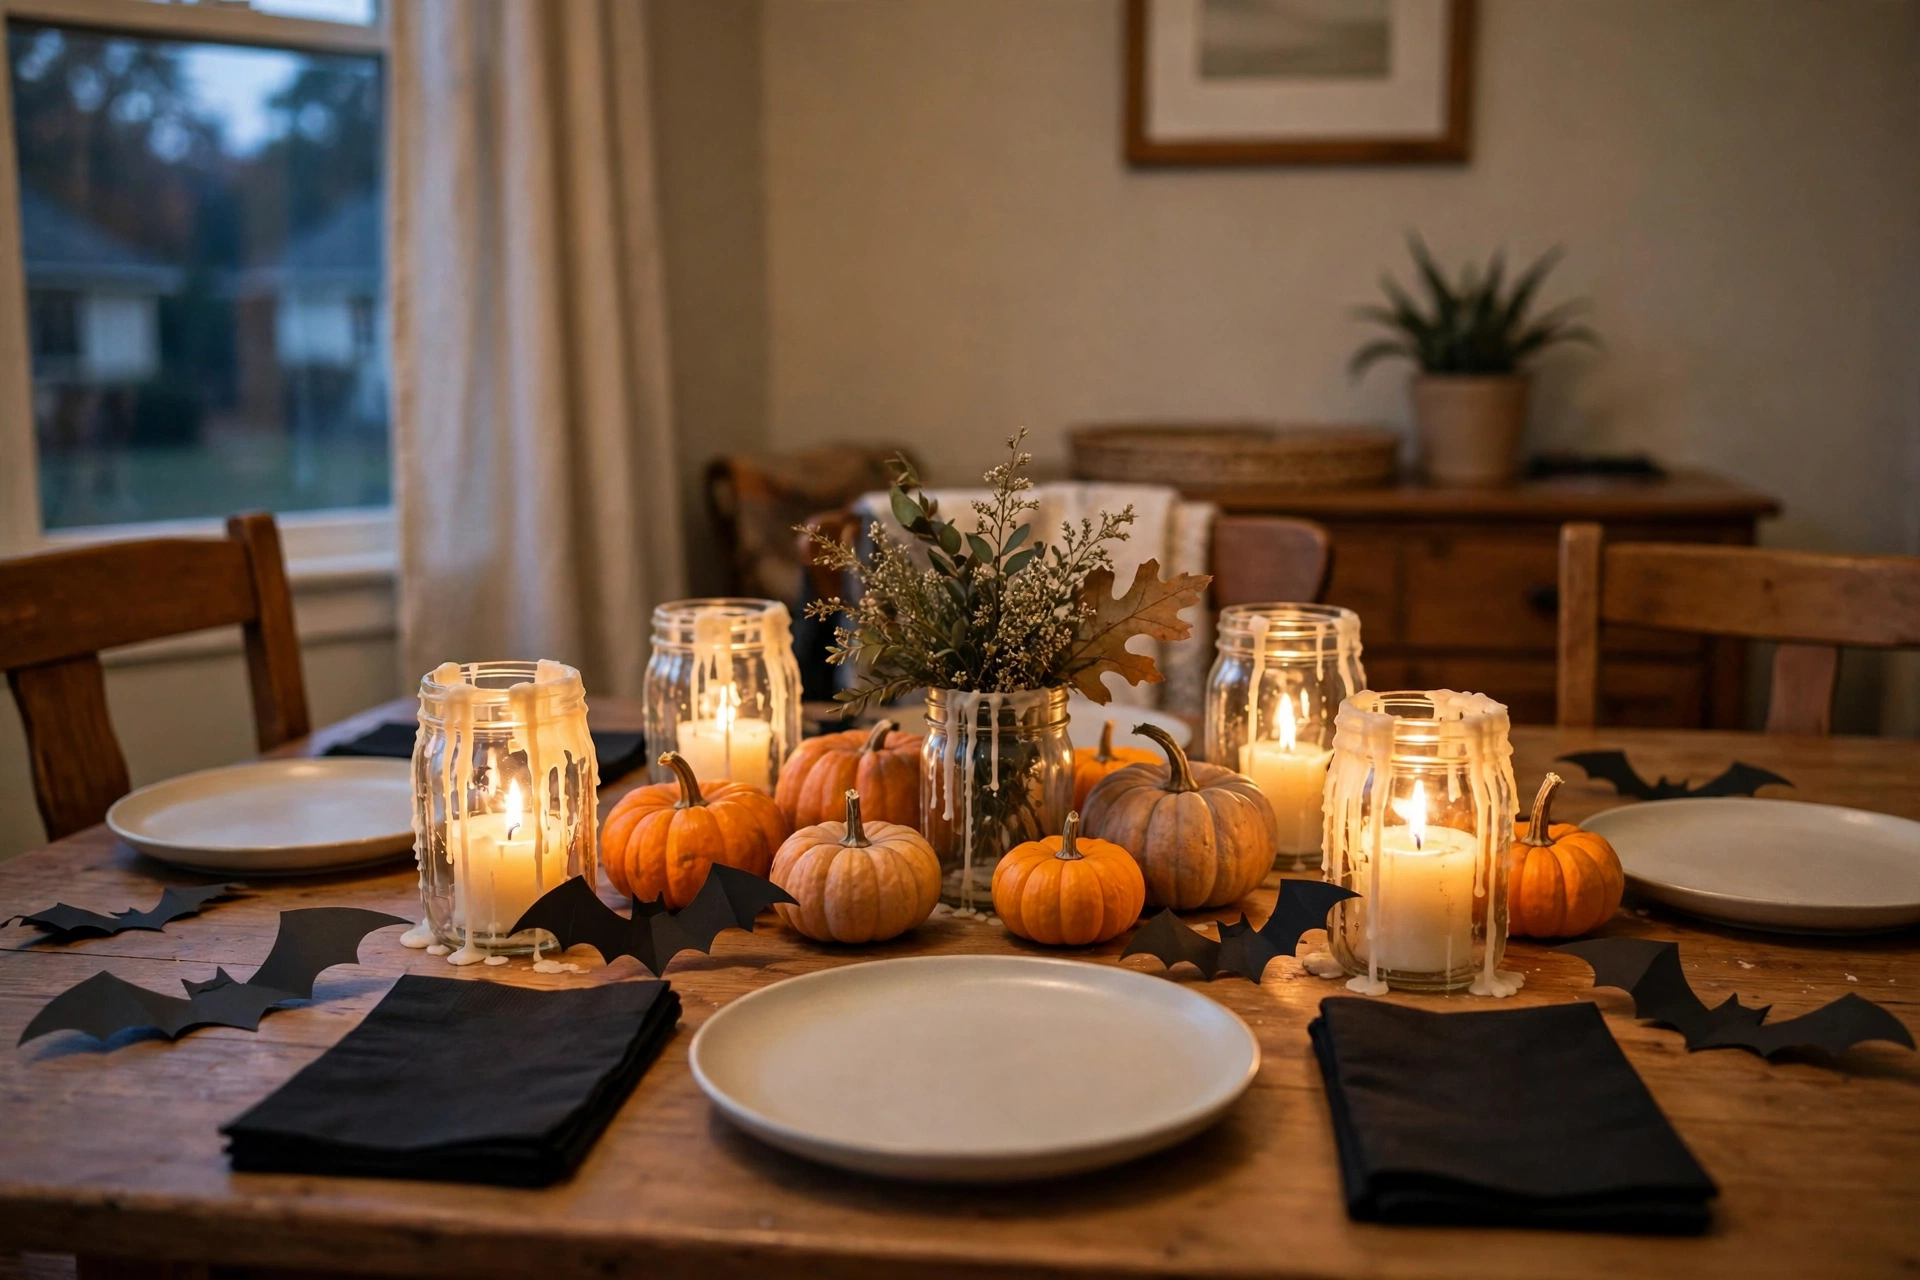
Before you add pumpkins or bats, set the Table Trio. First, height: a tall vase of bare branches, a pair of taper candles, or a stack of books with a pumpkin on top. Second, light: candles in glass holders down the center, or a strand of warm string lights woven through the branches. Third, one living thing: a small potted plant, fresh eucalyptus, or a bowl of apples and small gourds. Stand back and look. If the table already feels like a party, you are halfway done, and everything else you add is a bonus. If it still feels flat, move the tall piece to the center and add one more candle before you buy anything new.
6. Keep the Centerpiece Low Enough to Talk Across
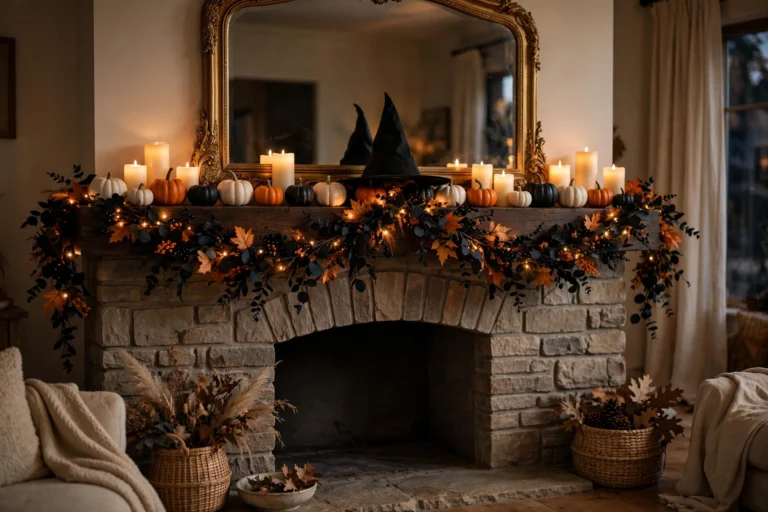
A centerpiece should start conversation, not block it. Keep the main arrangement under 14 inches tall in the middle, or use tall thin pieces at the ends and keep the center low. Guests need to see each other across the table, pass food, and laugh without leaning around a giant pumpkin tower. My rule is simple: sit in a chair, look across, and if you cannot see the person opposite you, take something out. A low runner of greenery, small pumpkins, and candles gives you height at the edges and a clear view in the middle, which is exactly what a dinner party needs.
7. Choose One Color Palette and Repeat It at Every Place Setting
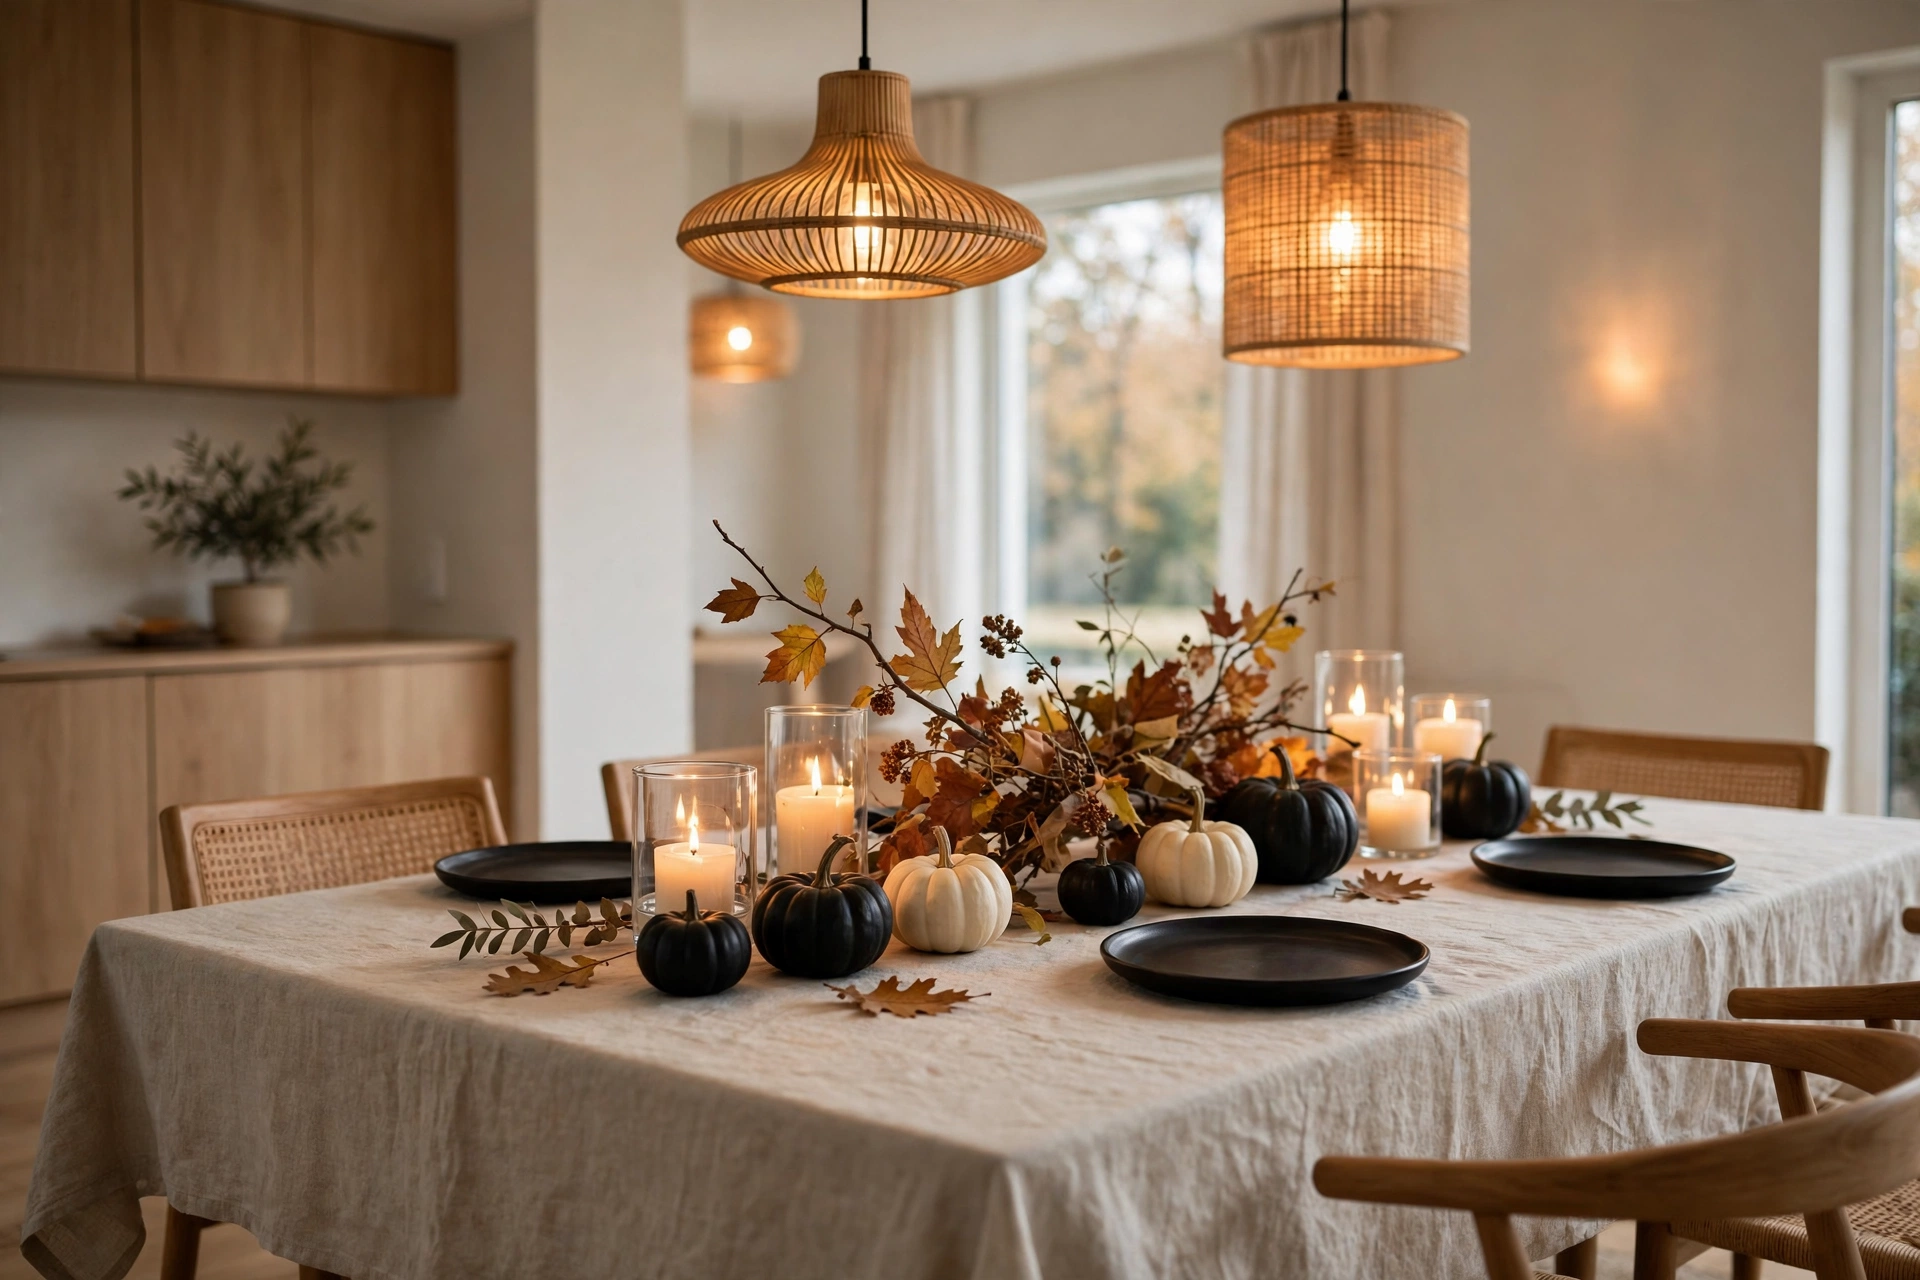
Pick three colors and use them everywhere. Black, cream, and orange is classic. Black, white, and gold feels elegant. Plum, black, and silver feels a little witchy. Repeat those colors in the plates, the napkins, the candles, and the pumpkins, and the table will look planned even if the pieces came from different stores. For more table specific styling, these Halloween table decor ideas show place settings that work for dinner and for a buffet. Avoid adding a fourth color at the last minute, because one bright red bowl or one neon green cup will pull every eye and break the calm, collected look you built.
8. Layer the Table in Three Steps, Cloth, Runner, and Plates
Layering is what makes a simple table look finished. First, a tablecloth or a bare wood table, either one is fine, as long as it is clean and ironed or wiped down. Second, a runner down the center, in linen, cheesecloth, or even a strip of black fabric, to anchor the centerpiece. Third, plates with napkins on top, forks and knives in the same place at every setting. Guests notice when place settings match, even if they cannot name why. It signals that dinner is coming and that someone thought about them. Keep the runner narrow enough that plates sit flat, and test one place setting before you set the whole table.
9. Add Simple Place Cards That Double as Party Favors
Place cards solve two problems at once. They tell guests where to sit, so nobody hovers awkwardly with a plate, and they give guests something small to take home. Write names on small kraft cards, tie each one to a mini pumpkin with twine, or tuck a card into a folded napkin. Keep the handwriting large and clear, and put the cards out before guests arrive so the table is ready. If you have kids at the party, give them their own cards with a small drawing or a sticker, and seat them together at one end. They will feel included, and the adults will get to finish a sentence at dinner.
Food and Drink Stations That Look Decorated Without Extra Work
10. Build a Food Station With Height, Labels, and Breathing Room
A food station looks decorated when it has height, labels, and space. Put the main dish on a cake stand or a sturdy box covered in black fabric, put smaller bowls at table height, and leave a hand width of empty space between dishes. Label every dish with a small card, especially if anyone has allergies. “Pumpkin soup,” “Ghost cookies,” and “Cider, no alcohol” are the kind of labels that save guests from asking and save you from repeating yourself. Add one decoration to the station, like a small pumpkin at the end or a garland along the front edge, and let the food do the rest. A crowded food table with no labels feels stressful. A spaced out table with labels feels generous.
11. Make a Potion Bar With Three Drinks and Clear Names
A potion bar sounds fancy, but it is just three drinks with fun names and clear labels. Try a dark punch, a cider, and a sparkling water with orange slices. Put each drink in a different pitcher or jar, label it with a card tied on with twine, and add a small bowl of garnishes, like orange slices, cinnamon sticks, or black straws. Keep the bar away from the main table so guests can refill without squeezing past seated diners. If you serve alcohol, put it on one end and the nonalcoholic drinks on the other, with a clear sign, so kids and non drinkers never have to guess. IMO, a potion bar with three drinks beats a bar with ten bottles nobody can identify.
12. Use Jars, Paper Bats, and Things You Already Own for Budget Party Decor
The cheapest party decor is the decor you already own. Reuse glass jars as candle holders, cut paper bats from black cardstock, use bowls you already have, and borrow a black tablecloth from a friend if you need one. These DIY Halloween decorations on a budget are a good starting point for paper, jar, and pumpkin projects that look expensive without costing much. Paper bats cost almost nothing, they stick to walls with removable putty, and they come down in minutes. Jars with candles cost nothing if the jars came from pasta sauce, and they look intentional when you group three together. Spend your money on food and light, not on single use plastic that goes in the trash the next morning.
13. Set Out Treats in Layers So the Table Photographs Well
Treats photograph best in layers. Put the tallest treats at the back, medium treats in the middle, and flat treats at the front. A cake stand for cupcakes, a wooden board for cookies, and a low bowl for wrapped candy gives the eye a path to follow. Leave one empty spot on the table for the treat guests bring, because someone always brings something, and a full table with nowhere to put it feels awkward. Add a small sign that says “Treats” and step back. If the table looks good from the doorway, it will look good in photos. If it only looks good from directly above, move the tall items to the back and try again.
14. Keep Food Safe With Covers, Ice, and a Two Hour Rule
Pretty food that sits out too long is not worth it. Keep cold food on ice or in the fridge until serving time, keep hot food hot, and cover dishes that sit out with a clean cloth or a lid between servings. The simple rule I follow is two hours. Food that has sat out for two hours at room temperature goes back in the fridge or gets tossed, especially dips, dairy, and meat. Put a small clock or a phone timer on the food table if it helps you remember. Use tongs or spoons for every dish, so guests are not reaching in with their hands, and keep a trash bowl nearby for wrappers. Food safety is not the fun part of party decor, but it is the part guests remember if it goes wrong.
Walls, Lighting, and Atmosphere for Halloween Party Decor
15. Hang Paper Bats in a Swarm, Not in a Straight Line
Paper bats look best when they look like they are flying. Cut them in three sizes, fold the wings slightly, and stick them to one wall in a rising swarm that starts low in a corner and trails up and outward. A straight line of bats looks like a border. A swarm looks alive. Start with ten bats, step back, and add more only where the swarm looks thin. One wall of bats is enough for a whole party. If you cover every wall, the room feels busy and the swarm loses its effect. Keep the bats above head height in walkways, so nobody brushes them down while carrying a plate.
16. Light the Room in Layers, Low and Warm
Party lighting should be layered and warm. Start with the main lights dimmed or off. Add candles or flameless candles on the table, string lights along a wall or a mantel, and one lamp in a corner for guests who need to see their food. Warm light makes faces look good in photos and makes the room feel cozy. Cool white light makes Halloween decor look harsh and a little sad. If you only have overhead lights, use a dimmer or swap in warm bulbs for the night. Test the lighting the night before, with the decor up, and sit at the table. If you can read a place card without squinting, the light is right.
17. Add a Garland in One Place and Leave the Rest Alone
One garland, hung well, does more than three garlands hung everywhere. Drape a felt ball garland, a paper ghost garland, or a strand of faux leaves across the mantel, over a doorway, or along the front of the food table. Choose one spot, hang it straight, and stop. A garland that sags in the middle or hangs too low over a doorway will annoy guests all night. Use removable hooks, not tape that peels paint, and hang it high enough that tall guests do not duck under it. If the garland is the only wall decor in the room, it will get noticed. If it is one of ten wall decorations, it will disappear.
18. Create a Photo Spot With a Plain Background and Good Light
Stop four on the Guest Path is Photo, and guests will take photos whether you plan for it or not. Give them a good spot. Choose a plain wall or a corner with a simple backdrop, add a chair or a bench, hang a few bats or a garland behind it, and light it with a lamp or string lights from the front, not from behind. A plain background makes people the focus. A busy background makes photos look messy. Put a small basket of props nearby, like a witch hat, a pumpkin, or a sign, and keep the floor clear so groups can stand together. The best photo spot I ever made was just a white wall, a bench, and a strand of lights. Guests used it all night.
19. Use Sound and Scent Sparingly, Like Seasoning
Sound and scent are seasoning, not the main dish. A quiet playlist of spooky movie music or soft jazz, played low enough that guests can talk over it, sets the mood without forcing it. A single scented candle, in pumpkin, apple, or cinnamon, near the entryway, greets guests as they arrive. More than one strong scent in a small house smells like a candle shop and can bother guests with allergies or asthma. Keep scent away from the food table, so dinner does not taste like cinnamon candle, and keep the music low enough that nobody has to shout. If guests are raising their voices, turn the music down, not up.
Kids, Pets, and Cozy Corners That Keep Everyone Happy
20. Give Kids Their Own Table, With Cute Decor at Their Height
Kids have more fun when they have their own space. Set a small table or one end of the main table just for kids, with cute decor at their height: smiling pumpkins, friendly ghosts, soft fabric bats, and a coloring page or a simple craft. Keep the decorations unbreakable and the candles flameless at the kid table. A kid table with a small treat bag at each place feels like a party within a party, and parents get to eat in peace for a few minutes. Seat one adult nearby, not hovering, just close enough to help with spills. The kid table is also the safest place for a small pumpkin carving display, up high and out of reach, where kids can look but not touch.
21. Keep Pets Safe With a Quiet Room and No Food on the Floor
Pets and parties can mix, but only with a plan. Give your dog or cat a quiet room with water, a bed, and a closed door, and check on them during the party. Keep chocolate, candy wrappers, and candles out of reach, because chocolate is toxic to dogs, wrappers are a choking risk, and a wagging tail can knock over a candle in seconds. If your pet loves guests, let them visit for a short time on a leash or in your arms, then return them to their quiet room. Tell guests not to feed the pet from the table, even if the pet looks hopeful. A calm pet in a quiet room is happier than a stressed pet in a crowded, noisy house.
22. Make a Cozy Corner for Guests Who Need a Break
Not every guest wants to stand in the middle of a loud party all night. Make a cozy corner with a chair, a throw blanket, a small side table, and a lamp. Add one seasonal touch, like a small pumpkin or a candle in a jar, and leave the corner mostly undecorated so it feels calm. Older guests, pregnant guests, and guests who just need a minute will thank you, even if they never say so. Put the cozy corner away from the food table and the speakers, where conversation is possible without shouting. A party with a quiet corner feels thoughtful. A party with nowhere to sit feels like a crowd.
23. Plan One Simple Game or Activity, Not Five
One game is a party highlight. Five games are a schedule nobody follows. Choose one simple activity that fits your guests: a pumpkin guessing game, a costume vote with paper ballots, or a photo challenge with a list of shots to take. Set it up on a side table with clear instructions, and let guests join when they want. Announce the winner near the end of the night, with a small prize like a candle or a bag of candy. If the game needs supplies, put them all in one basket so nothing gets lost. The best party game I ever hosted was just “guess how many candy corns are in the jar.” It cost two dollars, it took five minutes to set up, and guests talked about it for a week.
Small Spaces, Last Minute Fixes, and the Final Check
24. Decorate a Small Space With Three Moves Only
A small apartment or a single room party does not need 25 ideas. It needs three moves, done well. One: one decorated surface, the table or a console, with the Table Trio. Two: one wall moment, a swarm of bats or a garland. Three: one light moment, candles or string lights. That is it. In a small space, every extra decoration is one more thing to bump into, one more thing to clean, and one more thing that makes the room feel crowded. Use vertical space, like walls and doorways, and keep the floor clear. Use a folding table for food if the main table is full, and put drinks in the kitchen so guests move around instead of clustering in one spot. Small space parties feel bigger when the floor is clear and the light is warm.
25. Do the Ten Minute Walkthrough Before Anyone Arrives
The last idea is not a decoration. It is a check. Ten minutes before guests arrive, walk the Guest Path yourself, from the door to the drink table to the table to the photo spot and back to the door. Ask five questions. Can guests find the door and the light? Is there room to sit and eat? Are candles safe, cords taped down, and walkways clear? Is food labeled and covered? Is there a trash bowl and a place for coats? Fix only what failed. If you need a fast fix for a bare spot, these last minute Halloween decor ideas cover pumpkins, candles, and string lights you can set up in minutes. Then stop decorating. A party that is ready ten minutes early, with the host calm and the table set, beats a party that is still being decorated when the doorbell rings.
Practical Sections
The Safety and Durability Check: Candles, Flames, Cords, and Kids
Safety is the part of halloween party decor that matters most after dark. Use flameless LED candles wherever kids, pets, or costumes with flowing fabric will be nearby, and use real candles only in glass holders on a stable surface, away from curtains, garlands, and paper bats. Never leave a real candle burning in an empty room, and blow out candles before you go to bed, even if the party is still going in another room. Tape down cords from string lights with painter tape, so nobody trips, and keep power strips off the floor where drinks can spill. Check that smoke alarms work before the party, and keep a fire extinguisher in the kitchen, where you can reach it quickly. Durability matters too. Use washable tablecloths, sturdy plates, and trays under candle jars, because wax drips, cider spills, and pumpkin seeds end up everywhere. Wipe spills as they happen, or they will stain by morning.
Budget: Buy Once vs Refresh Each Season
Buy once: black plates, cream napkins, glass candle holders, a good table runner, string lights, and a set of reusable paper bat templates or a felt garland. These pieces work every October, and they work for Thanksgiving and Christmas too, if you change the pumpkins. Refresh each season: fresh pumpkins, fresh greenery, new candles, new place cards, and one new fun piece, like a sign or a set of treat bags. My buy once list cost about 80 dollars the first year, spread across three stores, and my refresh each year costs under 30 dollars, mostly pumpkins and candles. Borrow before you buy. A friend with a punch bowl, a neighbor with extra chairs, and a family member with a folding table can save you more than any sale. Spend on food, light, and one thing guests will photograph, and save on everything guests will not notice after the first drink.
Small Space Variations
In a studio apartment, use the table as the party, with the Table Trio and one wall swarm, and serve food buffet style from the kitchen counter. In a small dining room, push the table against one wall for a buffet, or use a folding table in the living room for dinner. In a house with a narrow hallway, keep the Guest Path clear by moving furniture to the edges for one night, and put the photo spot in the living room, not the hallway. In a home with no dining table, use a coffee table with floor cushions for a casual party, with low candles and a tray for food. The Guest Path still works in every size: Door, Drink, Table, Photo, Goodbye, just closer together. In a rental, use removable hooks, removable putty, and peel and stick bats, and take photos before the party, so you can prove the walls were fine when you move out.
Troubleshooting Fixes
- Table looks flat and boring? Add height in the middle with branches or taper candles, add one more candle, and add a living thing, like greenery or apples. Height, light, and green fix most flat tables.
- Room feels too dark to eat? Turn up the dimmer one notch, add a lamp in a corner, and move one candle closer to the table, not closer to a curtain. Guests need to see their food.
- Room feels too bright and not spooky? Dim the overhead lights, turn off one lamp, and let candles and string lights do the work. One dark corner is fine, as long as walkways are lit.
- Paper bats keep falling down? Use removable putty, not tape, press each bat firmly for ten seconds, and keep bats away from vents and open windows where air moves them.
- Centerpiece blocks conversation? Take out the tallest piece, move tall pieces to the ends, and keep the center under 14 inches. Sit down and check the view before guests arrive.
- Food table is crowded and guests cannot reach dishes? Move drinks to a separate table, space dishes a hand width apart, and put the most popular dish at the end, so the line keeps moving.
- Kids are bored and restless? Open the kid table craft, start the guessing game, and give kids a job, like handing out treat bags. A job turns a restless kid into a proud helper.
- Candle wax on the tablecloth? Let it harden, scrape it gently with a butter knife, and iron the spot through a paper towel on low heat. The wax melts into the towel and lifts off the cloth.
FAQs
How much halloween party decor do I need for a small party?
You need less than you think. For a party of eight to twelve guests, decorate five stops: the door, the drink table, the dinner table, one photo spot, and one wall. That is one pumpkin pair at the door, one drink pitcher with a sign, the Table Trio on the dinner table, one backdrop with lights, and one swarm of bats. Start there, live with it for a day, and add only what feels missing. A small party with five clear moments feels more festive than a large party with decorations on every surface.
What is the cheapest way to decorate for a Halloween party?
Use what you already own, plus paper and jars. Cut paper bats from black cardstock, reuse glass jars as candle holders, use bowls and plates you already have, and buy pumpkins from a grocery store, not a decor store. Borrow a black tablecloth, string lights, and a punch bowl if you can. Spend on candles and food, which guests notice, and skip single use plastic decorations, which guests forget by morning. A party built from paper, jars, pumpkins, and light can cost under 25 dollars and still photograph beautifully.
How do I decorate a Halloween party table without blocking conversation?
Keep the center low, under 14 inches, and put tall pieces at the ends of the table. Use a low runner of greenery, small pumpkins, and candles in the middle, and save tall branches and taper candles for the ends or a sideboard. Sit in a chair before guests arrive and check that you can see the person opposite you. If you cannot, take something out. Height at the edges and a clear view in the middle is the rule that keeps dinner conversation easy.
Are real candles safe at a Halloween party with kids and pets?
Real candles can be safe if they are in glass holders, on a stable surface, away from curtains, costumes, and paper, and never left unattended. For most parties with kids and pets, flameless LED candles are safer and simpler, because they give the same warm glow with no flame, no wax, and no worry if a child bumps the table. Use real candles only in adult only areas, like a high mantel or a sideboard, and blow them out before bed. When in doubt, choose flameless.
When should I start decorating for a Halloween party?
Start a week before the party with the buy once pieces, like plates, lights, and the runner, so you are not shopping the day before. Decorate the table and the walls two days before, so you can live with the look and fix what bothers you. Do the food stations, place cards, and the final walkthrough on the day of the party, and finish ten minutes before guests arrive. If you are short on time, focus on the Guest Path first: door, drink, table, photo, and goodbye, in that order, and skip everything else.