
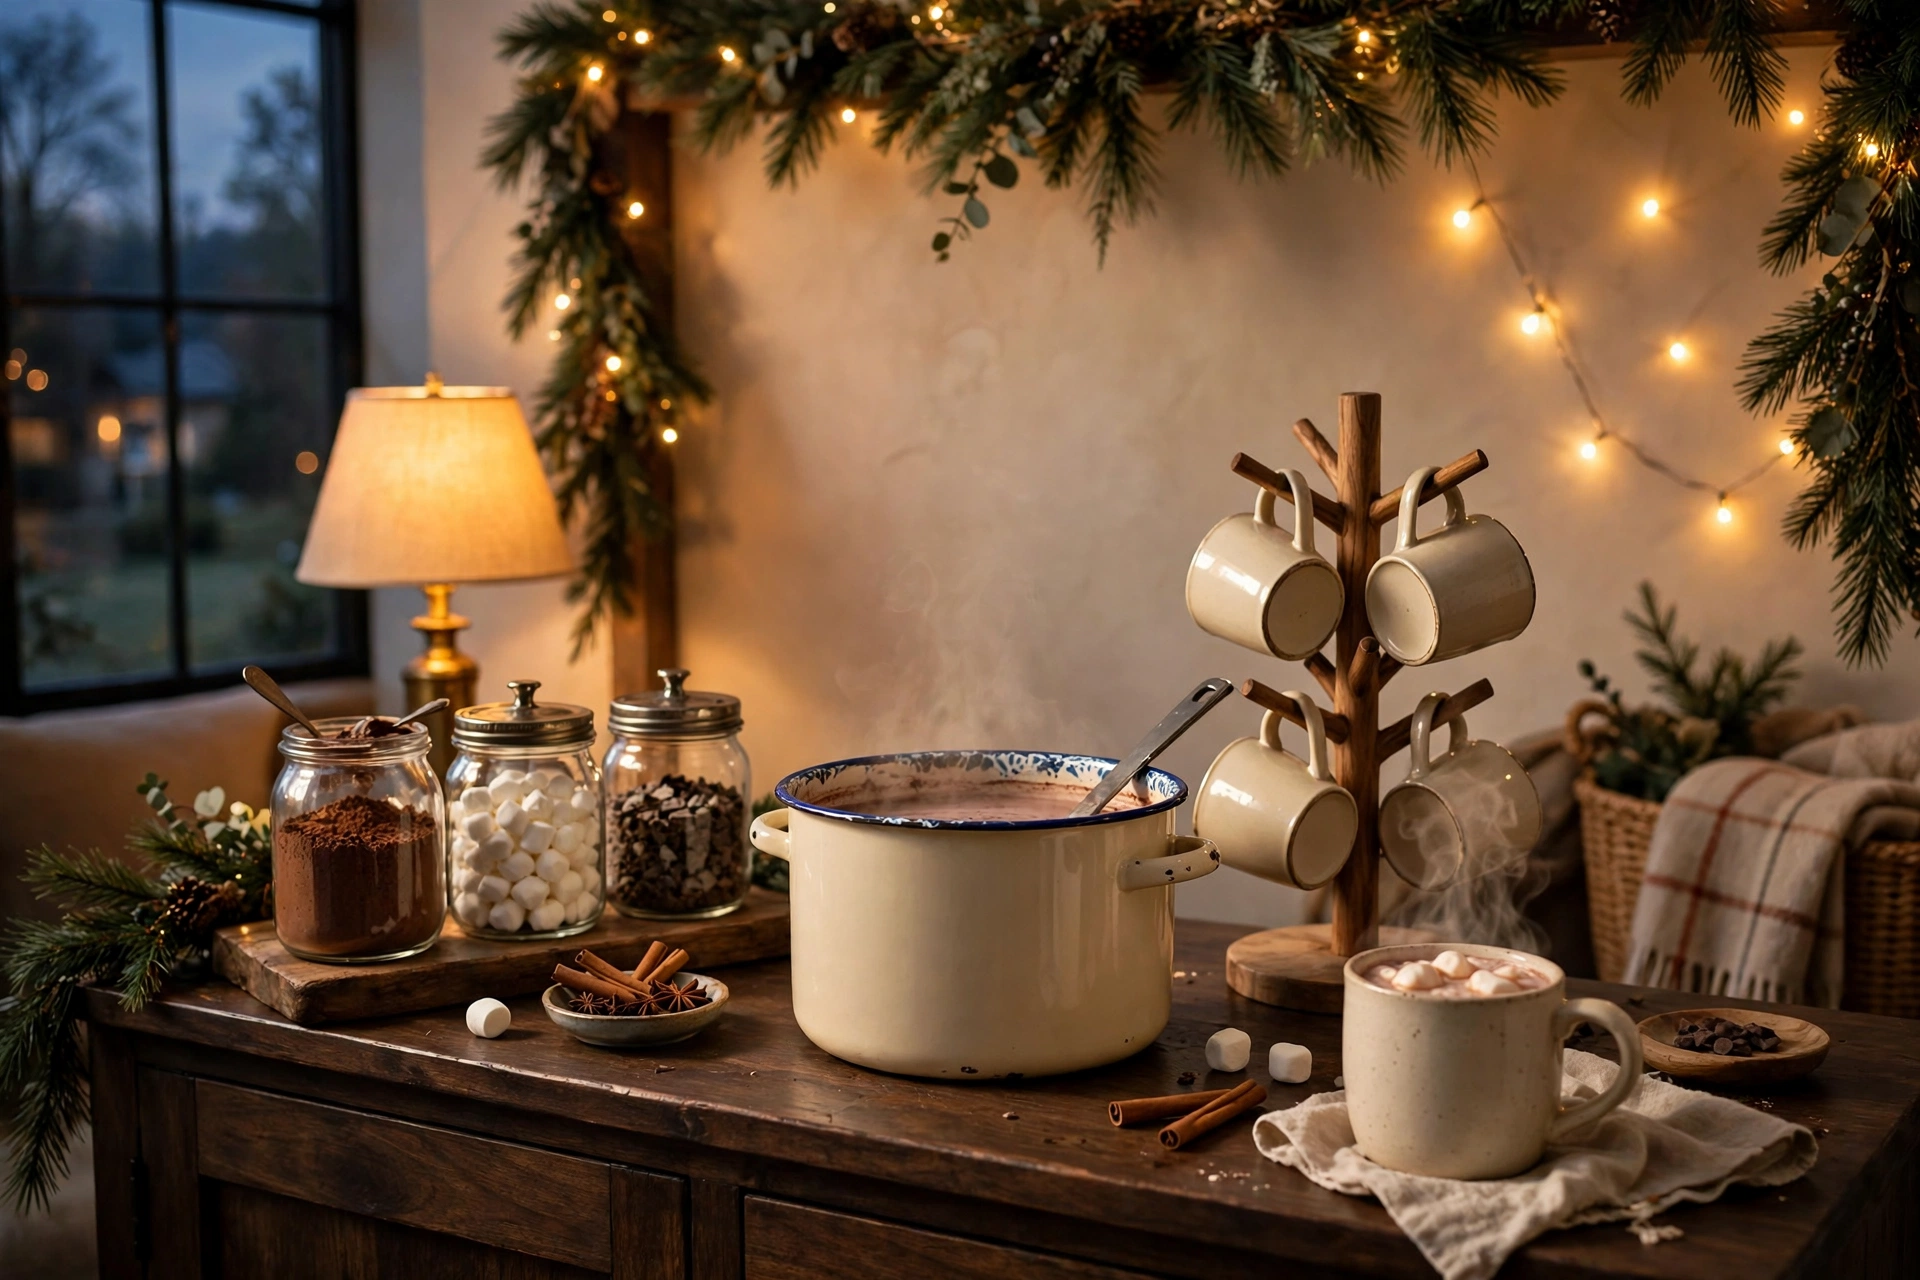
27 Hot Cocoa Bar Ideas That Turn Winter Evenings Into Pure Magic
The first time I made a hot cocoa bar, it was not planned at all. It was the week before Christmas, snow was coming down sideways, and my daughter’s two best friends got dropped off for an impromptu sleepover. The house smelled like the lasagna we had just finished, the kids were buzzing with energy, and I had about ten minutes before the sugar crash hit.
So I dragged the wooden tray off our coffee table, lined up every mug I owned, dumped hot chocolate packets into a mason jar, and set out a bowl of mini marshmallows that were slightly stale (FYI, the kids did not care). I wrote “COCOA BAR” on a piece of cardboard with a marker and leaned it against the wall. The girls lost their minds. They acted like I had opened a tiny cafe just for them.
That raggedy little tray taught me something I now believe with my whole heart: a hot cocoa bar is not about being fancy. It is about giving people a reason to slow down together when it is cold and dark outside. These 27 hot cocoa bar ideas will help you build a station that looks gorgeous in photos and actually works when guests show up with cold hands and big appetites.
Before You Start: The Warm, Full, Glow Formula
Every good hot cocoa bar I have ever seen follows the same three-part recipe, so I gave it a name: Warm, Full, Glow.
Warm means something on the bar should feel warm to the eye. A wooden tray, a knit runner under everything, mugs in rust or cream tones. Cold surfaces like bare granite make a cocoa bar feel like a display instead of an invitation.
Full means no sad empty corners. If a jar is half full, decant it into a smaller jar so it looks abundant. Group things in odd numbers. Fullness reads as generosity, and that is the whole point.
Glow means one warm light source on or near the bar. A string of fairy lights, one candle (real or flameless), a tiny lamp. Overhead kitchen lighting makes cocoa look brown and flat. Glow makes it look like Christmas.
Keep Warm, Full, Glow in your head as you read the ideas below, and your bar will basically style itself.
Zone 1: The Base
Where the bar lives matters as much as what is on it. Pick a spot with room for people to stand and stir without blocking the kitchen.
1. The Wooden Tray Takeover
A big wooden serving tray on your kitchen island or dining table is the fastest way to start. Everything stays contained, spills stay off your counter, and you can carry the whole bar into the living room on movie night. IMO this is the best beginner move because there is no commitment.
2. A Bar Cart That Rolls
If you have a bar cart gathering dust in a corner, give it a second career as your cocoa station. The tiers are perfect for separating mixes on top, mugs in the middle, and toppings below. Wheel it out for parties, wheel it back when life resumes. Christmas entryway decor ideas can inspire how you style the cart when it is not in cocoa mode.
3. The Sideboard Station
A dining room sideboard is the dream spot for a cocoa bar because guests can help themselves without crowding the person cooking. Lay a runner, anchor the back with a mirror or framed art, and build forward in layers. This is the setup that photographs the best.
4. Tiered Tray Magic
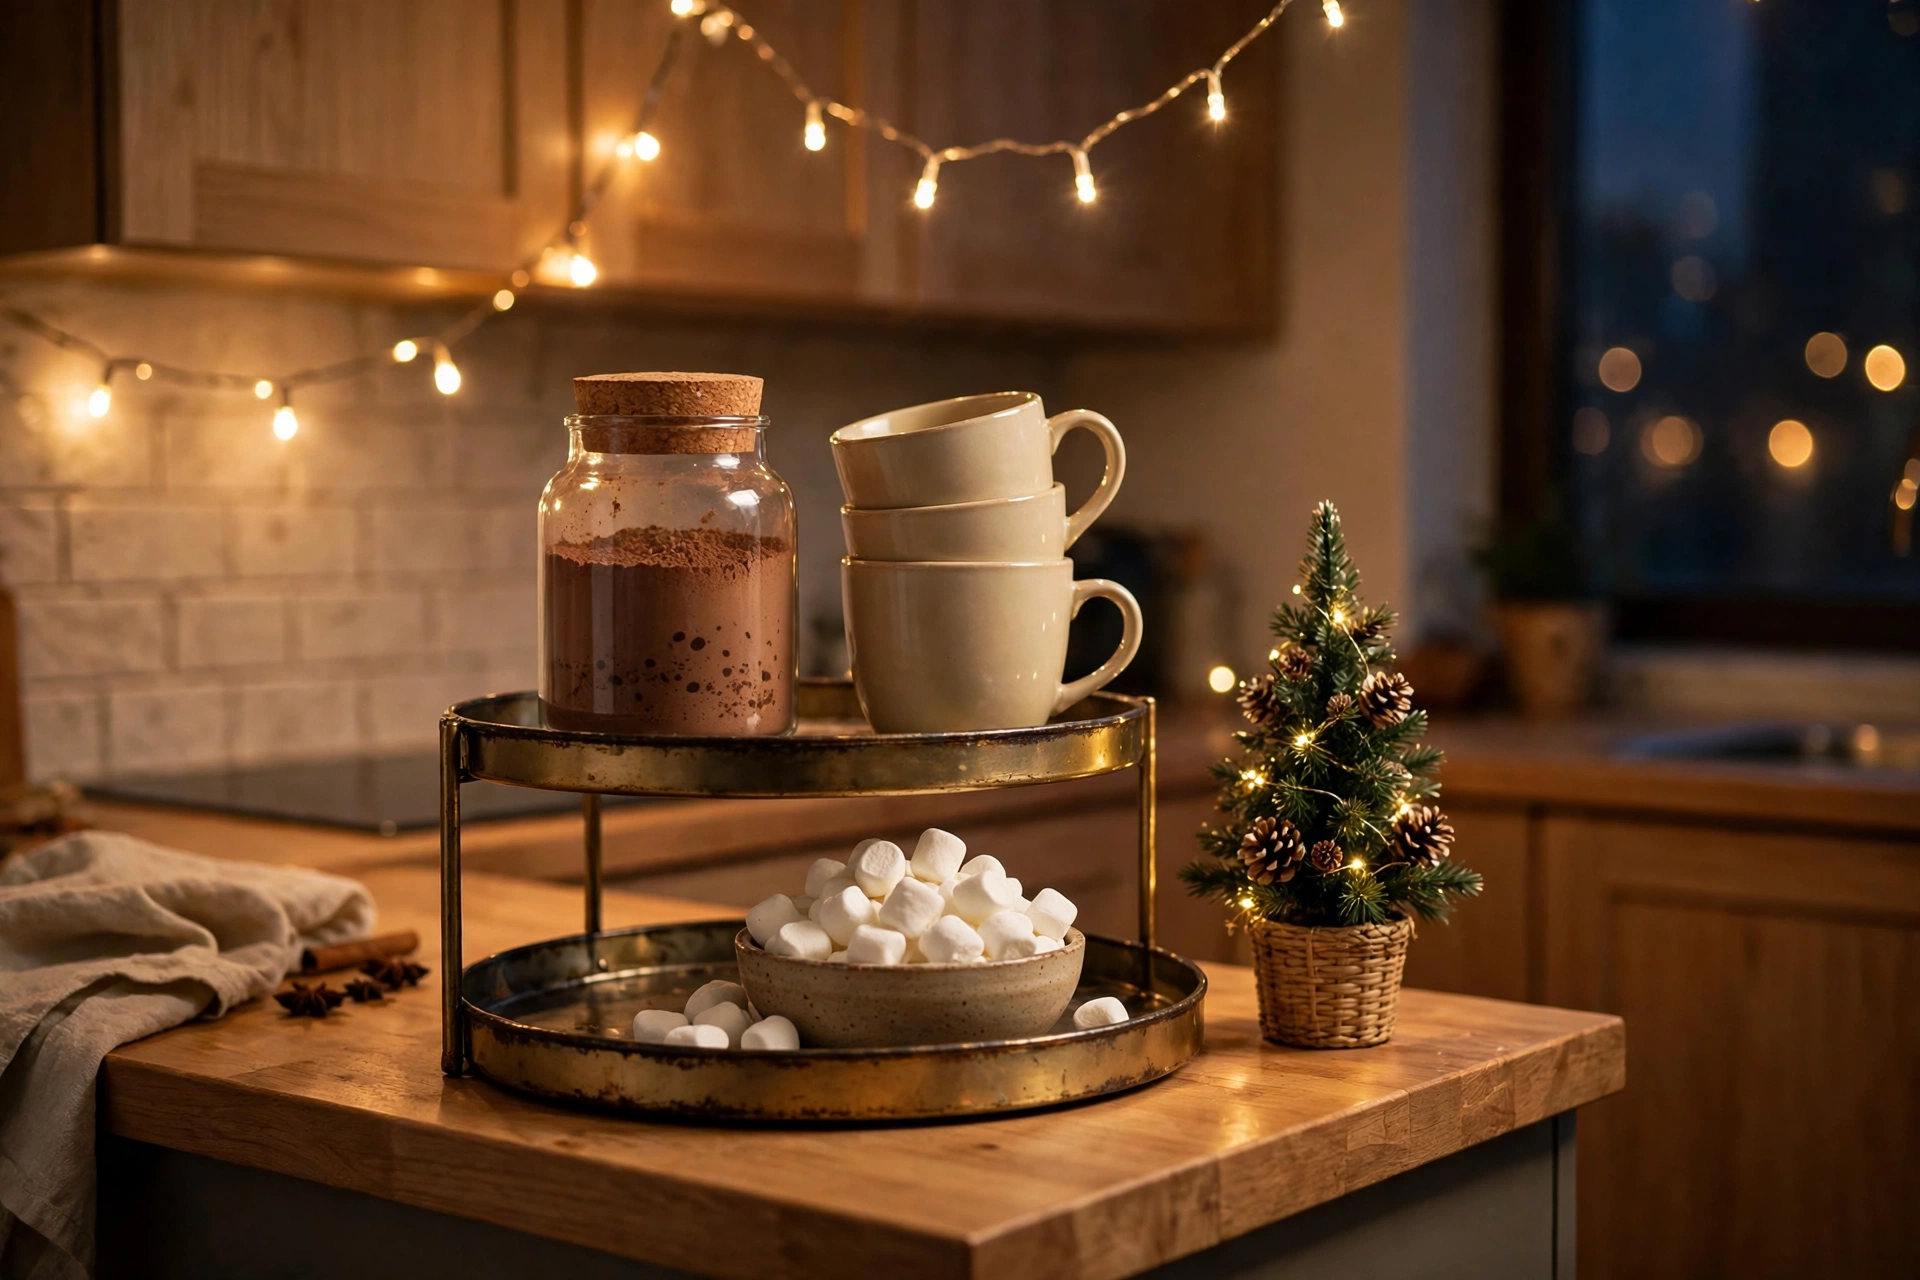
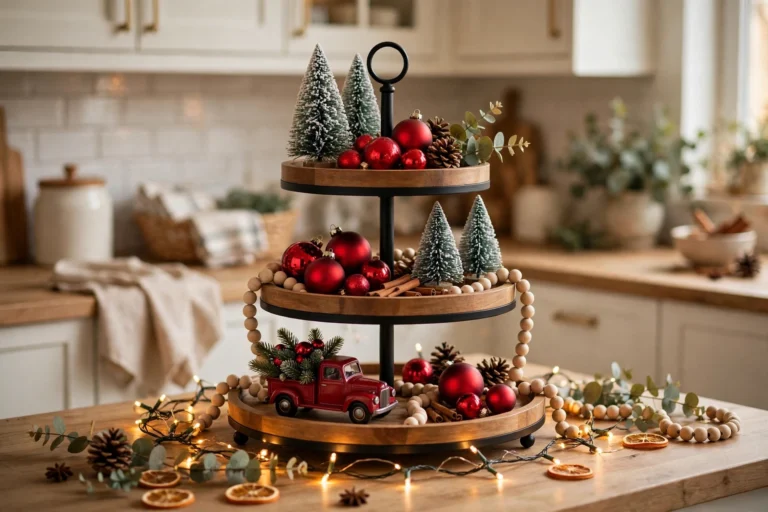
A two or three tiered tray holds a shocking amount of cocoa stuff in a tiny footprint. Mixes on the bottom, toppings in the middle, marshmallow skewers standing up on top. This is also the answer for anyone with limited counter space.
5. The Over-the-Stove Shelf Nook
Have an empty shelf or the back of your stovetop area? Line up a row of jars with cocoa mix, sugar, and toppings right there. It is not a full station, more like a cocoa corner, but on a busy December week it gets used more than the fancy setup downstairs. FYI, keep jars a few inches from actual heat.
Zone 2: Mugs and Serveware
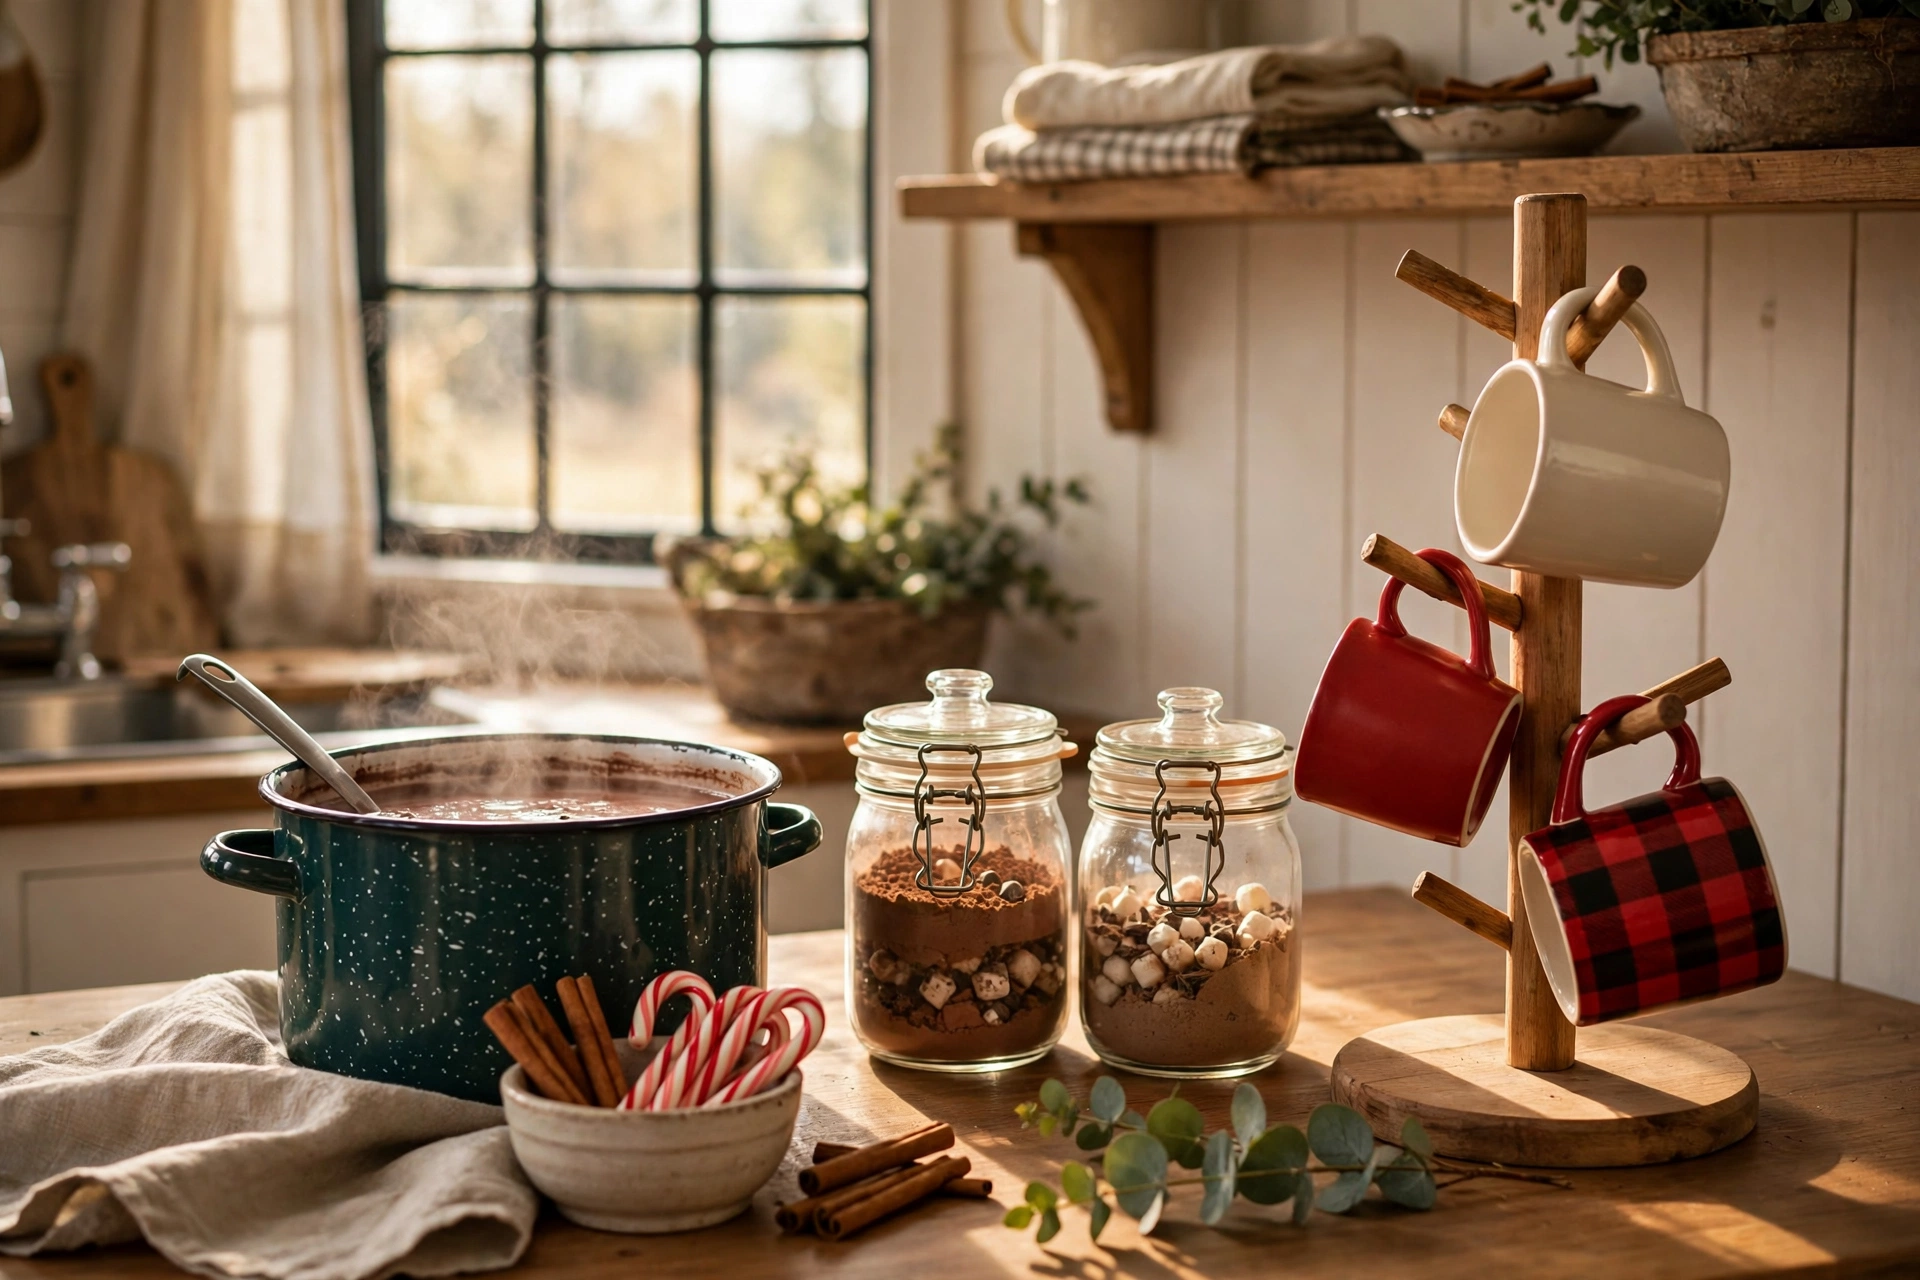
People judge a cocoa bar by its mugs before they taste anything. This zone is cheap to nail and impossible to get wrong.
6. The Mug Tree or Mug Rack
Displaying mugs on a small mug tree or a wall-mounted rack turns them into decor. Pick mugs that share a color story (all cream, all red, or mixed buffalo plaid) and hang them where people can grab one themselves. Guests love choosing their own mug. It becomes part of the fun.
7. Mismatched Vintage Mugs
Thrift store mugs are my favorite cocoa bar secret. A set of mismatched vintage mugs costs almost nothing and looks curated instead of cheap. Look for 70s florals, campfire-style enamel mugs, and anything with a handle big enough for gloves. One warning: check for cracks, because a cracked mug and hot cocoa are a sad combination.
8. The Big Cocoa Pot
A big enamel pot, a slow cooker, or a pretty kettle on a trivet lets you serve a crowd without reheating mugs one by one. Make a big batch of cocoa, set it on warm, and put a ladle beside it. Add a little sign that says “Ladle, don’t pour” and you have saved yourself three spills.
9. A Dedicated Stirring Station
This sounds silly until you see how happy it makes people. A small cup or jar holding cinnamon sticks, candy canes, and long spoons turns stirring into an activity. Tie the candy canes with a bit of twine. It costs two dollars and looks like a Pinterest board came to life.
10. Small Bowls for the Toppings
Skip the bags and boxes. Pour toppings into small bowls, ramekins, or tiny mason jars so the bar looks like a candy shop. Clear glass bowls show off the colors of crushed peppermint and mini marshmallows. This one detail separates a cocoa bar from a pile of groceries.
Zone 3: Cocoa Mixes and Flavors
Variety is what makes people linger. Three mixes feel abundant; one packet box feels like a vending machine.
11. The Classic Trio
Offer three base mixes in labeled jars: classic milk chocolate, dark chocolate, and white chocolate. Label them with simple tags or chalkboard labels. When guests can pick their base, even the pickiest eater finds something. This trio covers every taste without overwhelming anyone.
12. DIY Cocoa Mix Ornaments
Fill clear plastic ornaments with layers of cocoa mix, mini marshmallows, and crushed candy cane, then hang them on a small tabletop tree beside the bar or nestle them in a bowl. They are decor and party favors in one. Kids will beg to take one home, and honestly, let them.
13. A Spiced Cocoa Corner
Set out small dishes of cinnamon, nutmeg, cayenne, and cardamom with a tiny spoon so people can customize their cup. A card that says “Mexican mocha: add cinnamon + a pinch of cayenne” gives shy guests permission to experiment. This is the grown-up corner of the bar and it is always the first thing to run out.
14. Peppermint Everything
Crushed candy canes in a jar, peppermint sticks for stirring, a bottle of peppermint syrup. Peppermint is the flavor of Christmas cocoa, so lean in hard. A little dish of peppermint bark broken into chunks doubles as a topping and a snack. IMO you cannot overdo peppermint at a Christmas cocoa bar.
15. Coffee Shop Syrups
A row of flavored syrups (vanilla, caramel, hazelnut, peppermint) makes your cocoa bar feel like a real cafe. Use small bottles and group them together so they read as one collection. This is also how you keep the coffee drinkers happy, because a pump of vanilla in cocoa is basically a mocha.
Zone 4: Toppings and Mix-Ins
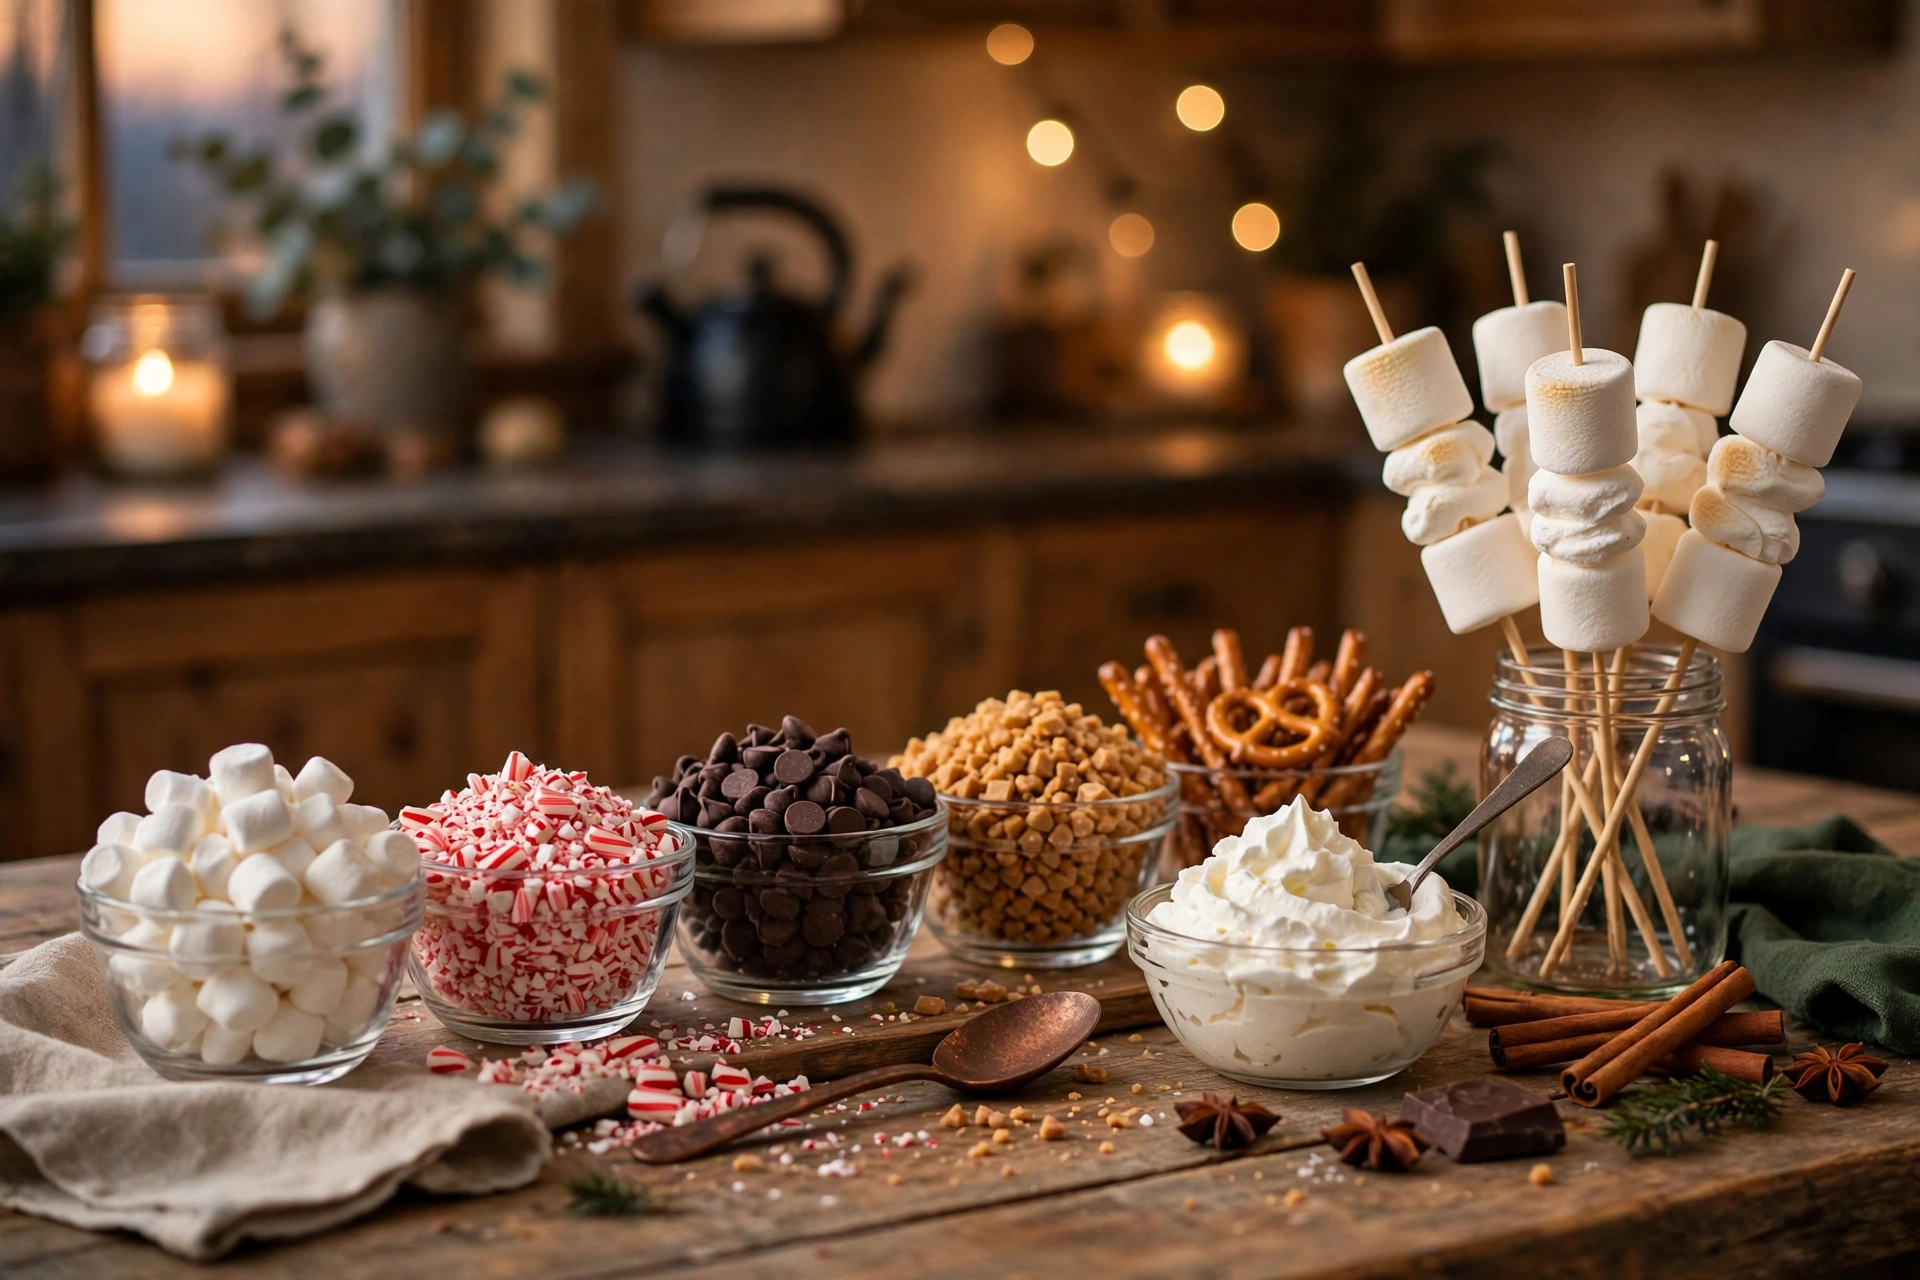
This is the zone kids run to first and adults pretend they are not excited about. Go generous here.
16. The Marshmallow Spread
Do not settle for one bag of minis. Set out mini marshmallows, big fluffy ones for toasting, and peppermint or chocolate-dipped marshmallows on sticks. A little dish of marshmallow skewers looks incredible and costs almost nothing. Warm, Full, Glow loves this zone because it is naturally abundant.
17. Whipped Cream Station
A bowl of fresh whipped cream with a spoon, or a canister of the spray kind in a little holder, is non-negotiable in my house. For a crowd, whip a big batch and keep it chilled in a bowl nested over ice. Add a shaker of cocoa powder beside it for dusting. That dusting is the difference between homemade and store-bought looking.
18. Crushed Candy and Cookie Toppings
Small jars of crushed candy canes, crushed Oreos, toffee bits, and mini chocolate chips let everyone build their signature cup. Label each jar so people know what they are grabbing. This is where the “build your own” magic happens, and it is the zone that shows up in every photo.
19. The Salty-Sweet Bowl
A little bowl of flaky sea salt, pretzel sticks, and salted caramel drizzle is the sleeper hit of every cocoa bar I have made. Salt makes chocolate taste more chocolatey, and guests who try the salt trick always come back for a second cup. Put a tiny sign that says “Trust us, try the salt” and watch it disappear.
20. Toasted Topping Bar
Set out a small dish of toasted coconut flakes, toasted chopped nuts, and a few biscotti for dunking. Toasting takes five minutes in a dry pan and makes everything taste intentional. This zone is also naturally gluten-friendly friendly, since most of it has no flour, which your guests with dietary needs will appreciate.
Zone 5: Above and Around
The bar itself is only half the picture. What happens above and around it is what makes the whole corner feel like Christmas.
21. Fairy Lights as a Backdrop
Drape a string of warm fairy lights on the wall behind the bar or around a mirror. This is the Glow in Warm, Full, Glow doing the heavy lifting. Battery-operated lights mean no cords to hide. One strand is enough; you are framing the bar, not lighting a stadium.
22. A Mini Tree Beside the Bar
A two-foot tabletop tree next to your cocoa station instantly says Christmas. Decorate it with cocoa ornaments from idea 12, mini ornaments, or just lights. It fills vertical space and gives the bar a backdrop that no garland can match. Christmas kitchen decor posts always show how a tiny tree changes a whole corner.
23. Chalkboard Menu Sign
A small chalkboard or letter board with a cocoa menu (“Classic, Peppermint Twist, Mexican Mocha, Snowy White”) makes the bar feel like a real shop. Write the recipes in short form so guests can mix their own. This also saves you from answering “what is in this?” forty times during a party.
24. Garland and Greenery Frame
Run a simple pine garland along the back edge of the table or around a mirror behind the bar. Tuck in a few pinecones and one or two ornaments. Greenery frames the whole setup and hides the fact that your sideboard is from 2012. If your mantel is already styled for the season, echo the same greenery so the rooms feel connected, the way Christmas mantel decor looks best when it talks to the rest of the house.
Zone 6: Special Touches for Kids and Guests
The difference between a nice bar and a memorable one is the little things people did not expect.
25. Cocoa Bar for a Kids Party
Scale the bar down for little hands: small mugs or even paper cups, a lower table, pre-portioned topping cups so there is no double-dipping, and a “decorate your marshmallow” plate with food-safe markers. Put the whipped cream where an adult controls it. Kids remember this setup for years. Mine still talk about that sleepover tray.
26. Take-Home Cocoa Favors
Set out small bags or jars with a scoop of cocoa mix, a few marshmallows, and a candy cane tied with ribbon, plus a tag that says “Thanks for sipping with us.” Guests leave with something in their hands, and your bar gets a second life in their kitchen. Make twelve; they will all go.
27. The Nightcap Upgrade
For the adults staying late, add a small tray beside the bar with coffee liqueur, peppermint schnapps, and Irish cream, clearly labeled and separate from the kid zone. A little card with two recipes (“Peppermint Patty Cocoa” and “Salted Caramel Nightcap”) turns the cocoa bar into an after-dinner ritual. Keep this tray on a higher shelf if kids are around.
The Heat and Steam Check
Hot cocoa means heat, steam, and sticky chocolate, so run this quick durability check before your first party.
Chocolate and heat: Cocoa mix clumps in humidity. Keep mix jars sealed with lids, not open bowls, and refill small open dishes instead of leaving big ones out all day. If you are using a slow cooker to keep cocoa warm, set it to low or warm, never high, and stir every 30 minutes so the bottom does not scorch.
Sticky spills: They will happen. Put a washable runner or a silicone mat under the whole bar, and keep a damp cloth tucked behind the station. Wipe as you go. Dried cocoa on wood is a project; fresh cocoa on wood is a wipe.
Steam and decor: Steam from a big pot can wilt fresh greenery and fog a mirror backdrop. Keep the hot pot at one end of the bar and the delicate styling at the other. Paper signs and chalkboard art should sit at least a foot from the steam source.
Kid safety: Hot liquid plus excited kids is the one real risk. Keep the hot pot or slow cooker at the back of the table, handles turned in, and let an adult do the pouring. The toppings stay up front where little hands can reach safely.
Budget: Buy Once vs Buy Each Christmas
A cocoa bar can cost almost nothing or way too much depending on how you shop. Here is how I think about it.
Buy once (the investment pieces): A big wooden tray, a set of glass jars with lids, a mug tree or rack, a nice ladle, and a slow cooker if you do not own one. These pieces come back every December and most of them work year-round. Buy them after Christmas on clearance and thank yourself next November.
Buy each Christmas (the consumables): Cocoa mix, marshmallows, candy canes, whipped cream, and any fresh greenery. Buy these fresh every year. Stale marshmallows from last year are not worth it, and I say this as someone who once served them.
The free stuff: Mismatched mugs from your own cabinet, a cardboard sign, pinecones from the yard, last year’s ornaments repurposed as decor. The bar from my sleepover story cost me zero dollars beyond the groceries, and the kids still talk about it.
A realistic budget: If you are starting from scratch, expect about 40 to 60 dollars for the reusable pieces and 20 to 30 dollars in consumables for a season of cocoa nights. After year one, it is just the consumables. IMO that is the best entertainment value in all of Christmas decorating.
Small-Space Variations
No sideboard? No problem. Cocoa bars shrink beautifully.
Tiny kitchen: Use the tiered tray from idea 4 on a counter corner, plus a mug tree beside it. That is your whole bar in about two square feet. When you need the counter, the tray moves to the dining table in one lift.
Apartment living: Build the bar on a rolling cart and park it in a closet or corner when guests are not coming. Everything lives on the cart, so setup takes two minutes. This is also perfect for renters who cannot hang anything on walls.
Dorm or office: A single tray on a desk with three mugs, one jar of mix, and a bag of marshmallows counts. Add a battery string of fairy lights and it is genuinely charming. Your coworkers will claim the tray as their own by week two.
One-shelf version: If all you have is one shelf, line up the cocoa jar, the mug stack, and one topping bowl. That is a cocoa shelf, and honestly it gets used more than the big setups because it is always ready. If you are borrowing DIY Thanksgiving decoration ideas for fall, the same one-shelf thinking applies.
Troubleshooting: Quick Fixes
Problem: The bar looks cluttered, not cozy. Fix: Remove one third of the items. Group what is left in odd numbers, add one runner underneath, and hang one string of lights behind. Clutter is almost always too many small things at the same height. Vary the heights and half the problem disappears.
Problem: Cocoa mix keeps clumping. Fix: Add a tablespoon of cornstarch per cup of homemade mix, keep store-bought mix in sealed jars, and always add mix to hot milk rather than milk to mix. Lumps come from cold liquid hitting powder. Hot liquid first, stir well, problem solved.
Problem: Toppings run out mid-party. Fix: Keep backup bags in the pantry and refill in small batches. A half-full jar refilled twice looks more abundant than one giant jar that empties by 8pm. This is the Full part of Warm, Full, Glow in action.
Problem: Nobody touches the fancy toppings. Fix: Put one sample cup out, already made, with a little sign saying “Try the salted caramel one.” People copy what they see. One brave guest makes a loaded cup and suddenly everyone is at the topping bowls.
Problem: The bar blocks the kitchen workflow. Fix: Move it. The bar belongs where people gather, not where someone is cooking. A sideboard, a dining table corner, or a rolling cart in the living room beats a crowded counter every time. Flow matters more than the perfect backdrop.
The Sip Test: Your Finishing Check
Before you call the bar done, run The Sip Test. Stand where a guest would stand, pick up a mug, and try to make yourself a cup of cocoa in 30 seconds without asking anyone a question.
Can you find a mug? Is the mix labeled? Are the toppings reachable? Is there a spoon? If anything makes you pause, fix it. A bar that passes the Sip Test runs itself during a party, which means you get to actually enjoy your own Christmas instead of playing cocoa bartender all night.
FAQs
What do you put on a hot cocoa bar?
Start with the essentials: a cocoa base (one to three mixes), mugs, marshmallows, whipped cream, and two or three toppings like crushed candy canes and chocolate chips. Then add one fun extra, like flavored syrups or a spiced cocoa corner, so it feels special without getting complicated.
How do you keep hot chocolate warm for a party?
A slow cooker on the warm setting is the easiest option for a crowd. For smaller groups, a big pot on the stove kept on low works fine. Stir every 30 minutes and keep it on warm, never high, to avoid scorching the bottom.
What is the cheapest way to make a hot cocoa bar?
Use what you own: a tray you already have, mugs from your cabinet, and jars from the pantry for toppings. Your only real purchases are cocoa mix, marshmallows, and candy canes, which run about 20 to 30 dollars. A cardboard sign and fairy lights you already own finish the look for free.
How far in advance can I set up a cocoa bar?
Set up the non-food styling (tray, runner, lights, signs, empty jars, mugs) a day or two ahead. Add perishables like whipped cream and opened toppings the day of the party. Sealed jars of mix and candy canes can go out whenever you like.
Can you make a hot cocoa bar for kids?
Absolutely. Use small mugs or paper cups, pre-portion toppings into individual cups to avoid double-dipping, keep the hot pot at the back where an adult pours, and add a fun activity like decorating marshmallows. Kids love choosing their own mug and building their own cup.


One Comment