
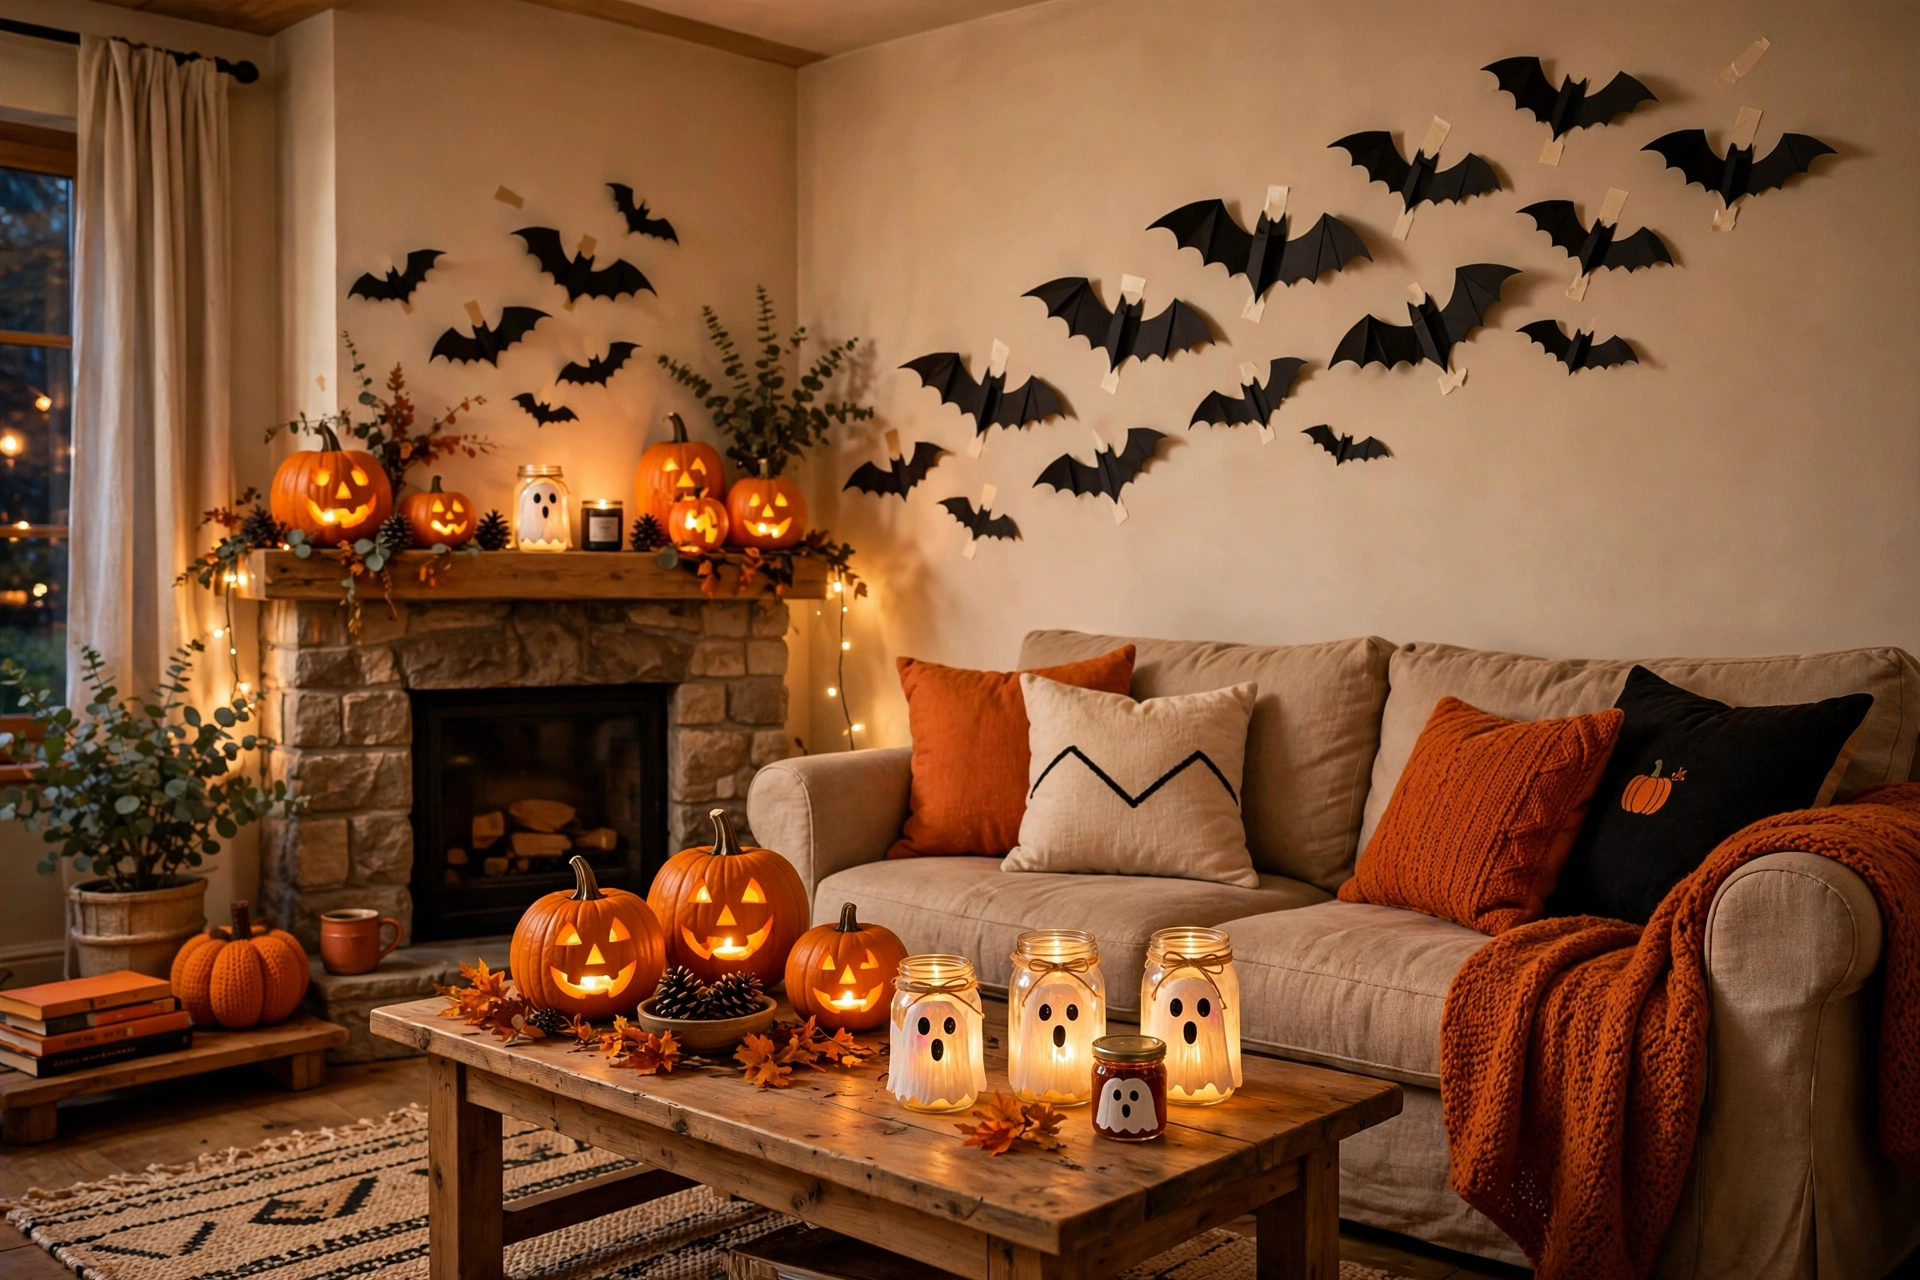
15 DIY Halloween Decorations on a Budget That Look Expensive
Halloween decorating does not have to drain your wallet. The best diy halloween decorations look expensive because of smart layering and a little creativity, not because of big spending. With a trip to the dollar store, a few craft basics, and supplies you already have at home, you can build decorations that cost under $10 each and earn compliments from every trick-or-treater on the street.
Each idea below lists the real cost, where to grab supplies cheaply, and how long it takes. Most come in under $5 and take less than 30 minutes. Grab your hot glue gun and let’s get started.
1. Milk Jug Ghosts
Save your empty milk or water jugs for a week and you have the raw material for an entire ghost family. Draw simple spooky faces with a black permanent marker, drop a battery-operated tea light inside each jug, and line them along your walkway or porch steps. The frosted plastic diffuses the light beautifully, so they glow like expensive store-bought luminaries. Cost: free if you save jugs, about $1 per jug for dollar-store tea lights. Time: 10 minutes per ghost.

2. Cheesecloth Ghosts: The Classic DIY Halloween Decorations
Few diy halloween decorations are as charming as floating cheesecloth ghosts. Drape cheesecloth over a foam ball propped on a plastic bottle, spray with fabric stiffener, let it dry overnight, then remove the form and add black felt eyes. Hang them from porch ceilings, branches, or curtain rods at different heights. They sway in the breeze and look far more delicate than their price. Cost: about $2 each (foam balls and cheesecloth from the dollar store or craft aisle). Time: 15 minutes of hands-on work plus overnight drying.
3. Dollar Store Apothecary Jars
Those glass jars and vases at the dollar store become convincing potion bottles with one coat of spray paint. Spray a few in black, cream, or deep purple, then add free printable vintage potion labels (printable online), glued on. Fill some with water tinted with food coloring for an eerie glow. Grouped on a mantel or bathroom shelf, they look like a curated collection instead of a $1.25 find. Cost: $1.25 to $3 per jar including paint. Time: 20 minutes plus paint drying time.
4. Tin Can Luminaries
Before you recycle those soup cans, turn them into glowing luminaries. Fill each can with water and freeze it solid (this stops denting), then punch a pattern with hammer and nail: stars, moons, or dots. Once the ice melts, spray the outside black or metallic copper and add an LED tea light. The punched holes throw gorgeous patterned light across your porch. Cost: free cans plus about $1 for the tea light. Time: 15 minutes per can, and they last for years if you store them dry.
5. Black Bat Wall
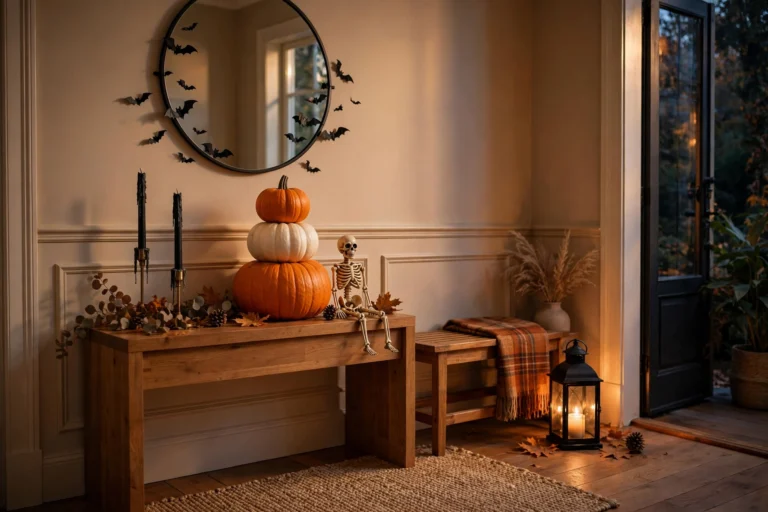
One of the cheapest high-impact tricks in the book. Cut bat shapes from black poster board or cardstock using a free printable template, fold the wings slightly for dimension, and stick them to a wall with removable adhesive putty. Start small near the ceiling or door frame and let the swarm trail down and across. A few dozen bats climbing a wall looks like a professional installation. Cost: under $2 for a pack of poster board. Time: about 20 minutes of cutting, and you can reuse them every year.
6. Cardboard Tombstones
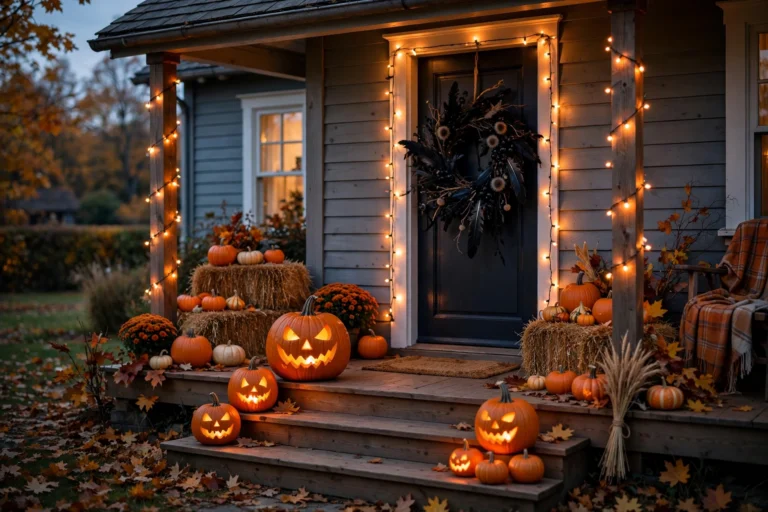
Those shipping boxes piling up in the garage are free tombstones. Cut a rounded-top tombstone shape from corrugated cardboard, spray with gray stone-texture paint (about $5 a can, enough for six or more stones), and hand-letter funny epitaphs like “Here Lies My Wi-Fi Signal” in black marker. Stake them in the yard with wooden skewers; the stone paint makes them read as real from the street. Pair them with your porch setup for a full scene. These also sit nicely alongside your favorite Halloween porch decor ideas if you are styling the whole entryway.
7. Shredded Spider Web Tablecloth
Skip the pre-made web tablecloths and make a creepier one. Buy the cheapest white or gray plastic tablecloth from the dollar store, then cut long slits and jagged holes into it with scissors, keeping the edges intact so it still drapes. Stretch it over your dining or entry table and tuck a few plastic spiders into the tears. It looks like an abandoned giant web, far spookier than a printed pattern. Cost: $1.25 plus spiders. Time: 10 minutes, and guests always ask where you bought it.
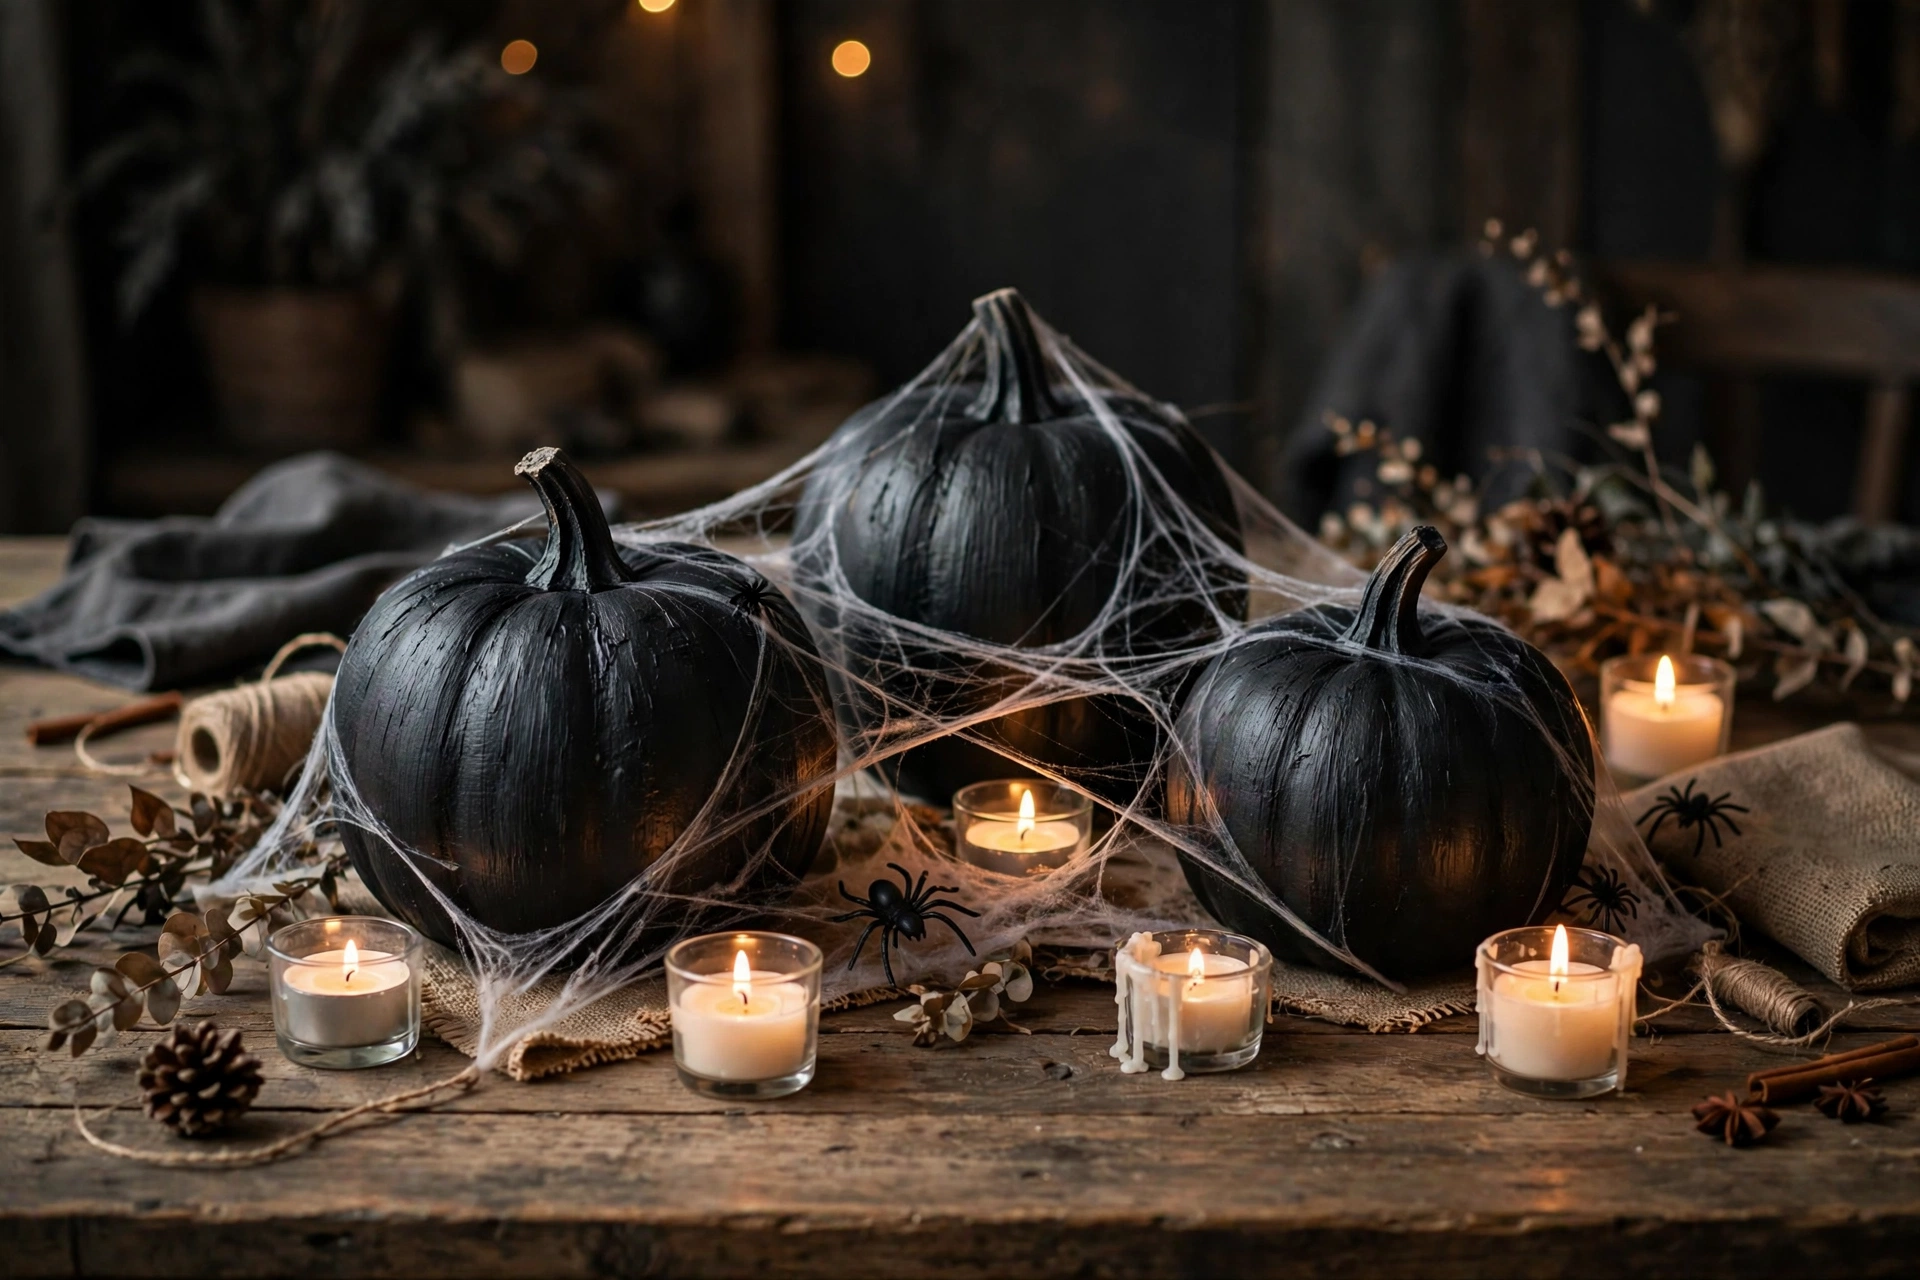
8. Painted Mini Pumpkins
Real pumpkins rot, but the foam and plastic pumpkins at dollar stores and Target last for years. Skip carving and paint them: matte black, cream, metallic gold, or buffalo check with a stencil. A cluster in one color family looks curated and modern, like something from a boutique. Acrylic craft paint costs about a dollar a bottle and one bottle covers several pumpkins. Cost: roughly $2 per finished pumpkin. Time: 20 minutes of painting plus drying, and they store flat in a tote for next year.
9. Mason Jar Mummies
Wrap mason jars or any glass jars in strips of white gauze or torn bedsheets, leaving a gap near the top for two googly eyes. Drop an LED tea light inside and the “mummy” glows from within, lighting up the bandages. Line them along a windowsill or mantel. Cute enough for a kids’ party, spooky enough for the main display. Cost: about $2 each using jars you already own, with gauze from the dollar store. Time: 15 minutes per mummy, and the wrap comes off easily for reuse.
10. Floating Witch Hats
Hang black witch hats from a porch ceiling or hallway with fishing line and tuck battery fairy lights inside each one. From below, the hats look like they are hovering and glowing, a trick that stops visitors mid-step. The hats cost a dollar or two each at discount stores, and one fairy light string covers three or four hats. Cost: about $5 total for a cluster of four. Time: 15 minutes to string and hang, and the effect is pure magic after dark.
11. Pool Noodle Candles
Cut a pool noodle into different heights, add hot-glue drips around the rims for a wax look, then paint each cream or ivory. Set an LED tea light in the hollow center of each candle. Clustered together, they read as elegant pillar candles, and nobody guesses they started as pool toys. This is one of those diy halloween decorations that genuinely fools people. Cost: about $2 per candle (one noodle makes four or five). Time: 20 minutes of work plus paint drying.
12. Sweater Pumpkins
Got an old sweater with a hole in the elbow? Cut off the sleeves, tie one end shut with twine, stuff with polyester fill or plastic grocery bags, and tie the top around a cinnamon stick for a stem. The knit texture looks cozy and high-end in cream, gray, or rust. Style them on your fall entryway decor console or mantel to carry autumn straight into Halloween. Cost: free if you raid your closet, under $3 for thrift-store sweaters. Time: 20 minutes per pumpkin, no sewing needed.
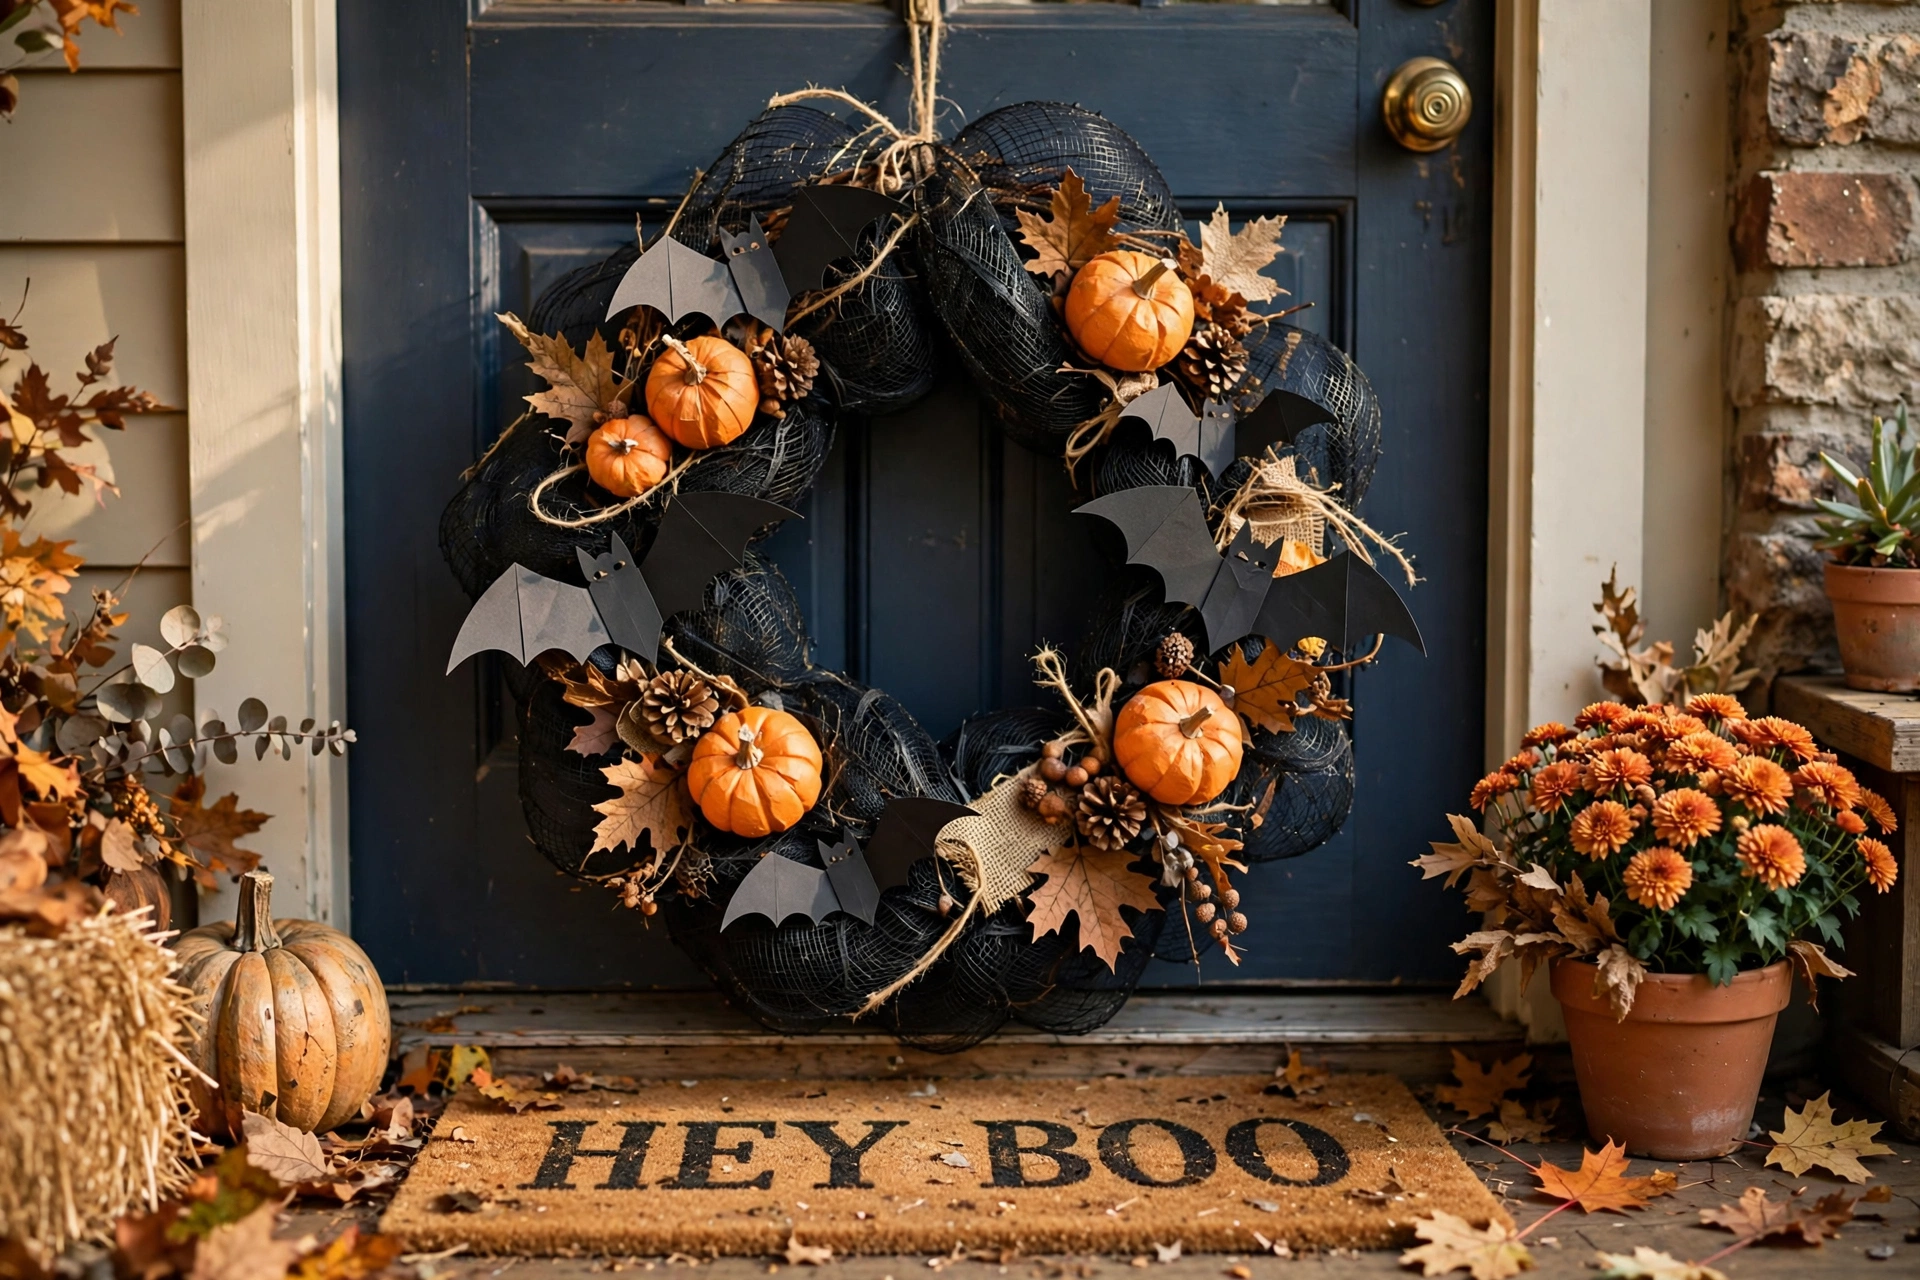
13. Spider Web Wreath
Bend a wire hanger into a circle, wrap it in black yarn, then weave more yarn across to form a web. Hot-glue a big plastic spider in the center and hang it on your door with a ribbon. It turns the classic wreath shape spooky for a fraction of the store-bought cost. Add tiny purple fairy lights for a nighttime glow. Cost: about $2 total (yarn and a dollar-store spider). Time: 25 minutes, and it is a relaxing evening project.
14. Bloody Handprint Window Clings
Mix washable red tempera paint (about $3 a bottle at any craft store) and press your handprints, and the kids’ handprints, onto wax paper or directly onto a window you plan to wash later. Once dry, they look straight out of a horror movie and wash right off on November first. Layer them around a front window or glass door for maximum drama. Cost: under $3 for paint that lasts years of Halloweens. Time: 10 minutes of gloriously messy fun.
15. Paper Ghost Garland (Easy DIY Halloween Decorations)
Fold white copy paper or coffee filters accordion-style, cut out a simple ghost silhouette, unfold, and you have a whole chain of ghosts holding hands. String them across a mantel, doorway, or along a banister with twine. Spray them lightly with glow-in-the-dark paint for a nighttime surprise. It is the simplest project on this list, proof that diy halloween decorations do not need a big budget to make a big impression. Cost: about $1 for paper and string. Time: 15 minutes, and kids can do the cutting.
Budget Halloween Styling Tips
Group cheap items in odd numbers. Three $1 pumpkins clustered together look intentional; one alone looks lonely.
Stick to one color story. Black plus one accent (orange, purple, or metallic gold) repeated across every project makes mismatched dollar-store finds look like a curated collection.
Layer your lighting. Tea lights, fairy lights, and glowing pumpkins at different heights make even the cheapest crafts cast dramatic shadows after dark.
Mix textures. Pair matte (painted pumpkins, cardboard tombstones) with shine (metallic spray paint, glass jars) and softness (cheesecloth, yarn). Texture variety separates a boutique display from a pile of props.
Shop your house first. Check the garage, closets, and craft bin for jars, candles, fabric scraps, and cardboard before buying anything. For more seasonal inspiration, browse our more Halloween decor ideas.
FAQs About DIY Halloween Decorations
How much should I budget for DIY Halloween decorations?
$25 to $40 covers a whole porch and living room, since most projects here cost $1 to $5 each. Spend only on reusable basics like spray paint and LED tea lights.
Where is the cheapest place to buy Halloween craft supplies?
Dollar stores for jars, pumpkins, cheesecloth, and tea lights. Thrift stores for sweaters and vases, and hardware stores for the best spray paint prices.
How long do DIY Halloween decorations take to make?
Most take 10 to 25 minutes of hands-on time each, plus drying time for paint or starch. You can finish three or four in one weekend afternoon.
How do I make cheap Halloween decorations look expensive?
Use one color palette, odd-numbered groupings, and layered lighting. One coat of matte black or metallic gold spray paint makes almost anything look high-end.
Are DIY Halloween decorations safe around kids and pets?
Yes with LED candles instead of real flames, and small parts like plastic spiders kept away from toddlers. Washable paints make cleanup easy.

2 Comments