
27 Christmas Tiered Tray Decor Ideas That Turn a Tiny Tray Into the Merriest Spot in the House
Intro
The first Christmas tiered tray I ever styled was an accident. I found a rusty three-tier stand at a thrift store for six dollars, brought it home with no plan, and stuck whatever red things I owned on it: a candle, a tiny tree, three ornaments that had lost their hooks. It looked, honestly, like a garage sale. But my sister walked into my kitchen, pointed at it, and said, “That little thing is the most Christmas thing in your whole house.” She was right. The tray was small, but it was at eye level, right where everyone stood with their coffee, and it did more work than my whole mantel.
That is the secret of christmas tiered tray decor. A tiered tray is tiny, cheap, and fast, but it sits exactly where people look: the kitchen counter, the entryway table, the coffee bar. You do not need a ladder, a budget meeting, or a free weekend. You need about thirty minutes and a little bit of a plan. This year I am sharing the full playbook: 27 christmas tiered tray decor ideas organized by tier and theme, plus my simple three-part styling formula, the spin test that tells you when a tray is actually done, and an honest budget breakdown. If you styled a tray for fall with our fall tiered tray ideas, think of this as the Christmas sequel, same tray, whole new season.
The Star, Story, Base Formula: My 3-Part Christmas Tiered Tray Method
Before the ideas, here is the formula I use on every tray. I call it Star, Story, Base, and it stops me from either overcrowding the tray (my 2023 mistake) or leaving it so bare it looks like I forgot to finish (my 2024 mistake).
Star means one piece that steals the eye on each tier, usually the tallest or brightest thing: a mini tree, a little light-up house, a bold sign. One star per tier, never two. Two stars fight each other and the eye does not know where to land.
Story means the small pieces that tell the theme: mini ornaments, a bead garland, a tiny gift box, a mug. These are the supporting actors. They should all agree on the same story, so if your star is a rustic truck, your story pieces are pinecones and burlap, not glitter unicorns.
Base means the foundation that ties the tier together: a ring of faux greenery, a little faux snow, a small plate or doily under the pieces. The base is what makes a tray look styled instead of just piled up. IMO the base is the most skipped step and the biggest difference maker. FYI, if your tray looks messy, it is almost always a missing base, not too many decorations.
Star, Story, Base. Run every tier through that filter and the tray practically styles itself.
Christmas Tiered Tray Decor Ideas for the Top Tier: The Star
The top tier is the first thing people see, so it gets the best piece. Keep it to three or four items up here, with one clear star.
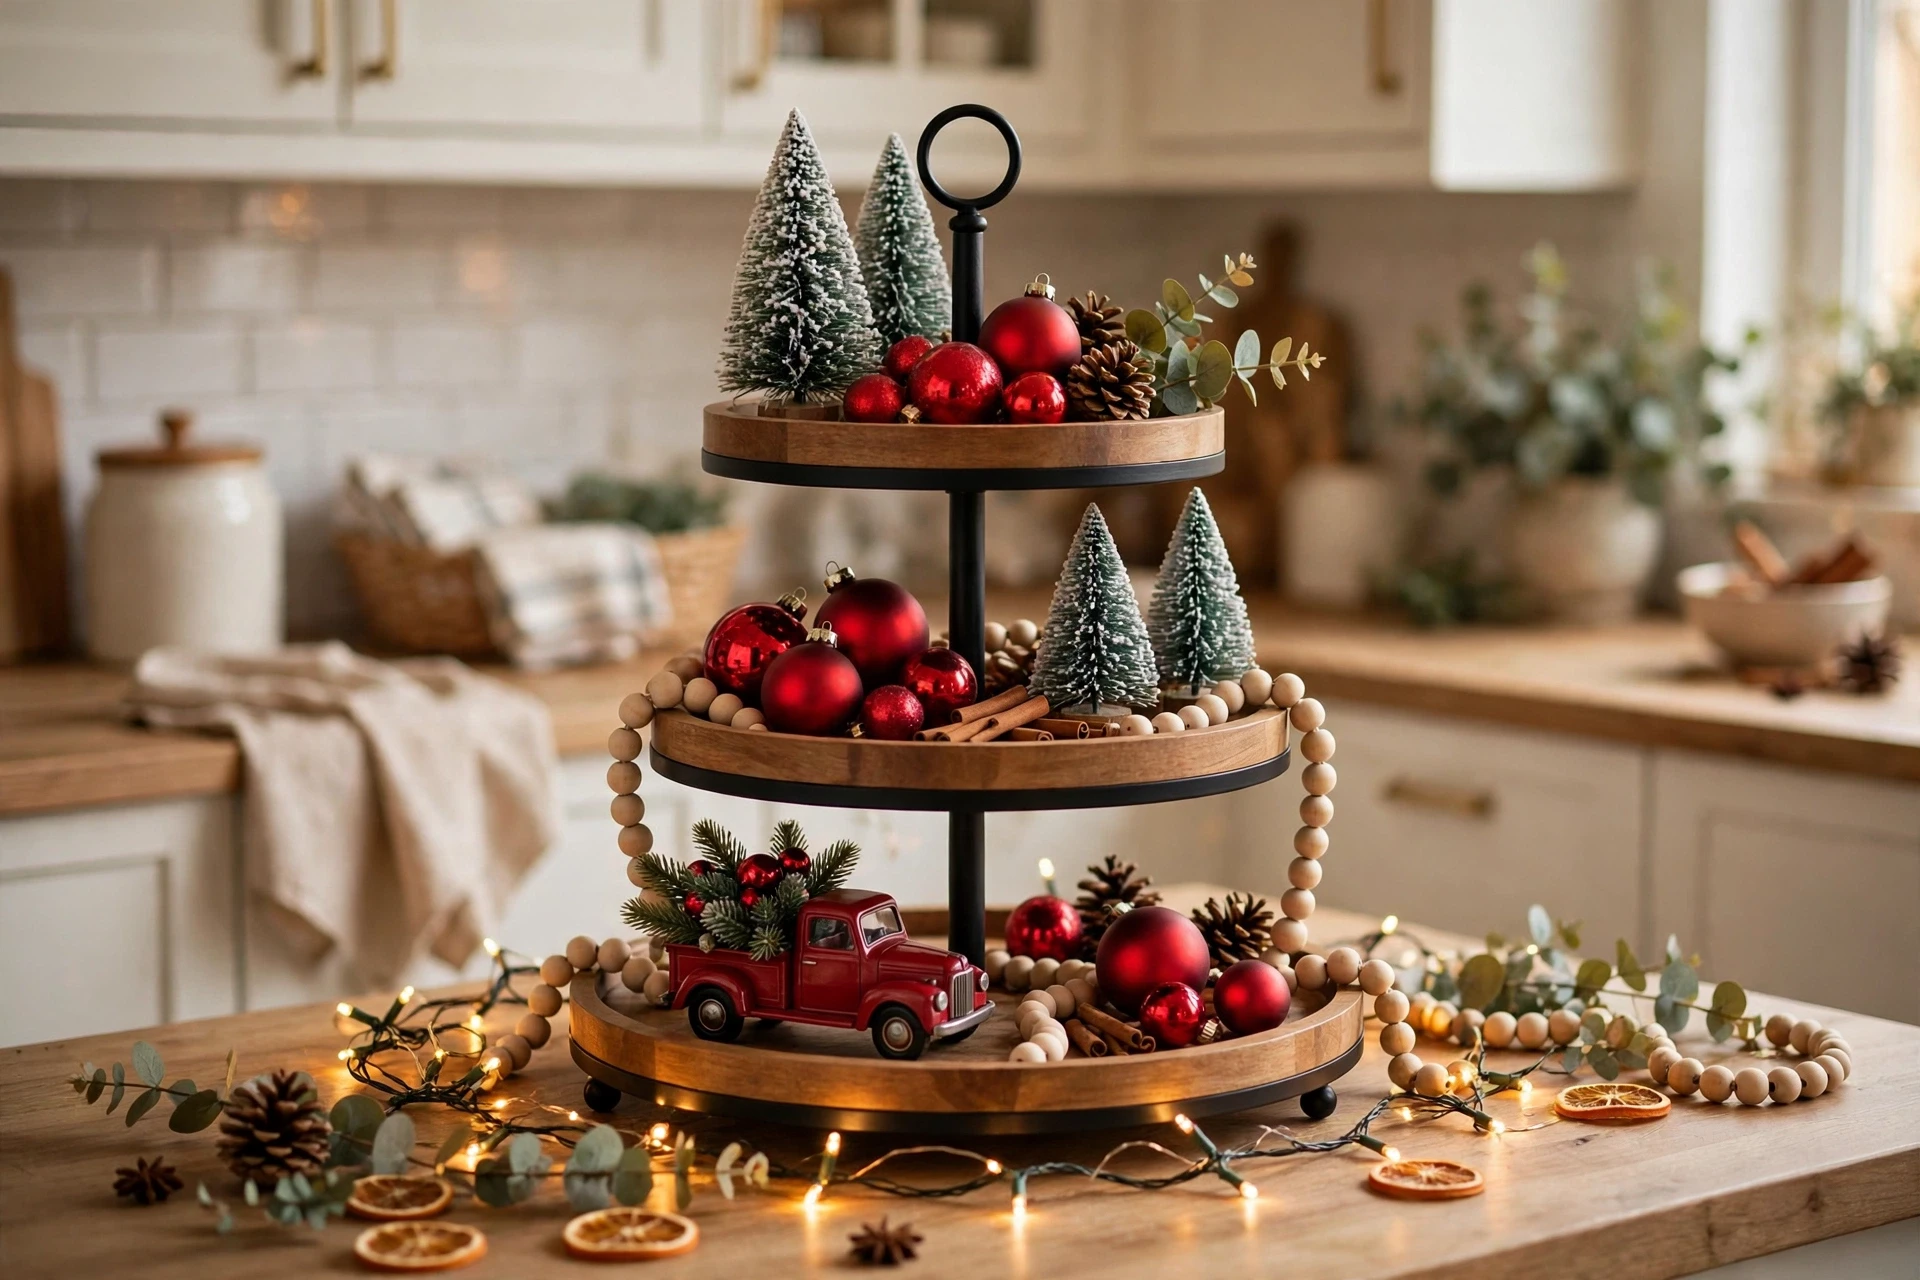
- One tall mini tree as the star. A ten or twelve inch bottle-brush tree in green, white, or flocked is the classic top-tier star. Just one, not a forest. Put it slightly off center so the tray still feels natural, and let it be the tallest thing on the whole stand.
- A tiny house that lights up. A little ceramic or wooden house with a battery fairy light inside is my favorite top-tier star after the tree. At dusk it glows, and guests always ask where you got it. Mine cost about nine dollars and it comes out every single year.
- A mini Santa or angel with presence. One figurine, about five or six inches tall, standing proud. The trick is giving it space: if you crowd it with five other figurines it reads as clutter, but alone on the top tier it reads as a centerpiece.
- A mini sign as the topper piece. A little “Merry Christmas” or “Let It Snow” sign, propped against the back plate of the top tier, gives the tray a headline. Lean it, do not lay it flat, and keep it smaller than your star so it does not compete.
Christmas Tiered Tray Decor Ideas for the Middle Tier: The Story
The middle tier is where the story lives. These are the small, charming pieces people lean in to look at.
- A mini mug stuffed with candy canes. A two or three inch mug, red or cream, holding three candy canes and one striped straw is the easiest story piece I know. It costs almost nothing, it smells faintly like peppermint, and kids love it.
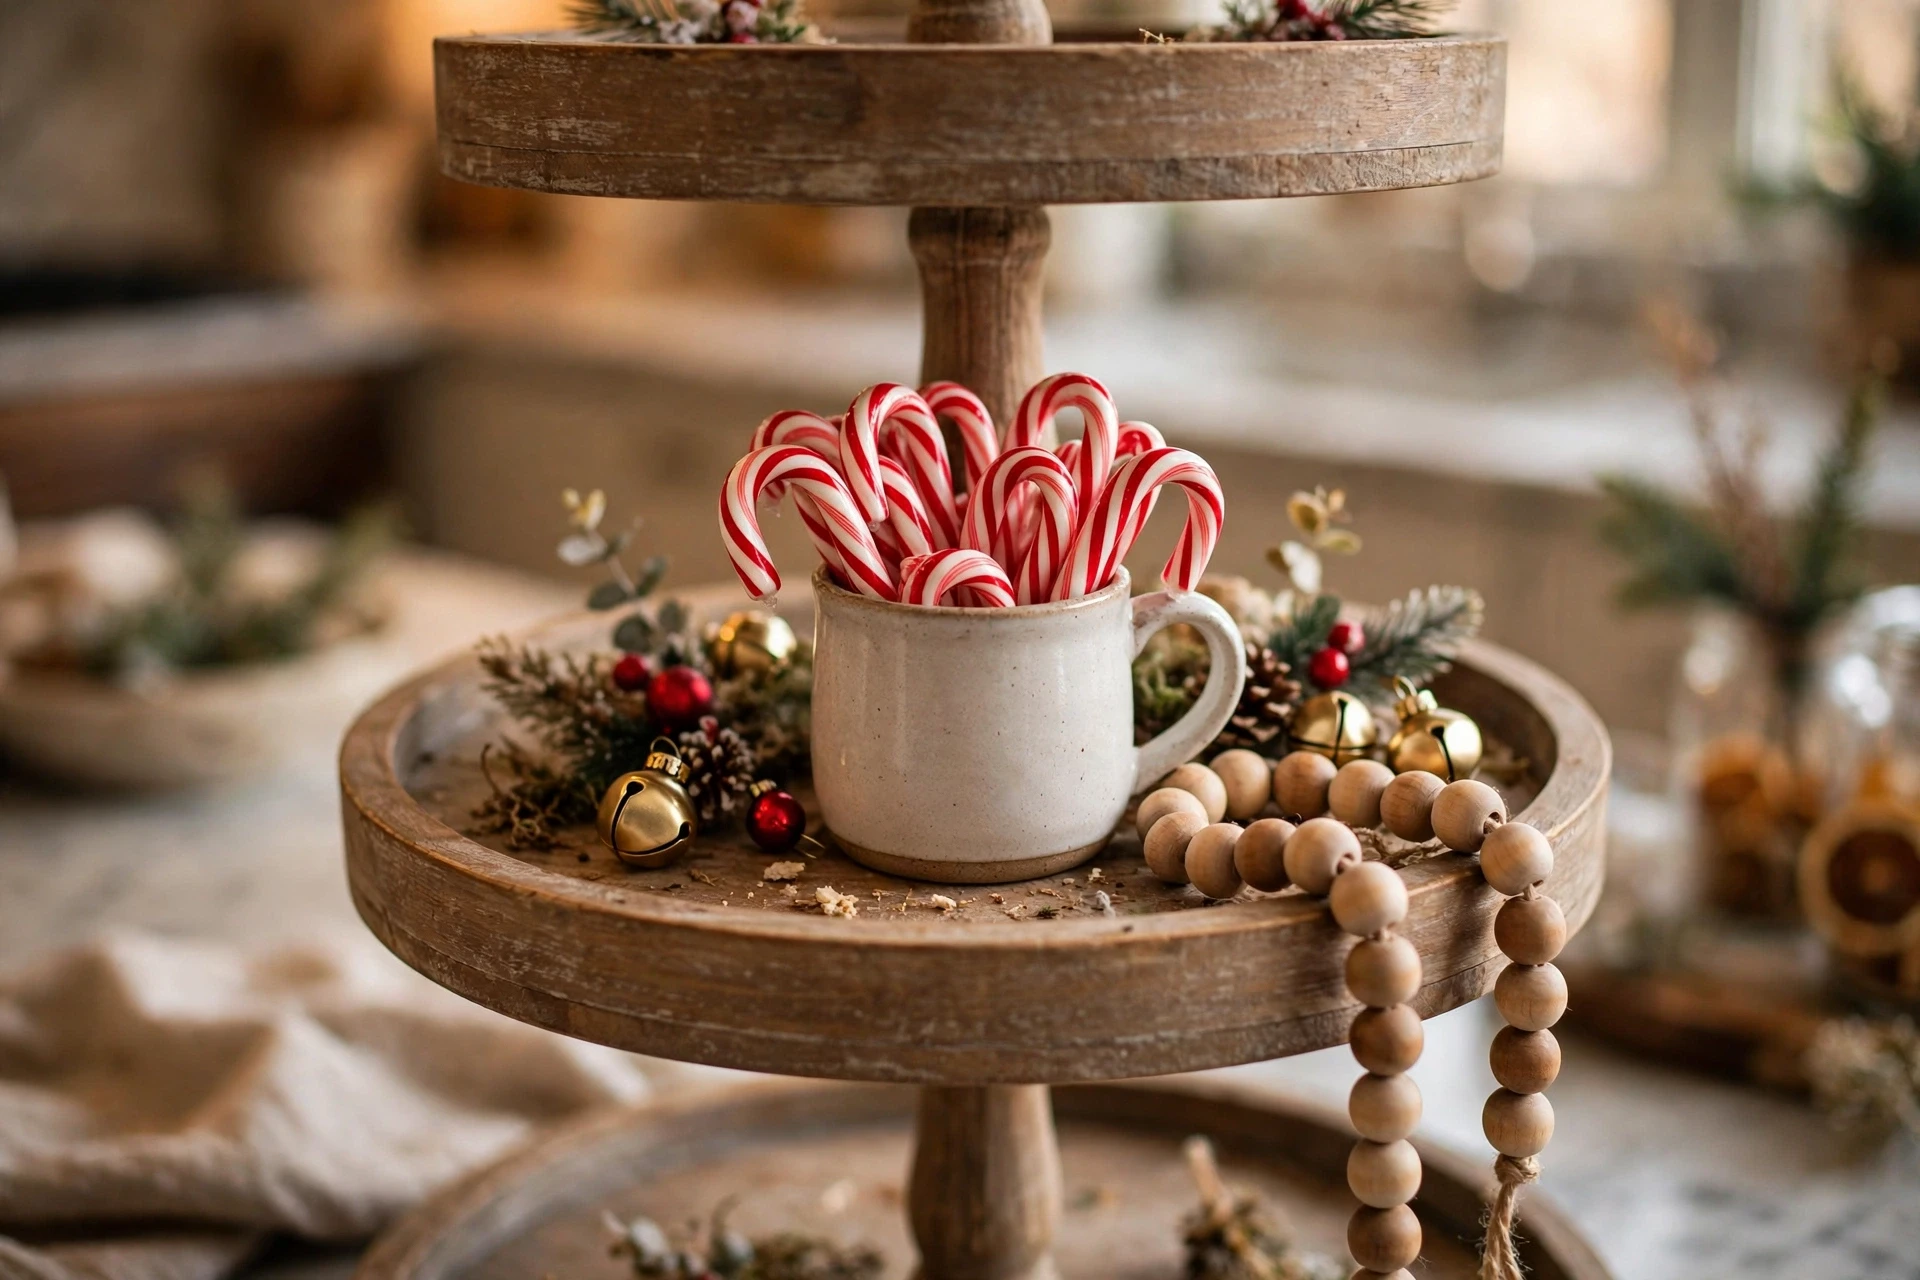
- A wood bead garland draped over the edge. Let a wood bead garland spill over the front edge of the middle tier so it hangs down a little. That drape is what makes a tray look professionally styled, IMO. Natural wood beads for farmhouse trays, red or white painted beads for classic ones.
- A cluster of three mini ornaments in one color. Three tiny ornaments, all the same color, grouped tight in one corner of the middle tier. One color keeps it classy, three ornaments keep it from looking random. Gold for glam trays, red for classic trays, silver for woodland trays.
- A stack of two or three mini gift boxes. Tiny wrapped presents, about two inches each, stacked slightly crooked like someone just set them down. Wrap them in your tray colors, tie them with twine, and they instantly read as Christmas. This is the piece guests always try to pick up.
- A mini wreath leaning on the back plate. A four or five inch wreath, leaning upright against the back of the middle tier, adds a circle shape that breaks up all the vertical pieces. Hang a tiny bow on it and you are done. It is the sleeper hit of the whole list.
Christmas Tiered Tray Decor Ideas for the Bottom Tier: The Base
The bottom tier is the widest, so it carries the heaviest pieces and the greenery that grounds the whole stand.
- A faux greenery ring as the foundation. Coil a short length of faux pine garland into a ring on the bottom tier and set your pieces inside it. That ring is the base layer that makes everything else look intentional. Faux is the move here because real pine sheds needles all over your counter within days.
- Faux snow and scattered mini pinecones. A little blanket of faux snow, the fluffy batting kind, with five or six mini pinecones scattered on it turns the bottom tier into a tiny winter scene. Keep the snow thin, a thick pile looks like a snowdrift ate your decorations.
- A mini red truck carrying a tree. The little red pickup with a tree in the bed is a classic for a reason. It is heavy enough to anchor the bottom tier, it is instantly readable as Christmas from across the room, and it pairs with almost every theme on this list.

- A small lantern with an LED candle. A four or five inch lantern with a flameless candle inside gives the bottom tier a warm glow at night. Real candles near greenery make me nervous, so I switched to LED years ago and never looked back. More on candle safety in the troubleshooting section.
Christmas Tiered Tray Decor Ideas by Theme: Classic, Farmhouse, Woodland, and Glam
Once you know the tiers, pick a theme and let it decide your colors. A theme is what stops a tray from looking like a random clearance bin.
- Classic red and green tray. Red truck, green bottle-brush trees, a buffalo plaid ribbon woven through the tiers, and one gold accent. This is the tray most people picture when they hear “Christmas tray,” and it works in literally any kitchen. If you want to see how red and green plays on a bigger stage, our christmas mantel decor ideas use the same palette.
- Rustic farmhouse tray. Galvanized metal pieces, natural wood beads, burlap ribbon, and cream colored trees. No glitter, no bright red, just wood, metal, and greenery. This theme is the most forgiving for beginners because everything in it is muted and matches itself.
- Winter woodland tray. White flocked trees, a little deer figurine, faux snow, and silver ornaments. Skip the red entirely. The woodland tray feels calm and a little magical, and it transitions into January just by removing one or two pieces.
- Gold and white glam tray. Mercury glass votives, gold ornaments, a white tree, and one champagne ribbon. This is the dressy tray, the one for the dining room sideboard or the entryway table. Keep it to gold, white, and one soft metallic, and it looks expensive even when half of it came from the dollar store.
- Candy cane lane tray for kids. Peppermint everything: striped ornaments, candy cane picks, a tiny gingerbread man, red and white everything. This is the tray for the family kitchen, and kids love helping build it. Fair warning, the candy canes will disappear. Buy extras.
- Vintage nostalgia tray. Pastel bottle-brush trees, a little tinsel garland, one retro Santa, and a few mercury glass ornaments. This theme is pure childhood Christmas, and it photographs beautifully. Thrift stores are the best source for the old ornaments that make this one sing.
Christmas Tiered Tray Decor Ideas for the Kitchen and Coffee Bar
Kitchen trays work harder than any other tray because they sit where people actually live. Keep the pieces wipeable and the food ideas practical.
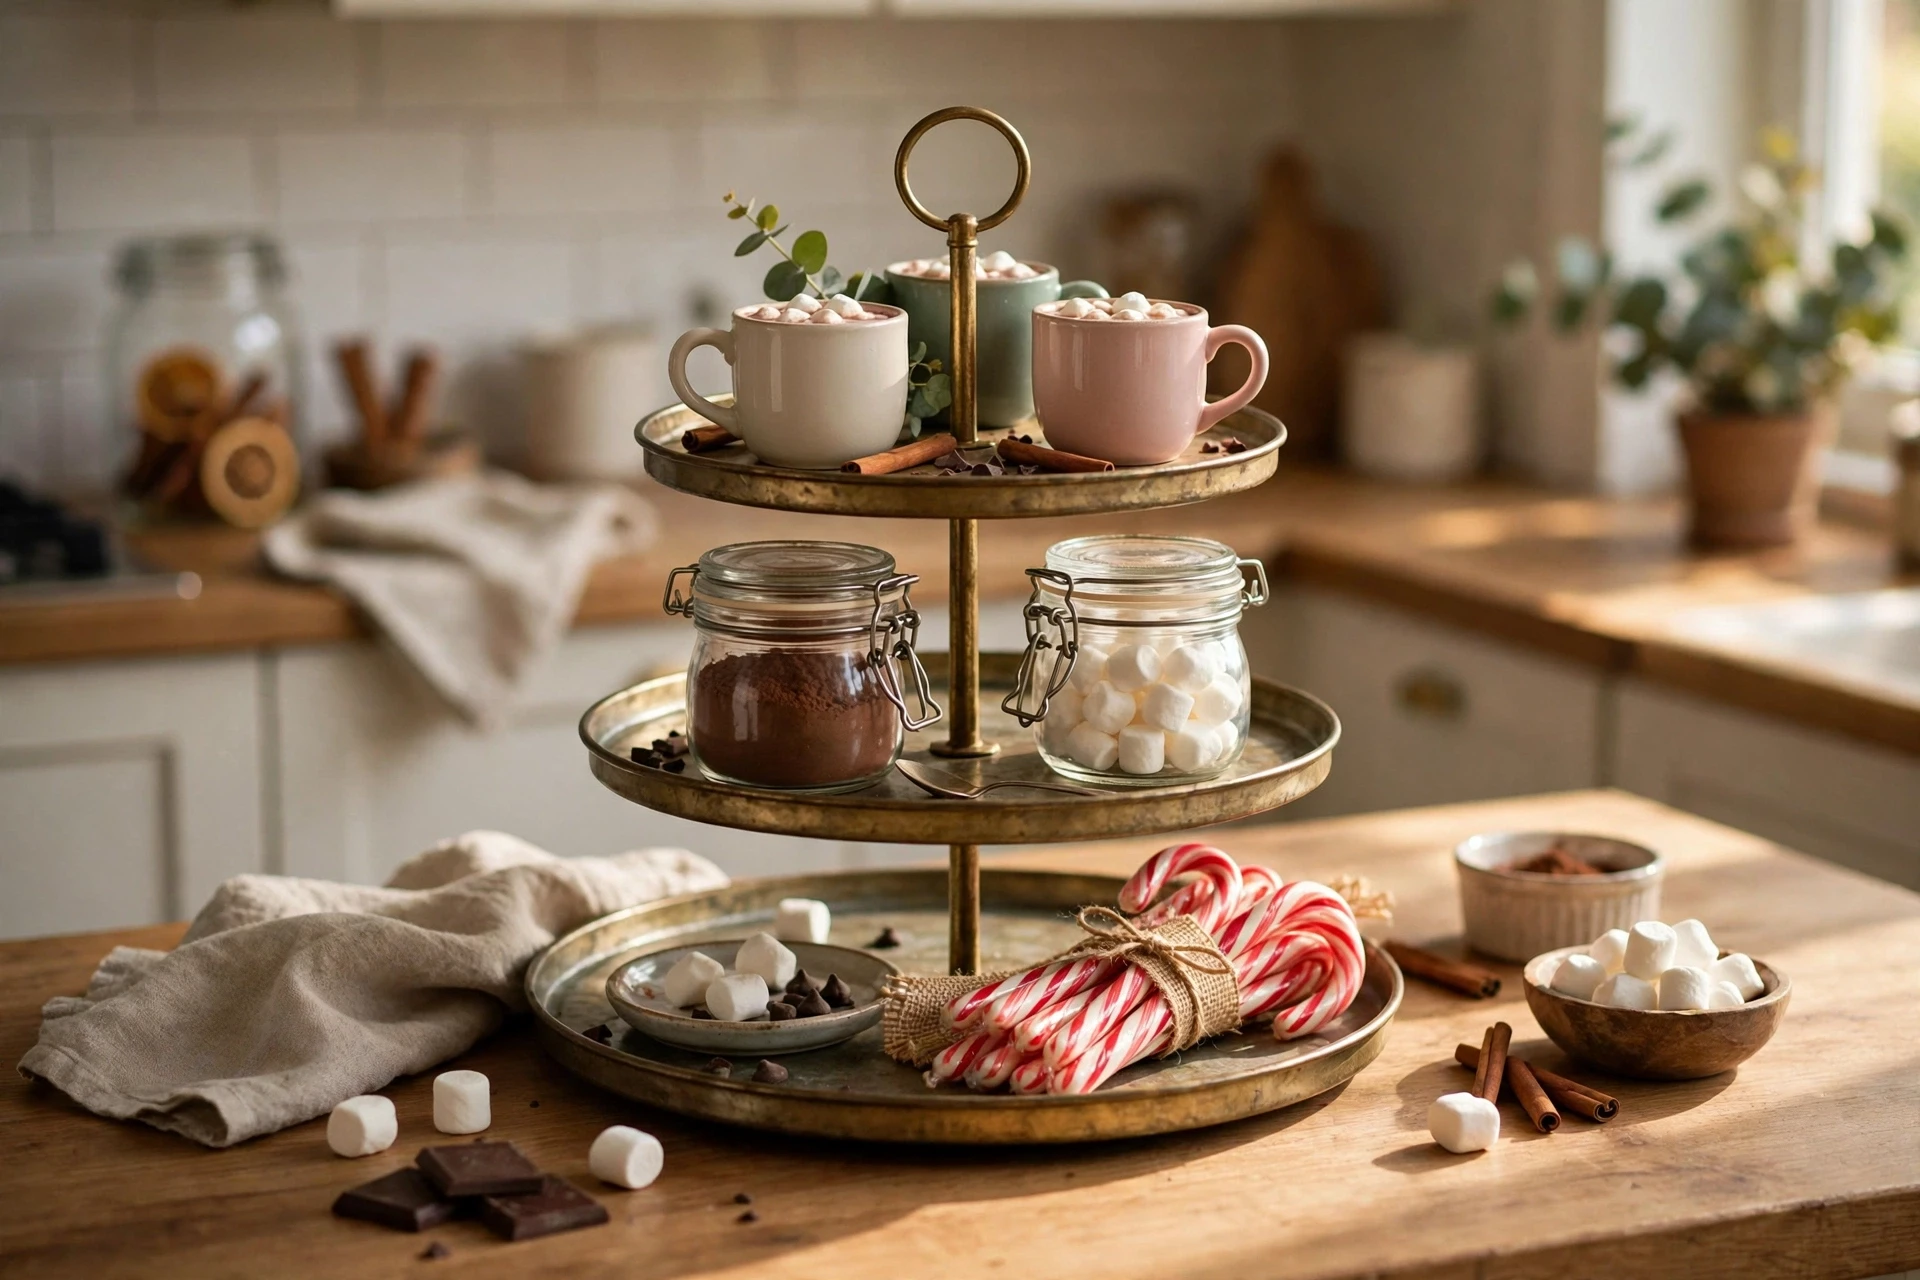
- Hot cocoa station tray. A mini mug tree, two small jars of cocoa mix and marshmallows, a candy cane bundle, and one tiny sign that says “Cocoa.” This is the tray that gets used, not just looked at, and it pairs perfectly with our christmas kitchen decor ideas if you want the whole room to match.
- Gingerbread house centerpiece tray. One small gingerbread house, real or ceramic, as the star, with mini trees and a dusting of faux snow around it. If you bake a real one, keep it on the tray for display only, because kitchen humidity softens gingerbread fast.
- Cookie and milk tray for the season. A little plate of faux cookies, a mini milk bottle, and one small Santa figurine. It is charming all December, and on Christmas Eve you swap the faux cookies for real ones and it becomes part of the family tradition.
- Tiered tray on a cutting board base. Set the whole stand on a wooden cutting board on the kitchen island. The board catches stray faux snow and pine needles, protects the counter, and makes the tray look like a deliberate display instead of a random pile. This is my favorite kitchen trick on the list.
Christmas Tiered Tray Decor Ideas for Small Spaces and Tight Budgets
The last four ideas prove you do not need a big counter or a big budget to have a great tray.
- Single-tier mini tray for apartments. One small plate, one mini tree, one mug, done. A single tier on a bathroom shelf or a desk corner counts as a tiered tray in spirit, and it is the best starter version if you have never styled one before.
- Dollar store tray makeover under $25. A plain three-tier stand from the dollar store, three bottle-brush trees, one bead garland, one mini sign, and a bag of mini ornaments. Total: about twenty-two dollars. Spray paint the stand gold or white first if the finish looks cheap, it takes ten minutes and changes everything.
- DIY dried orange slice garland for the tray. Bake orange slices low and slow for a few hours, string them on twine, and drape the garland around the middle tier. It smells faintly amazing, costs almost nothing, and it is the one handmade piece guests always ask about.
- After-Christmas swap: three swaps to a winter tray. When December ends, do not pack the tray away. Swap the red pieces for white ones, swap the Santa for a snowman, and swap the ornaments for snowflakes. Three swaps and your Christmas tray becomes a winter tray that lasts until February.
The Spin Test: My Finishing Check for Christmas Tiered Tray Decor
This is my finishing framework, and it is not optional. Spin the tray slowly, one full turn, and look at it from every side. Every side should look finished, not just the front. Nothing should wobble, nothing should have a bare back showing, and no piece should look like it is hiding. If one side looks empty, move one small piece there. If one side looks crowded, remove one piece. Sixty seconds, and the tray is done. The spin test is the difference between a tray that looks good in one photo and a tray that looks good in real life, where people walk past it from every direction.
Kitchen Steam and Dust Check: What Survives on a Tiered Tray
Kitchen trays live near stoves, sinks, and coffee makers, so they get greasy film and dust faster than any other decor. Before you place a tray, run it through the steam and dust check.
Survives the kitchen: faux greenery and garlands, ceramic and glass pieces, wood beads, metal trucks and lanterns, LED candles, and anything on a cutting board base that you can lift and wipe under.
Struggles in the kitchen: paper signs near the sink (they curl in steam), real pine (it sheds and gets sticky), loose faux snow near the stove (it drifts into food), and anything cardboard.
The fix is simple: wipe the tray down once a week with a damp microfiber cloth, keep it at least a foot from the stove, and run the vent fan when you cook. And when in doubt, go faux. Nobody can tell the difference on a bead garland, and it will still look perfect on Christmas Day.
Buy Once vs Buy Each Christmas: A Realistic Budget
You do not need to rebuy everything every year. Here is how I split it.
Buy once, use for years (about $45 to $60 total): the tiered stand itself, two or three bottle-brush trees, a wood bead garland, a mini lantern, a red truck, and one light-up house. These are the bones of your christmas tiered tray decor, and they come out of the bin every December.
Buy fresh each year (about $10 to $15): candy canes, a fresh greenery sprig or two, mini gift wrap for the gift boxes, and one new small piece to keep the tray feeling fresh.
IMO the buy-once stuff pays for itself by year two. My red truck is on its fourth Christmas and it still looks brand new. The yearly refresh is the fun part anyway, ten minutes at the dollar store and you feel like a whole new decorator.
Small-Space and Apartment Variations
Small counters are actually easier to style, because every piece has outsized impact. Use the three-piece rule: one star, one story piece, one base. That is the whole tray. Done. If your counter is really tight, use a two-tier stand instead of three, or a single-tier mini tray on a shelf. And hang the bead garland so it drapes down, because vertical drape makes a small tray look taller and more intentional. If you are styling an entryway table instead of a kitchen counter, our christmas entryway decor ideas have the same keep-it-simple energy for small spaces.
Troubleshooting: 5 Fixes for a Tray That Looks Off
It looks cluttered. Remove three pieces. Seriously, take three things off and step back. Trays almost always look better with fewer pieces than you think.
Pieces slide off. Put a tiny dot of museum putty under each piece. It is invisible, it holds through the whole season, and it peels off clean in January.
The colors clash. Pick two main colors plus one metallic and remove everything else. Red and green plus gold, or white and silver plus gold. Two colors plus a metallic is the rule that never fails.
The tray feels top-heavy. Move the heaviest piece to the bottom tier and the lightest piece to the top. Heavy at the bottom is a law of physics and a law of decorating.
The greenery sheds everywhere. Shake faux garland outside before you place it, and upgrade to a better quality garland if yours sheds after shaking. Cheap garland sheds forever, good garland sheds once.
Frequently Asked Questions
What size tiered tray is best for Christmas decor? A two or three tier stand, about twelve to fifteen inches tall, works best for most counters. Three tiers give you the classic look, but a two-tier stand is better for small kitchens and first-timers.
How do I keep pieces from sliding off the tray? Use tiny dots of museum putty under each piece, set pieces on small plates or doilies for grip, and keep the heaviest pieces on the bottom tier. The putty peels off clean in January and costs a few dollars.
Can I put a Christmas tiered tray in the kitchen? Yes, and the kitchen is actually the best spot because everyone sees it. Keep it at least a foot from the stove, away from sink splash, and wipe it once a week to stop greasy film from building up.
How much should I budget for a Christmas tiered tray? About forty-five to sixty dollars for the buy-once bones, the stand, trees, garland, and lantern, and about ten to fifteen dollars a year for fresh touches like candy canes and new greenery sprigs.
When should I set up and take down a Christmas tiered tray? Set it up the weekend after Thanksgiving along with the rest of your Christmas decorating, so it is ready for December. After Christmas, either swap three pieces to make it a winter tray or pack it away the first weekend of January.






One Comment