25 Thanksgiving Cornucopia Decor Ideas for a Warm Table
The first cornucopia I ever made was a disaster, and I mean that lovingly. It was my second Thanksgiving hosting dinner at our house, and I had a picture in my head of a beautiful horn of plenty spilling pumpkins and grapes across the table like something out of a magazine. What I actually built was a wicker basket tipped on its side with three sad mini pumpkins rolling out of it and a bunch of grapes that slid straight off the tablecloth and onto the floor. My sister laughed, my dad picked a grape up off the rug and ate it anyway, and I spent the whole dinner nudging the basket back upright every time someone reached for the bread.
Here is the thing, though. Nobody remembered the wobbly basket. They remembered that the table looked abundant, and that the house smelled like cinnamon and roast turkey. The next year I did it properly, and the year after that I did it better, and now the cornucopia is the first thing I set out when Thanksgiving week starts. A good thanksgiving cornucopia decor setup does not need to be perfect. It needs to look generous, smell like fall, and survive until the last slice of pie is gone.
This guide has 25 thanksgiving cornucopia decor ideas, organized the way I actually decorate: classic table centerpieces first, then flower and greenery versions, small-space ideas, budget and DIY horns, spots beyond the dining table, and the freshness and care ideas that keep it looking good all week. Two simple ideas run through all of it.
The first is my Fill, Fluff, Finish method, and it is the whole system for building a cornucopia that looks full instead of flat. Fill the horn with crumpled paper or a rolled towel so the good stuff sits high and spills out instead of sinking to the bottom. Fluff the fillings out in layers, biggest pieces at the back, smallest and brightest at the front, so the eye travels down the spill. Finish with one small, shiny detail, a few cranberries, a sprig of rosemary, a gold leaf, because the finish is what makes people lean in. Fill, Fluff, Finish. Every idea in this guide follows that order.
The second idea is the one I run right before guests arrive, and I call it the Table Walk Test. I will walk you through it at the end. But first, the horns themselves.
Thanksgiving Cornucopia Decor for the Classic Table
The classic cornucopia belongs at the center of the dining table, and it earns that spot by doing three jobs at once. It is the centerpiece, it is the conversation starter, and it is the first thing people photograph before they sit down. These five ideas are the ones I come back to most, because they work with any table, any style, and any size of crowd.
1. The classic woven horn overflowing with pumpkins and gourds
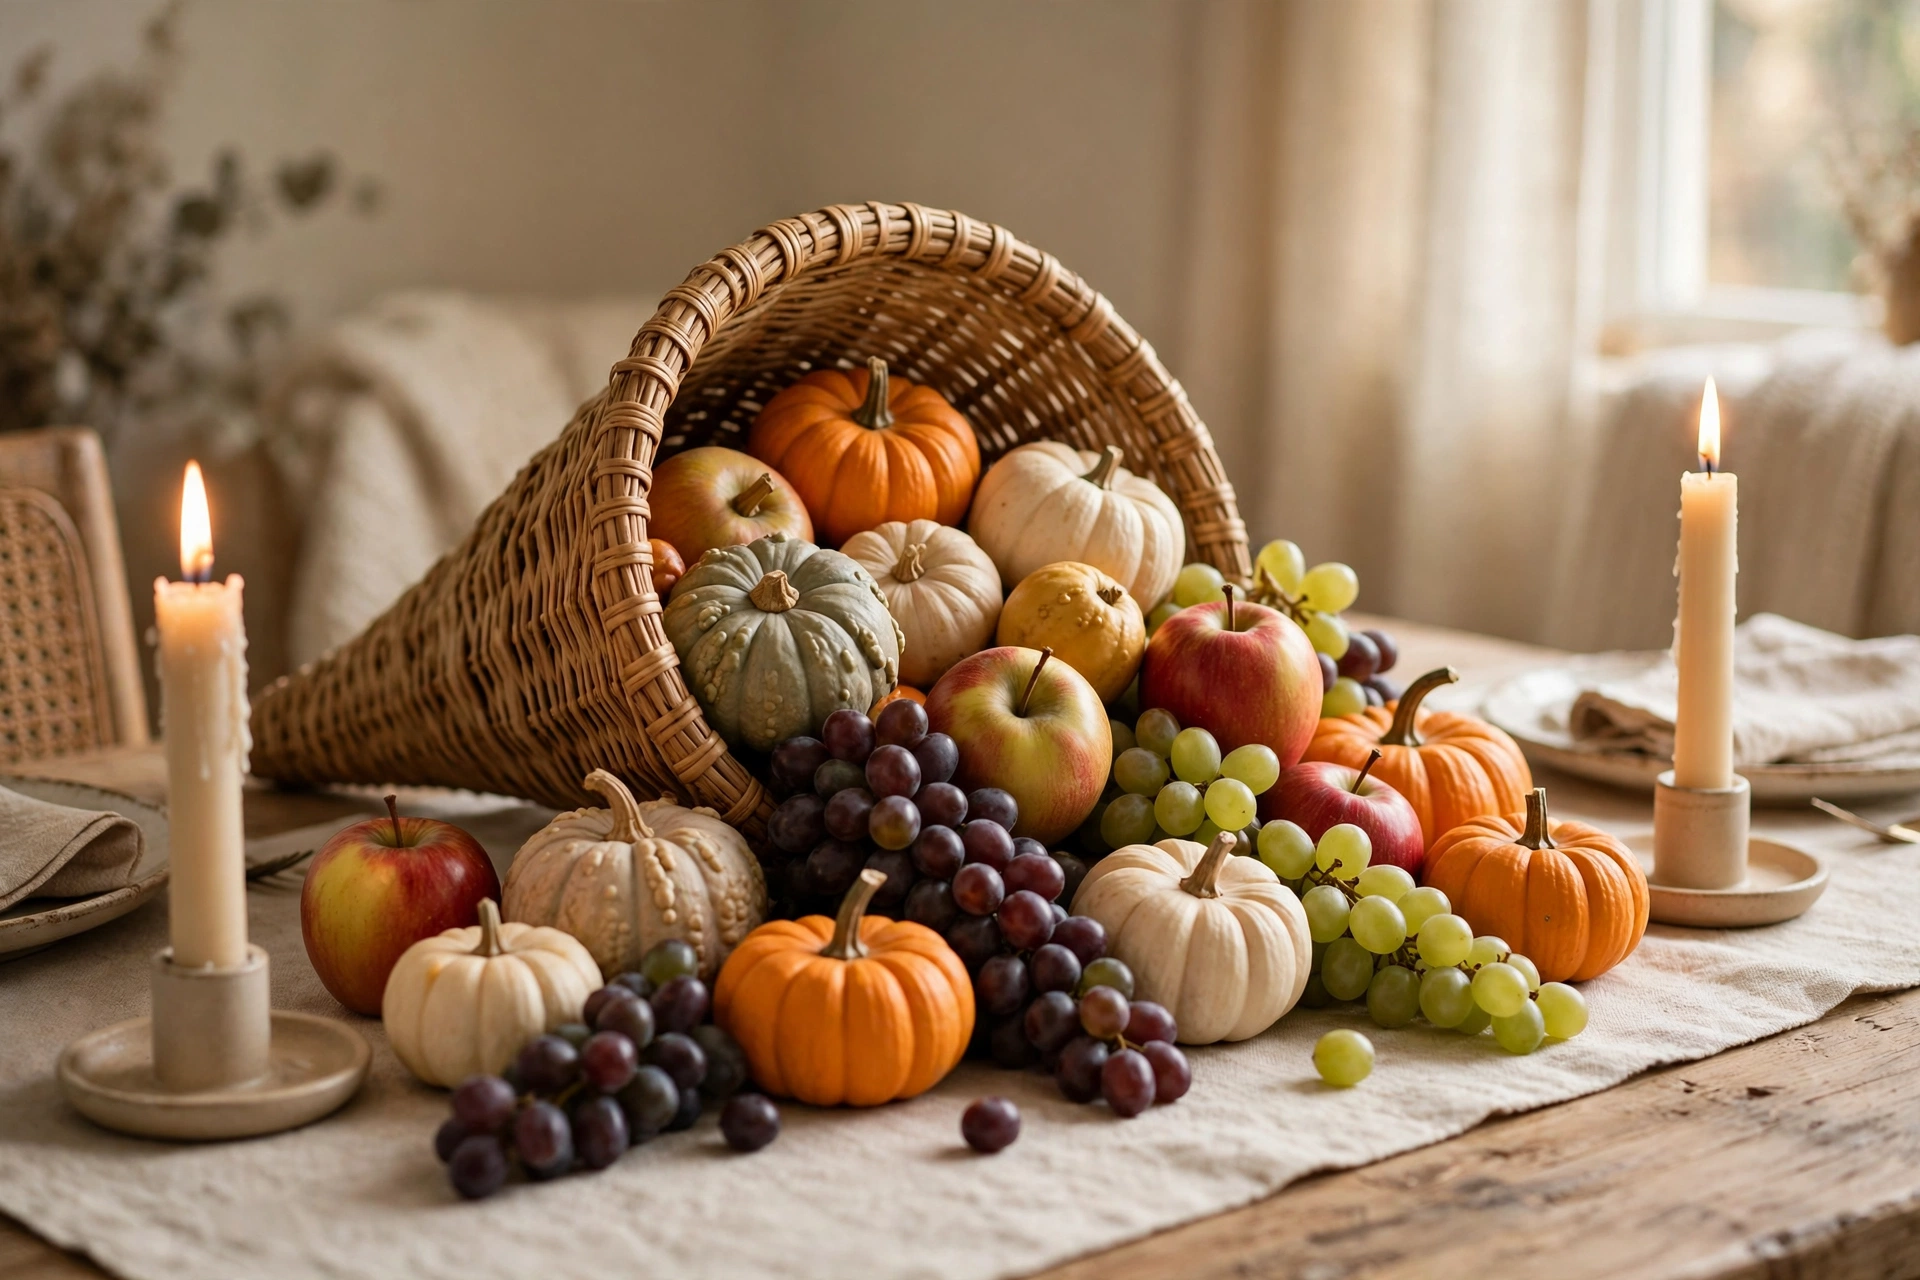
The classic woven horn overflowing with pumpkins and gourds is the cornucopia everyone pictures, and there is a reason it has lasted for generations. Start with a woven cornucopia basket, the kind you can find at any craft store in October, and stuff the inside with crumpled kraft paper so the fillings sit high. Then layer in mini pumpkins, small gourds, and a few apples, biggest at the back of the horn, smallest spilling out the front onto the table. Tuck a handful of dried leaves between the pieces so no bare paper shows. IMO, the secret here is the spill. A cornucopia that only fills the basket looks like a basket. A cornucopia that spills three or four pieces out onto the table looks like abundance, and that is the whole point. For more ways to build the rest of the table around it, see my guide to thanksgiving table decor.
2. A cornucopia with a burlap bow and dried wheat
A cornucopia with a burlap bow and dried wheat is the farmhouse version, and it is the one I make when I want the table to feel rustic without feeling messy. Tie a wide burlap bow around the mouth of the horn, letting the loops flop a little, because a stiff bow looks store bought and a soft one looks handmade. Fill the horn with mini pumpkins and gourds, then tuck three or four stalks of dried wheat into the back so they arc up behind the spill like a little harvest fan. The wheat adds height, which matters on a long table, because without height the centerpiece disappears behind the turkey platter.
3. A cornucopia filled with apples, pears and grapes
A cornucopia filled with apples, pears and grapes is the edible version, and it is my favorite when kids are coming to dinner, because they can eat the decorations. Use real fruit, not fake, and pick pieces with good color: red apples, green pears, purple grapes, and a few clementines for that bright orange pop. Fill the horn using the Fill, Fluff, Finish method, then let a bunch of grapes spill out the front and drape over the edge of the horn onto the table. The fruit looks beautiful for about two days, then it starts to soften, so build this one the morning of Thanksgiving, not the weekend before. After dinner, the leftovers go straight into the fruit bowl, which is the best kind of decoration, the kind you eat.
4. A white and gold cornucopia for a modern table
A white and gold cornucopia for a modern table is the one I make when the rest of the table is clean and simple, white plates, gold flatware, linen napkins, and no orange anywhere. Spray paint a woven horn matte white, or buy one already finished in white, and fill it with white mini pumpkins, gold painted gourds, and a few sprigs of dried eucalyptus. The trick is restraint. A modern cornucopia works because it is calm, so keep the spill small, three or four pieces only, and let the white tablecloth do the rest of the talking. If your table leans modern, pair it with the rest of my ideas for a thanksgiving dining room that feels polished without feeling stiff.

5. A cornucopia with taper candles on both sides
A cornucopia with taper candles on both sides is the evening version, and it is the one that makes the whole table glow once the sun goes down. Set the cornucopia in the center, then place two tall taper candles in sturdy holders on either side, about a foot away from the horn on each side. Use cream or rust colored tapers, never white, because white reads as wedding and cream reads as harvest. Light them right before guests sit down, not an hour early, because a taper burns down fast and you want the flame alive through dessert. Keep the candles clear of any dried leaves or wheat, and never leave them burning in an empty room.
Thanksgiving Cornucopia Decor With Fresh Flowers and Greenery
A cornucopia does not have to be all pumpkins and fruit. Some of my favorite versions lean on flowers and greenery, and they smell wonderful, which matters when the whole house already smells like dinner. The trick with a floral cornucopia is water. Fresh flowers need it, the horn does not want it, so you build a little system, and once you know the system, it is easy.
6. A cornucopia spilling fresh fall flowers
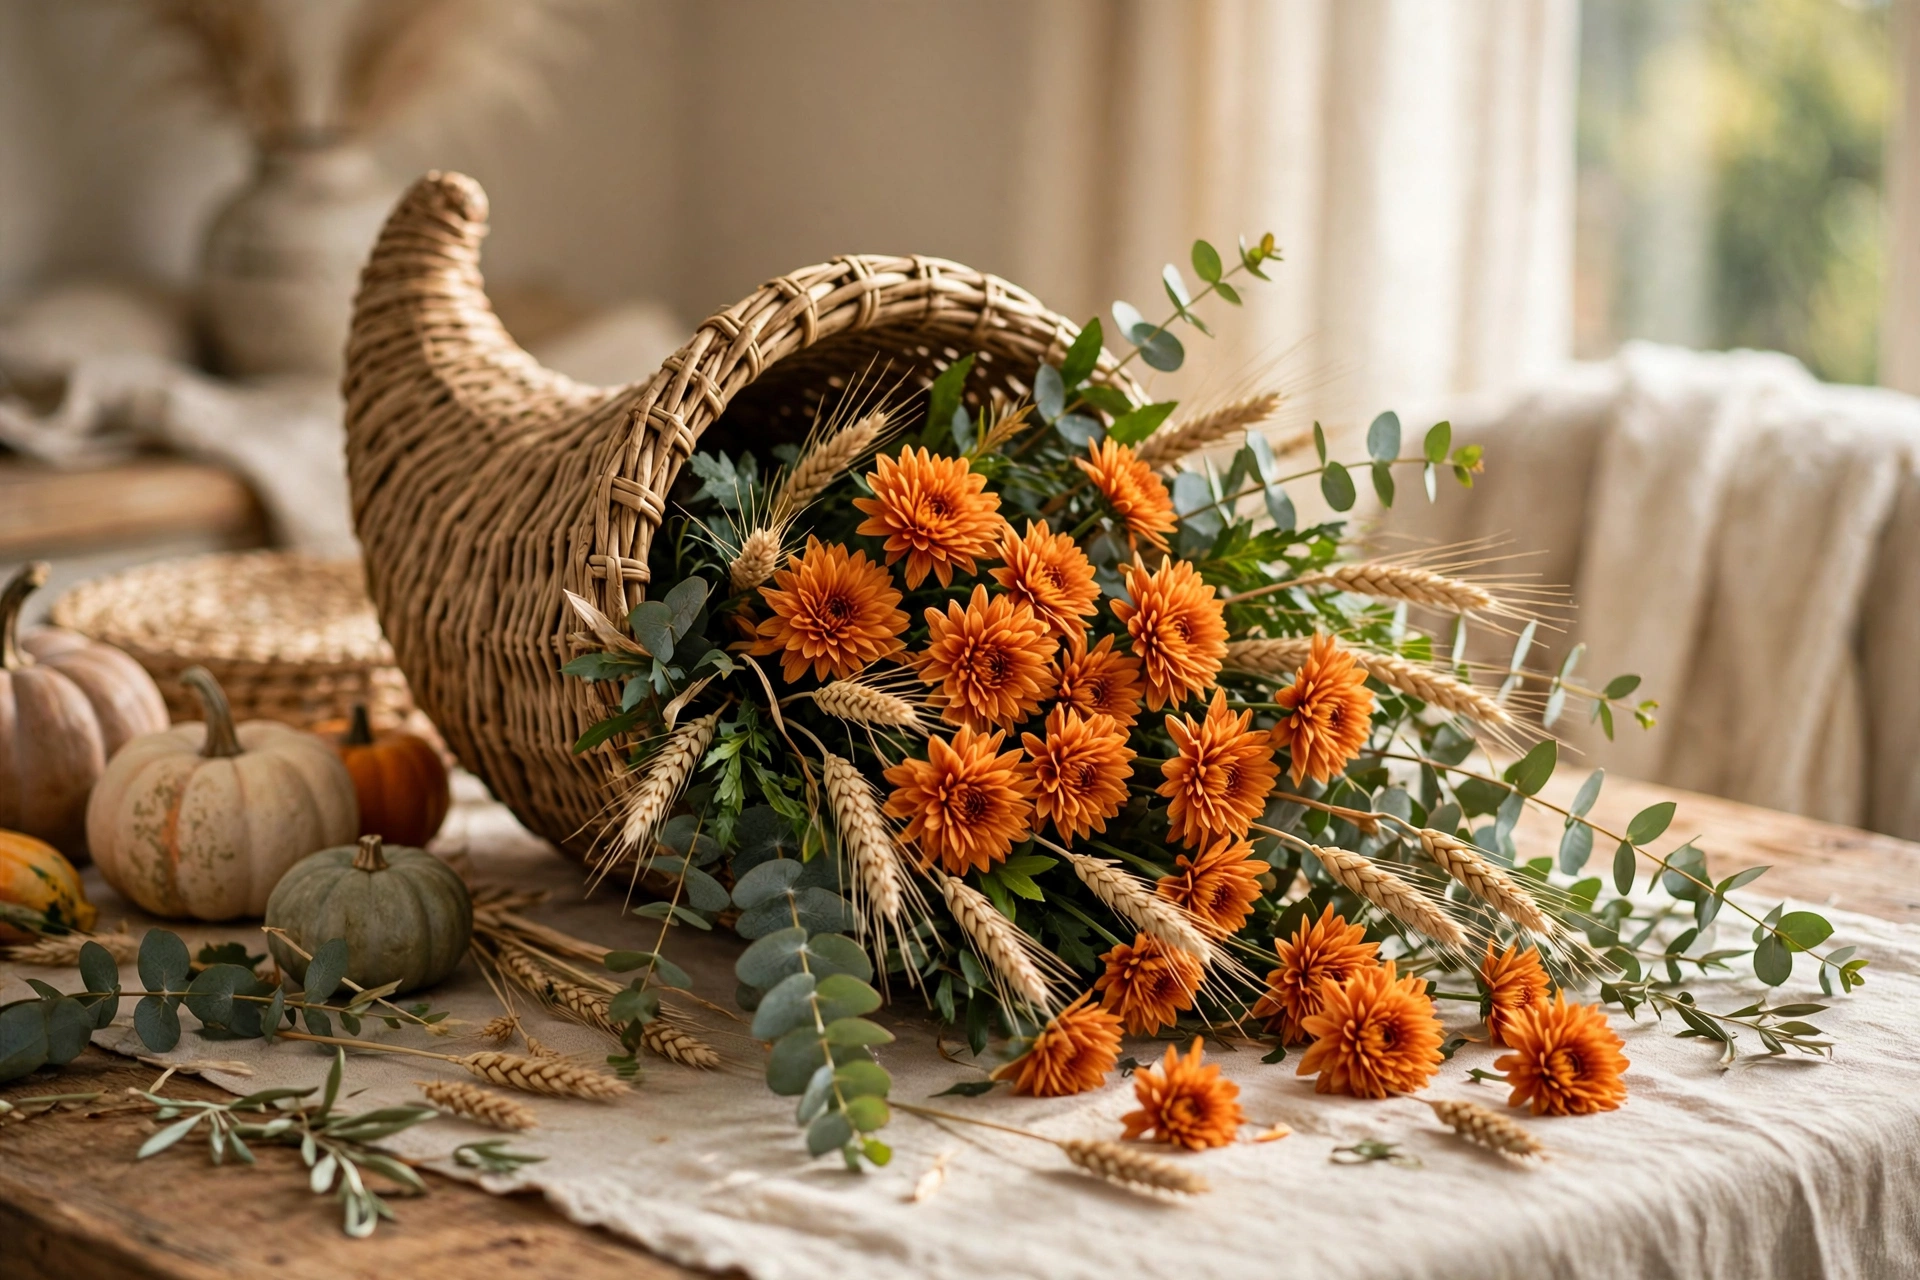
A cornucopia spilling fresh fall flowers is the prettiest version in this guide, and it is easier than it looks. Line the inside of the horn with a small plastic bag, then tuck a block of wet floral foam inside the bag. Push in short stems of mums, dahlias, and carnations in rust, gold, and deep red, keeping the stems short so the flowers sit low and full. Then let a few stems spill out the front of the horn onto the table, like the flowers are tumbling out with the harvest. The flowers will last about four days if you add a splash of water to the foam each morning.
7. Eucalyptus and rosemary tucked around the horn
Eucalyptus and rosemary tucked around the horn is the fragrant version, and it is the one guests comment on before they even see the table. Fill the horn with mini pumpkins and gourds as usual, then tuck long stems of eucalyptus along the sides and a few sprigs of rosemary at the mouth of the horn. The eucalyptus gives you that soft, silvery green that photographs beautifully, and the rosemary gives you scent every time someone brushes past the table. Both herbs dry gracefully, so even after a week they still look good, just a little paler, which honestly still works. I use this version on the sideboard too, because the scent drifts into the living room and makes the whole house smell like fall.
8. A cornucopia with sunflowers and mums
A cornucopia with sunflowers and mums is the cheerful version, and it is the one I make when the table needs a lift. Sunflowers are big and bold, so use only three or four, tucked into the back of the horn so they rise up behind the pumpkins like a little sun. Then fill the front with small golden mums, which give you that dense, happy texture without competing with the sunflowers. The color story here is simple, gold and rust, and it works with almost any tablecloth. For the flower combinations that hold up best, see my guide to thanksgiving flower arrangement ideas. Buy the sunflowers two days before Thanksgiving and keep them in water until the morning of, because a sunflower that has been out of water for a day will droop.
9. A cornucopia with dried hydrangeas and pampas grass
A cornucopia with dried hydrangeas and pampas grass is the soft, airy version, and it is the one that lasts the longest, because nothing in it is fresh. Fill the horn with dried hydrangeas in dusty rose or cream, then tuck two or three tall stems of pampas grass into the back so they arc up and soften the whole shape. The pampas adds height and movement, and the hydrangeas give you big, soft clouds of color. Keep this one away from the kitchen steam and the bathroom humidity, because dried flowers go limp in damp air.
Small Space Thanksgiving Cornucopia Decor Ideas
Not every Thanksgiving happens at a long dining table. Plenty of us host in small apartments, at a kitchen table for six, or in a house where the dining room doubles as the office. A cornucopia still works in a small space. It just needs to be smaller, smarter, and placed where it will be seen instead of where it will be in the way.
10. A mini cornucopia for a small table
A mini cornucopia for a small table is the same idea, shrunk down to fit, and it is the one I recommend most for apartments. Use a small horn, about eight inches long, and fill it with three mini pumpkins, a handful of cranberries, and one sprig of rosemary. That is it. The mistake people make with small tables is building a full-size centerpiece and then having nowhere to put the food. A mini cornucopia leaves room for the turkey platter, the stuffing bowl, and the gravy boat, and it still gives you the harvest feeling. Set it slightly off center, toward the end of the table, so it never blocks anyone’s view across the table.
11. A cornucopia on the sideboard as a second centerpiece
A cornucopia on the sideboard as a second centerpiece is the trick for when the dining table is full of food and there is no room for decor at all. Set a full-size cornucopia on the sideboard or buffet, where the desserts or the drinks live, and let it do the decorating there. This one can be bigger and taller than a table centerpiece, because nobody has to see over it, so add height with wheat stalks or pampas grass. Guests will see it every time they go back for seconds, which is often, and it makes the sideboard look intentional instead of like a random pile of serving dishes. If your sideboard is where dessert ends up, my thanksgiving dessert table decor ideas pair well with it.
12. A cornucopia on the kitchen island
A cornucopia on the kitchen island is the one that welcomes people while dinner is still cooking, because the kitchen island is where everyone gathers with a glass of wine while the turkey rests. Use a medium horn, fill it with gourds and apples, and keep the spill tight and contained, because the island is a working surface and things get bumped. I put mine on a round wooden board or a large tray, which catches any rolling grapes and keeps the island clean.
13. A cornucopia on a console table in the entryway
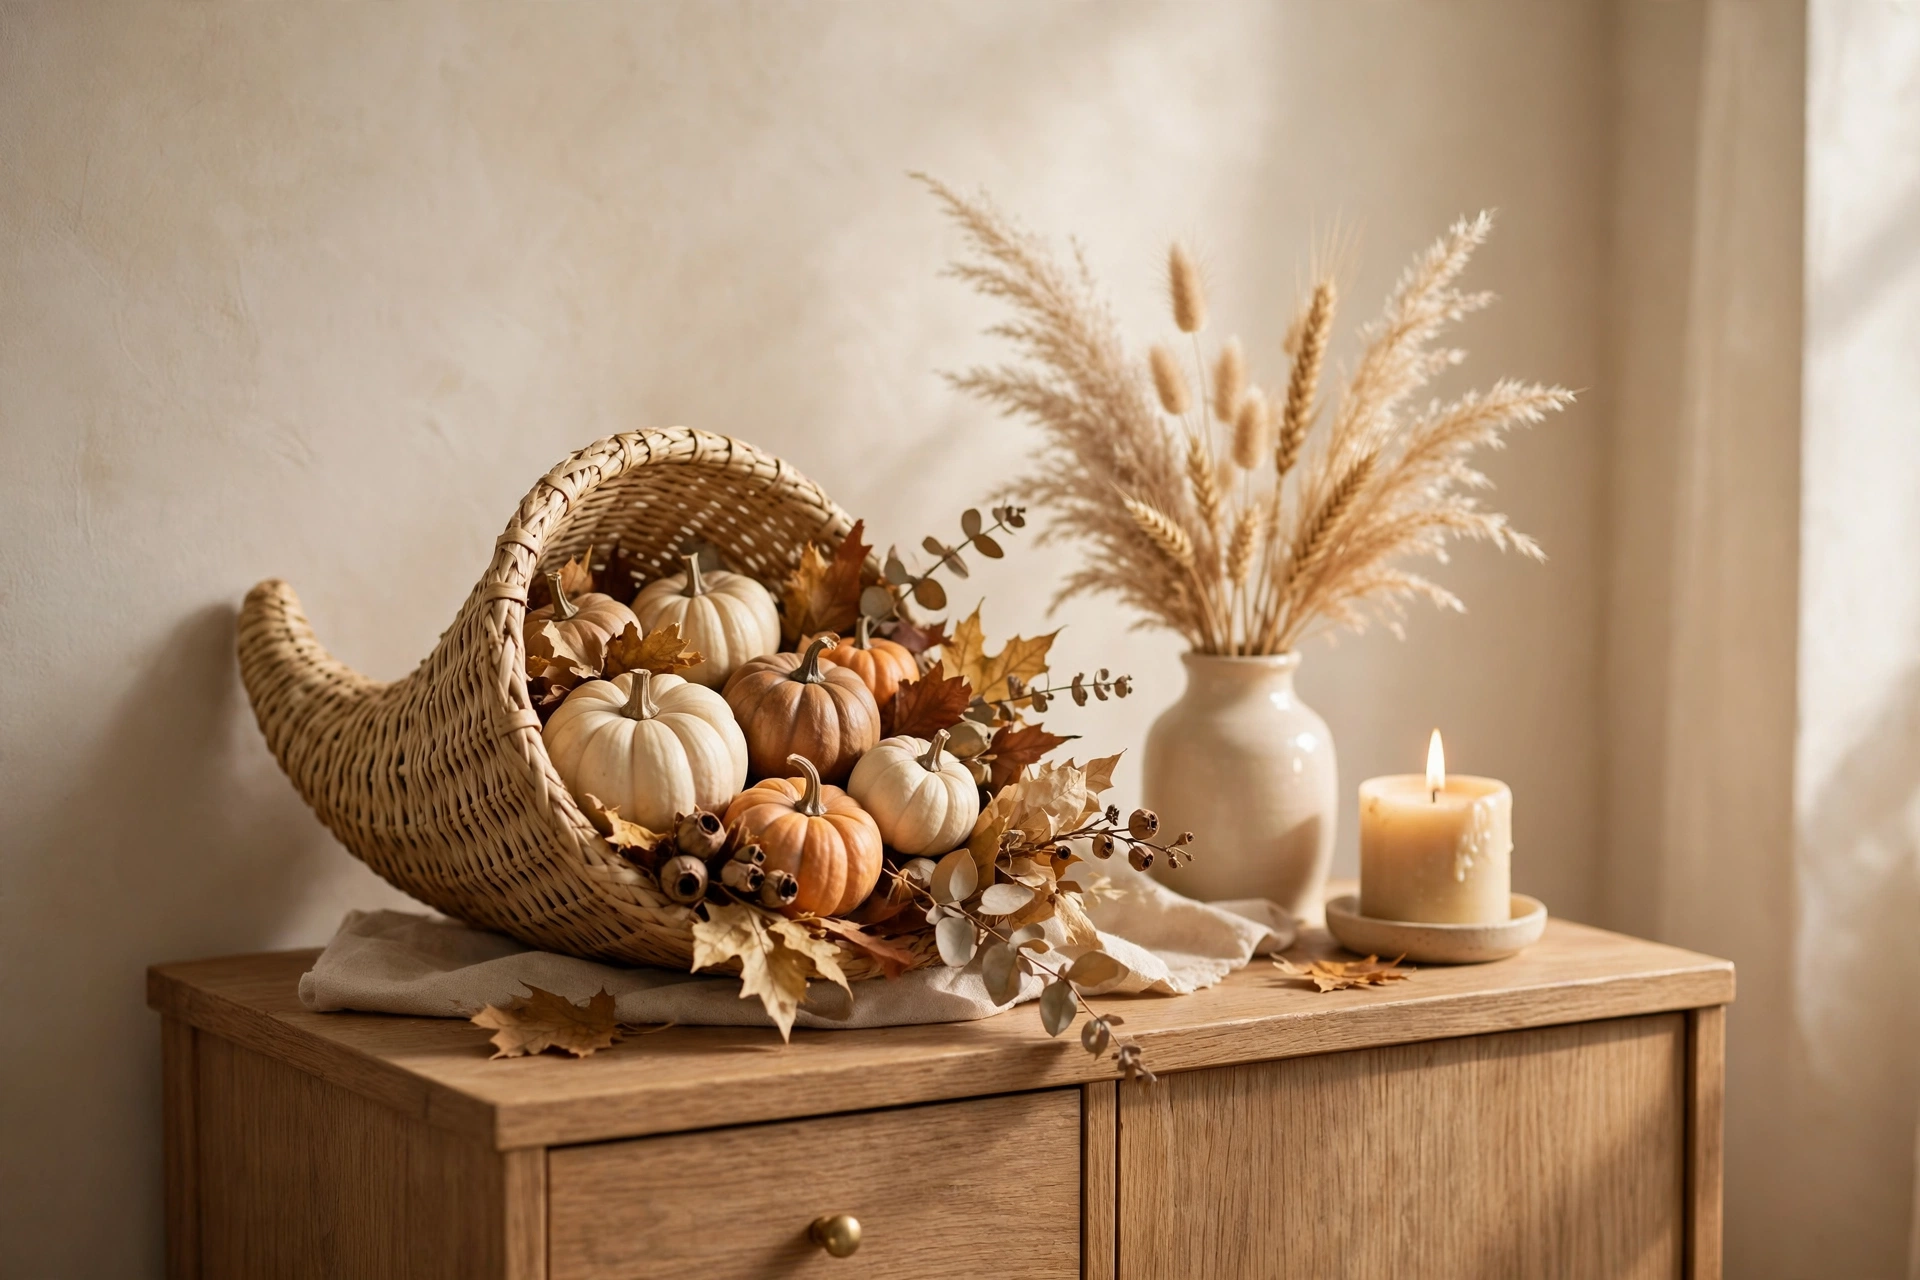
A cornucopia on a console table in the entryway is the first thing guests see when they walk in, and it sets the tone for the whole evening. Use a medium horn on a narrow console, fill it with mini pumpkins and dried leaves, and add one tall element, a wheat stalk or a branch of fall leaves in a small vase behind it, so the arrangement has height in a space that is usually flat. Keep the spill small here, because the entryway is a walkway and a rolling gourd is a tripping hazard.
Budget Cornucopia Ideas and DIY Horns
A cornucopia does not need to cost much. Some of the best ones I have made cost less than the pie. The horn itself is the only part worth spending money on, and even that can be thrifted or made from things you already own. The fillings come from the grocery store, the yard, and the craft bin.
14. A DIY cornucopia from a paper cone and burlap
A DIY cornucopia from a paper cone and burlap is the classic craft project, and it is a wonderful one to do with kids the weekend before Thanksgiving. Roll a large sheet of heavy poster board into a cone, tape it firmly, then wrap the whole cone in burlap, gluing or pinning the fabric as you go so it stays smooth. Curl the tip of the cone up and tie it with twine so it holds that classic horn shape. Fill it with mini pumpkins, pinecones, and dried leaves, and let the spill run out onto the table. The whole project costs about five dollars and takes an hour.
15. A thrifted basket turned into a cornucopia
A thrifted basket turned into a cornucopia is my favorite budget move, because thrift stores are full of baskets that want a second life. Look for a basket with one narrow end and one wide end, or any basket you can tip on its side without it rolling away. Wash it, let it dry in the sun, and if the wicker looks tired, give it a quick coat of clear spray sealer. Then fill it like any cornucopia, using the Fill, Fluff, Finish method, and let the spill run out onto a placemat or a runner.
16. A cornucopia made from a rolled-up placemat
A cornucopia made from a rolled-up placemat is the fastest DIY in this guide, and it is perfect for a last-minute host. Take a stiff woven placemat, roll it into a cone, and secure the seam with hot glue or strong double-sided tape. Curl the tip and tie it with twine. The woven texture looks surprisingly like a real horn, especially in a natural or rust color, and the whole thing takes about fifteen minutes. Fill it small, three mini pumpkins and a handful of cranberries, because a placemat cone is not as sturdy as a real basket. This is the cornucopia I made the year I forgot to buy one, and it looked so good that a guest asked where I had bought it.
17. A 20 dollar cornucopia from the grocery store produce aisle
A 20 dollar cornucopia from the grocery store produce aisle is the no-craft, no-thrift, no-fuss version, and it is completely fine. Buy a small woven horn at the craft store, then walk the produce aisle and buy the prettiest small things you can find: a bag of mini pumpkins, a bag of clementines, a bunch of grapes, a few apples, and a bag of cranberries. That is the whole shopping list, and it comes to about twenty dollars. Fill the horn, let the grapes spill, scatter a few cranberries around the base, and you are done in ten minutes.
Cornucopia Decor Beyond the Dining Table
The dining table gets all the attention on Thanksgiving, but the cornucopia is a shape that works all over the house. Once you have built one, you will start seeing spots for a second one, and then a third. These are the spots where a cornucopia does the most good outside the dining room.
18. A cornucopia on the mantel
A cornucopia on the mantel is the living room version, and it is the one guests see while they wait for dinner. Lay the horn on its side in the center of the mantel, fill it with mini pumpkins and dried leaves, and let the spill run along the mantel in both directions. Add a garland of fall leaves behind it, and two pillar candles on either side, far enough from the leaves that nothing can catch. The mantel cornucopia works because the mantel is already the focal point of the living room, so the horn just makes it seasonal. For more mantel ideas that pair with this one, see my guide to thanksgiving centerpiece ideas.
19. A cornucopia by the front door
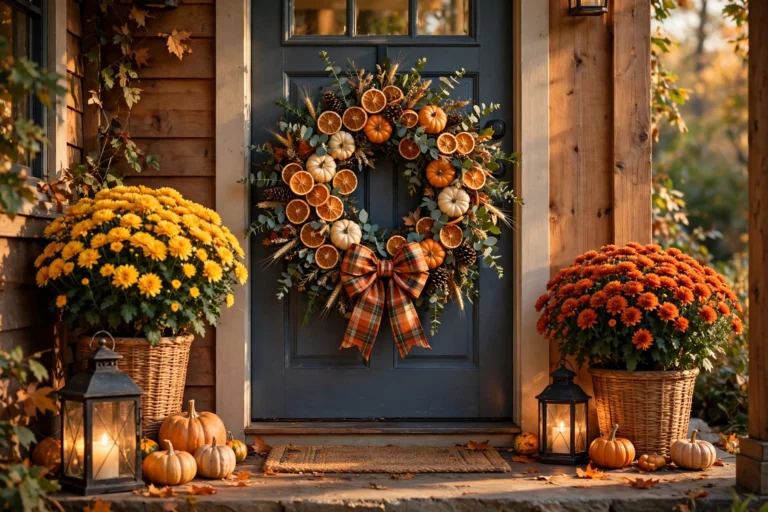
A cornucopia by the front door is the welcome version, and it is the one that makes the porch feel like Thanksgiving before anyone knocks. Set a large, sturdy horn on the porch floor beside the door, fill it with full-size pumpkins, gourds, and a few apples, and let the spill run out onto the doormat. Use a heavier horn here, not a delicate one, because the wind will find it, and use real pumpkins, not foam, because the weight keeps everything in place. Bring it inside if rain is forecast, because a soaked woven horn will sag and mildew.
20. A cornucopia as a coffee table centerpiece
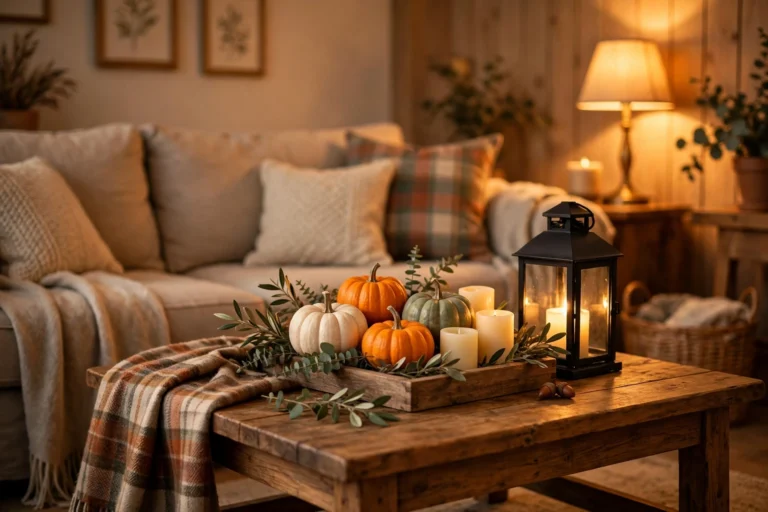
A cornucopia as a coffee table centerpiece is the living room version for the house where everyone gathers on the couch before dinner. Use a low, wide horn, fill it with mini pumpkins and pinecones, and set it on a tray so the coffee table stays clean. Keep it low, because a tall centerpiece on a coffee table blocks the television and the conversation. This is the cornucopia the kids will touch, so use sturdy fillings, mini pumpkins and pinecones, not grapes or delicate flowers.
21. A mini cornucopia at each place setting
A mini cornucopia at each place setting is the most charming idea in this guide, and it doubles as a party favor. Buy or make tiny horns, about four inches long, and fill each one with two cranberries, a mini pumpkin the size of a golf ball, and a sprig of rosemary. Set one on each plate, or beside each plate if the plates are already full. Guests can take them home, and kids love them. The trick is to keep them truly tiny, because a place setting cornucopia that is too big crowds the plate and gets knocked over by the first elbow.
Freshness and Care: Keeping Your Cornucopia Beautiful All Week
A cornucopia is a living decoration, at least the fresh ones are, and living decorations need a little care. The good news is that the care is simple, and most of it happens before you build the thing. These four ideas are about keeping your cornucopia fresh, and the Table Walk Test at the end is the final check that ties it all together.
22. How to keep fresh fillings from wilting
How to keep fresh fillings from wilting is the question I get asked most about cornucopias, and the answer is water, shade, and timing. Fresh flowers go in wet floral foam, and you add a splash of water to the foam every morning. Fresh fruit stays out of direct sun, because a sunny windowsill will soften an apple in a day. And the whole cornucopia goes together as late as you can manage, ideally the morning of Thanksgiving for fresh flowers and fruit, and the weekend before for dried fillings.
23. Dried fillings that last the whole season
Dried fillings that last the whole season are the low-maintenance answer, and they are the reason I keep a box of dried goods in the closet. Dried mini pumpkins, pinecones, dried leaves, cinnamon sticks, dried orange slices, and dried hydrangeas will all last from the first week of November through the end of the month without any care at all. Store them in a dry box between seasons, keep them out of the damp, and they will be ready again next year.
24. The night-before refresh routine
The night-before refresh routine is the ten-minute habit that saves every cornucopia, and it is simple enough to do while the pies are cooling. Walk up to the cornucopia, pull out anything wilted or soft, and replace it with something fresh from the fridge or the yard. Add a splash of water to any floral foam. Fluff the fillings back up, because they settle overnight, and re-scatter the cranberries at the front. Then step back and look at it from the doorway, which is how your guests will see it. Ten minutes, once, the night before, and the cornucopia will look like you built it that morning.
25. What to do with the cornucopia after dinner
What to do with the cornucopia after dinner is the idea nobody plans for, and it matters, because a cornucopia left on the table goes stale fast. The fresh fruit goes into the fridge or the fruit bowl. The fresh flowers go into a vase on the kitchen windowsill, where they will live a few more days. The dried fillings go back in their box for next year. And the horn itself gets wiped down and stored somewhere dry, not in the garage where the damp will get to it.
How Long Fresh and Dried Cornucopia Fillings Last
Before you build, it helps to know what you are signing up for. Fresh flowers in wet foam last three to five days, and they look their best on day one and two. Fresh fruit lasts two to three days on the table, longer in the fridge, and apples outlast grapes by a day or two. Fresh greenery like eucalyptus and rosemary lasts a week or more, and it dries gracefully instead of wilting. Dried fillings, pumpkins, pinecones, leaves, cinnamon, dried orange slices, last the whole season and into the next year if you store them dry. My rule is simple. If Thanksgiving is more than four days away, build with dried fillings and add the fresh stuff the morning of.
Budget: Buy Once or Refresh Each Year
A cornucopia is one of the cheapest centerpieces you can make, and the math is friendly. The horn is the buy-once piece. A good woven horn costs ten to fifteen dollars, and it will last for years if you store it dry. The fillings are the refresh piece, and they cost five to twenty dollars a year, depending on whether you use grocery store produce, yard clippings, or craft store dried goods. The most expensive cornucopia in this guide costs about twenty-five dollars all in, and the cheapest costs about five. Compare that to a florist centerpiece, which starts at forty dollars and dies in a week, and the cornucopia wins every time.
Small Space Cornucopia Variations
Small spaces do not need a smaller idea, they need a smarter one. If your table is tiny, use a mini horn and keep the spill to three pieces. If you have no dining table at all, put the cornucopia on the sideboard, the kitchen island, or the entryway console, where it will be seen more anyway. If your home is a studio, one small cornucopia on the coffee table does the work of a whole centerpiece.
Troubleshooting: 5 Quick Cornucopia Fixes
Every cornucopia has a bad moment, and every bad moment has a fix. Here are the five I use most.
Fix 1: The horn keeps rolling off the table. Set the horn on a folded linen napkin or a small piece of shelf liner, which grips the wicker and stops the roll. Or fill the tip of the horn with a small bag of dried beans for weight.
Fix 2: The fillings keep sliding out the front. The horn is too full at the mouth and too empty at the back. Repack it using Fill, Fluff, Finish, with crumpled paper stuffed deep inside so the fillings sit high and lock together.
Fix 3: The fresh flowers wilted by dinner. Pull the wilted stems, replace them with greenery, and add water to the foam. Next time, build the floral cornucopia the morning of, not the night before.
Fix 4: The whole thing looks flat from across the room. It needs height. Add wheat stalks, pampas grass, or a tall branch behind the horn, and add one shiny detail at the front, cranberries or a gold leaf, to catch the eye.
Fix 5: The dried leaves are shedding everywhere. The leaves were too dry. Mist them very lightly with water from a spray bottle, or swap them for fresh eucalyptus, which sheds far less and smells better too.
And now the final check. The Table Walk Test is the last thing I do before guests arrive, and it takes about sixty seconds. I stand at the front door, walk the path my guests will walk, into the entryway, past the sideboard, and to the dining table, and I look at each cornucopia the way a guest would see it for the first time. Is the spill visible? Is anything wilted? Is anything blocking a seat? Does the table look generous? If the answer to all four is yes, I stop touching it.
Frequently Asked Questions
How long does a thanksgiving cornucopia last on the table?
A cornucopia with dried fillings lasts the whole season, three to four weeks, with no care at all. A cornucopia with fresh flowers lasts three to five days, and one with fresh fruit lasts two to three days, so build fresh versions the morning of Thanksgiving.
What do you put inside a thanksgiving cornucopia?
The classic fillings are mini pumpkins, gourds, apples, pears, grapes, and cranberries, plus dried leaves, wheat, or cinnamon sticks for texture. Fresh flowers, eucalyptus, and rosemary also work well.
Can I make a cornucopia the week before Thanksgiving?
Yes, if you use dried fillings, which hold up for weeks. Build the horn and the dried base a week ahead, then add fresh flowers and fruit the morning of Thanksgiving so they look their best at dinner.
How do I keep a cornucopia from rolling off the table?
Set the horn on a folded linen napkin or a piece of shelf liner to grip the wicker, and add a small bag of dried beans inside the tip for weight. A tray or a wooden board under the whole arrangement also keeps everything contained.
Where should I put a cornucopia if my table is too small?
Put it on the sideboard, the kitchen island, or the entryway console, where guests will see it without it crowding the food. A mini cornucopia on the coffee table also works well in a small home.