25 Thanksgiving Dessert Table Decor Ideas That Make Dessert the Sweetest Part of the Day
Last year I spent three days on the dinner table and completely forgot about dessert. I mean it. I polished the silver, I ironed the linen napkins, I built a centerpiece with pumpkins and eucalyptus that looked like it came out of a magazine. Then dessert time arrived and my sister asked, “Where should I put the pies?” and I looked around and realized there was nowhere. The pumpkin pie ended up crowded on the kitchen counter next to the dish soap. The whipped cream sat out too long and went soft. My aunt took one look and asked, very politely, where the “real dessert” was.
That was the year I learned the truth. Thanksgiving dinner gets all the attention, but dessert is the part people talk about on the drive home. Nobody remembers the exact shade of your table runner. Everybody remembers the table full of pies, cakes, and cookies with the candles glowing and the coffee brewing. So this year I gave dessert its own stage, and honestly, it changed the whole evening. Guests drifted over to the dessert table between courses. Kids pressed their noses against the cookie tray. My uncle, who never comments on decor, said the pie table looked like a bakery.
So here are 25 thanksgiving dessert table decor ideas, organized the way I actually set mine up, from the table itself to the showstopper pies, the height tricks, the small bites, the drinks corner, and the finishing touches that make it feel finished instead of thrown together. Everything here is doable in a normal house with normal stuff, and most of it costs little or nothing if you shop your own kitchen first.
My Two Rules Before You Set a Single Plate
Before we get to the ideas, you need two rules. They take thirty seconds to learn and they will save you from the two biggest dessert table mistakes, which are a flat table that looks like a buffet line and a traffic jam of guests all reaching for the same pie.
The Three Tier Rule. Every good dessert table needs three heights. Tall is a cake on a pedestal stand or a pie on a riser. Medium is a row of pies and tarts sitting at table level. Low is a tray of cookies and small bites spread flat. If everything sits at the same height, the table looks like a grocery shelf, and nobody’s eye knows where to land. Three heights make it look styled, even if the desserts themselves are store bought. IMO, height is the single biggest difference between a dessert table that looks intentional and one that looks like you just set out the boxes. I keep three cake stands of different heights in a cabinet now, and they do more work than any other decor I own.
The Dessert Path. Guests should move in one direction, like a slow parade, not a scrum. Plates and napkins go first, then the showstopper pie, then the small bites, then the drinks at the far end. Nobody has to reach across anyone else, nobody has to backtrack for a fork they missed, and the line keeps moving. FYI, this is the rule I broke last year, when the plates were behind the pies and the coffee was on the other side of the room. People stood in a knot in front of the pumpkin pie while the cookies sat untouched. One direction fixes all of it.
The Table Itself
1. Start With a Warm Linen Tablecloth
A dessert table needs a proper base, and a linen tablecloth in a warm neutral is the easiest one. Cream, oatmeal, soft gold, or a pale sage all work, because they let the food be the color. I use a cream linen cloth I bought years ago, and it has served at every Thanksgiving since. Skip the busy patterns here. The pies and the garnish bring enough color on their own, and a calm cloth makes the whole table look expensive. If you do not own a linen cloth, a plain cotton one in cream does the same job for a fraction of the price.
2. Lay a Runner Down the Center
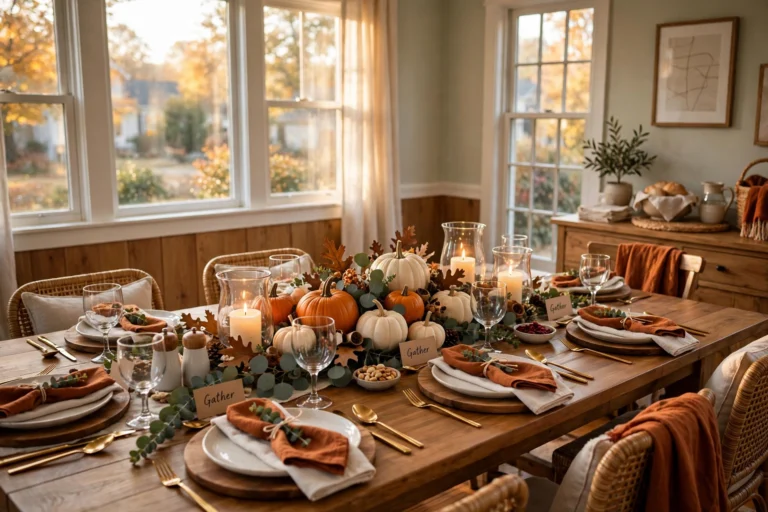
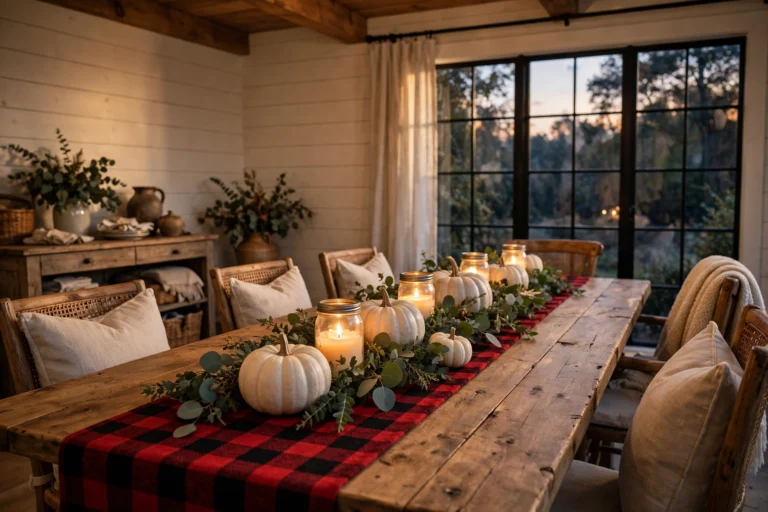
A runner gives the table a spine. Burlap is the classic Thanksgiving choice and it costs almost nothing, but a plaid runner in warm reds and creams looks just as good and reads a little more finished. I lay mine slightly off center, which sounds odd but actually looks more natural than dead center, and I let the ends hang about eight inches past the table edge. If you want a living runner instead, a garland of eucalyptus and pine down the middle does the same job and smells wonderful. Our thanksgiving table decor guide has more runner ideas if you want to match the dinner table to the dessert table.
3. Hang a Simple Backdrop Behind the Table
The wall behind the dessert table is free decorating space, and most people leave it blank. A framed “Give Thanks” sign, a simple fall wreath, or a garland strung across the wall turns the table into a scene instead of a surface. I hang a small wooden sign I made years ago and flank it with two dried wheat bundles tied with twine. It takes five minutes and it is the first thing people see when they walk into the room. If your dessert table sits against a window instead, hang the sign on the window frame and let the light do the work.
4. Put the Table Where the Flow Works
Location matters more than most people think. The dessert table belongs near the dining room but not in the path between the kitchen and the dining table, because that path gets busy all evening. A sideboard, a console table, or even a cleared bookshelf works beautifully if you do not have a spare table. I set mine on the sideboard in the dining room, which keeps it close enough that guests wander over naturally and far enough that nobody bumps into it carrying a hot dish. If your dining room is small, the hallway console or a bar cart rolled into a corner does the same job.
The Showstoppers
5. Give the Pumpkin Pie a Pedestal
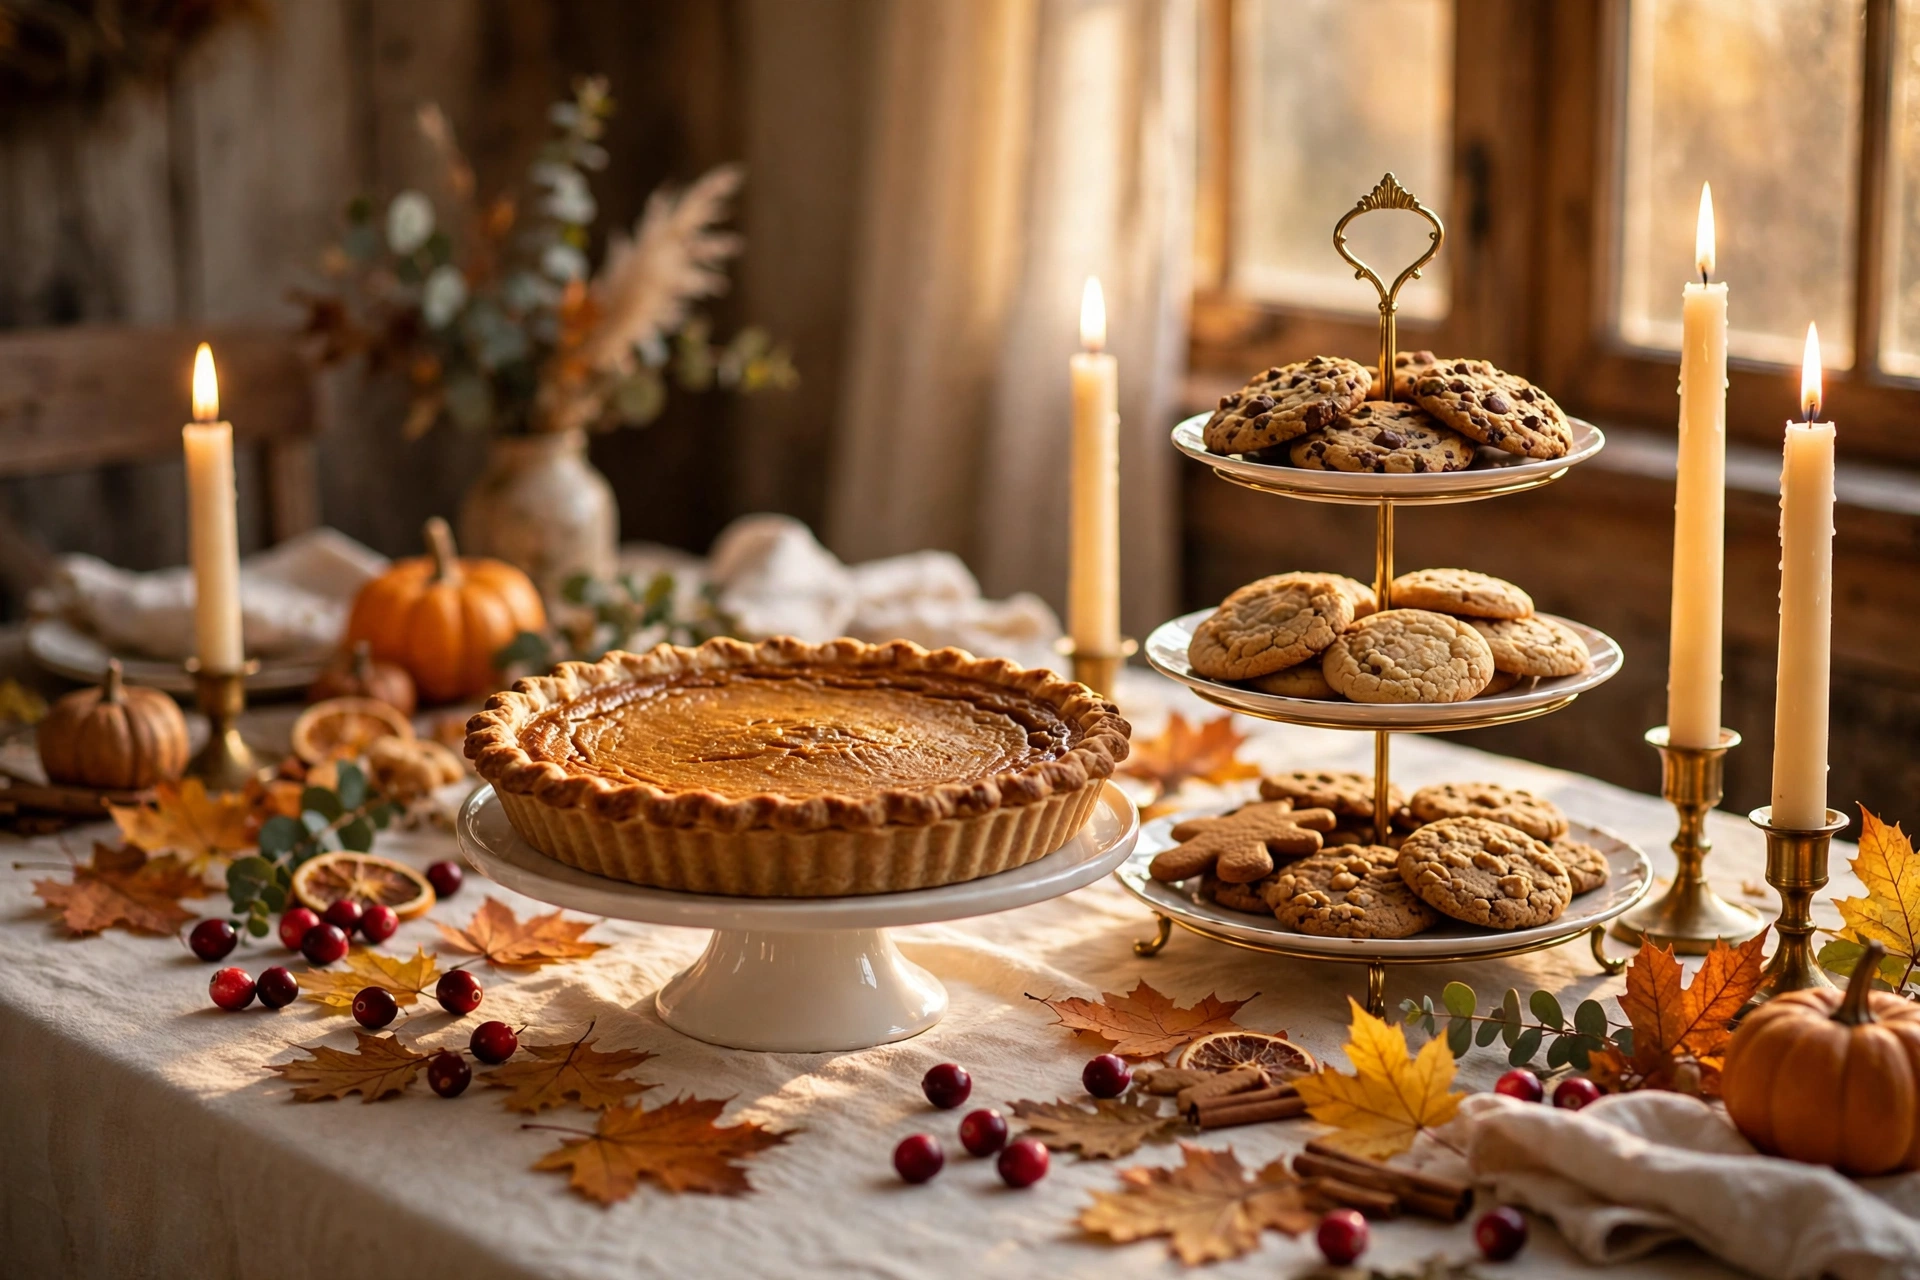
Every dessert table needs one hero, and on Thanksgiving that hero is the pumpkin pie. Put it on a cake stand and it stops being just a pie and becomes the centerpiece. A white ceramic pedestal stand is the classic choice, and it lifts the pie about six inches, which is exactly enough to make it the tallest thing on the table. I slice the first piece in the kitchen and bring the pie out whole, because a whole pie on a pedestal looks like a promise. Set a pie server and a small stack of dessert plates right beside it so the first guest does not have to hunt for them.
6. Make a Two Tier Spice Cake the Centerpiece
If pie is not your family’s star, a two tier spice cake will carry the table. Apple spice, pumpkin spice, or a plain vanilla cake with cinnamon buttercream all fit the season. The second tier adds height without any extra effort, and a few dried orange slices and cinnamon sticks on top make it look like it came from a bakery. I bake mine the day before and frost it the morning of, which keeps the cake moist and the frosting from sliding. A cake like this anchors the middle of the table and gives the eye a place to rest.
7. Line Up a Trio of Pies on Matching Stands
Three pies in a row on three matching stands is the most photogenic thing you can do with a dessert table, and it is also the most practical, because everyone has a favorite. Pumpkin, pecan, and apple cover almost every guest, and the matching stands make the row look deliberate instead of accidental. I use three small wooden stands I found at a thrift store for a few dollars each, and they come out every November. Put a small handwritten label in front of each pie so nobody has to ask which is which, and keep a different server with each one.
8. Try a Naked Layer Cake With Fall Fruit
A naked layer cake, one with just a thin scrape of frosting so the layers show through, looks rustic and generous and it is much easier than a fully frosted cake. Top it with figs, apple slices, or a small cluster of grapes, and add a few rosemary sprigs for color. The exposed layers show off the cake itself, which is the point, and the fruit on top ties it to the season. This is the cake I make when I want the table to look like a food magazine without spending the afternoon piping frosting.
9. Add a Cheesecake With a Caramel Drizzle Station
Cheesecake is the quiet crowd pleaser at Thanksgiving, because it is the one dessert that is not pie. Set the whole cheesecake on a low stand and put a small pitcher of warm caramel sauce beside it with a spoon, so guests can drizzle their own slice. The drizzle station is a little bit of theater, and people love it. I also set out a small bowl of crushed pecans next to the caramel, because a spoonful of pecans on a cheesecake slice is the kind of detail guests remember. Keep the cheesecake chilled until dessert time and bring it out last so it stays firm.
Height and Layers
10. Fill a Three Tier Tray With Small Bites
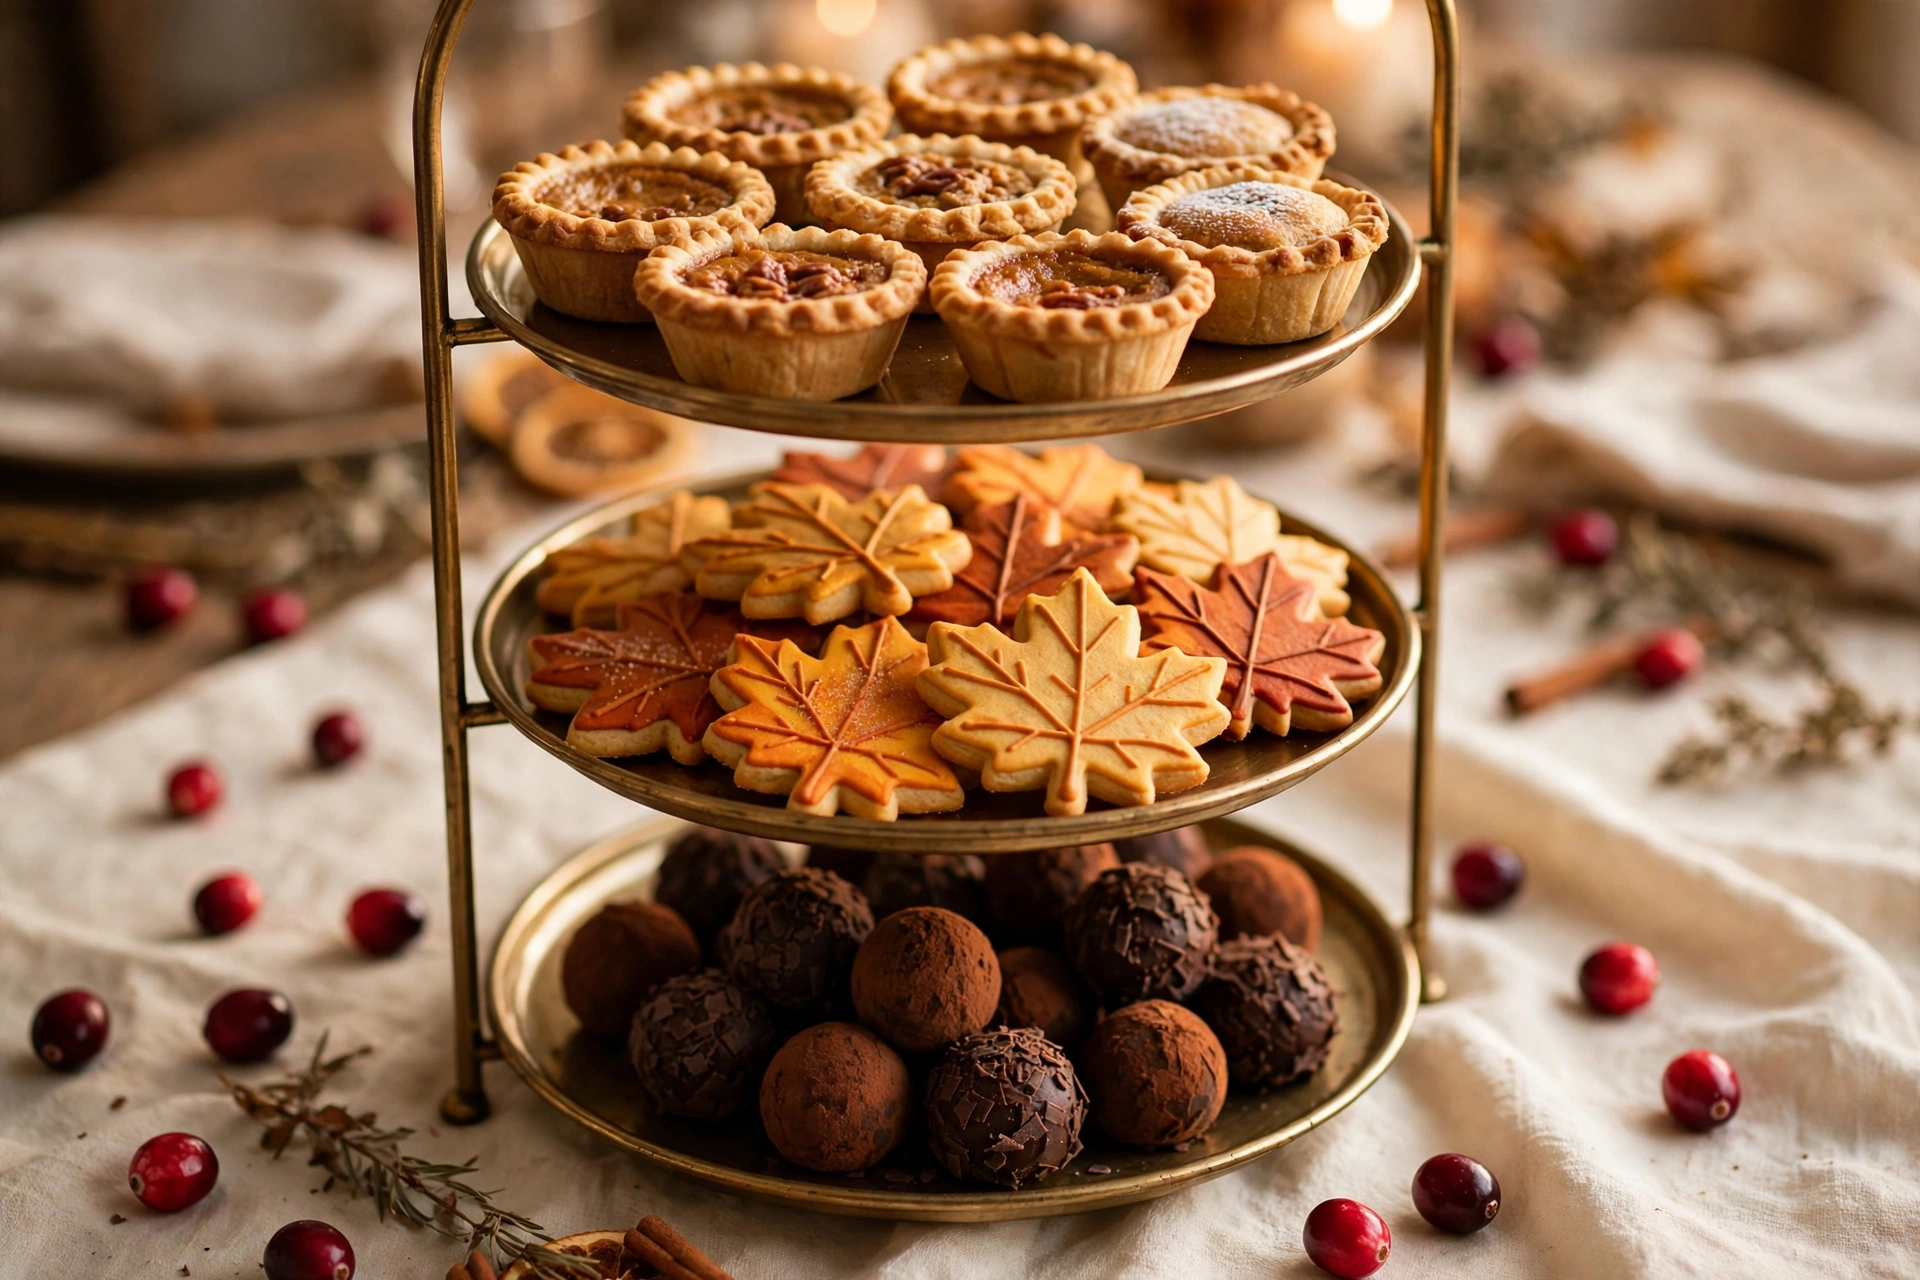
A three tier tray is the hardest working piece on a dessert table. It holds a dozen small bites in the space of one plate, and the tiers do the Three Tier Rule for you automatically. I fill the bottom tier with cookies, the middle with mini tarts or brownie bites, and the top with a few chocolate truffles or candied pecans. The tray goes at one end of the table, near the plates, so it is the first thing guests reach for. If you do not own a tiered tray, stack three plates of different sizes on top of two sturdy mugs or small bowls, and you have the same shape for free.
11. Use Wooden Crates and Boxes as Risers
Not every riser needs to be a cake stand. A small wooden crate flipped upside down, a sturdy box wrapped in kraft paper, or a thick hardcover book under a linen napkin all lift a dish a few inches and add texture at the same time. I keep two small crates that live in the garage the rest of the year, and every November they become risers for the cookie plates. The wood tone warms up the table and breaks up all the white ceramic. Just make sure whatever you use is stable and level, because a wobbling pie is a disaster waiting for a guest.
12. Mix Cake Stands of Different Heights
If you have cake stands in different heights, use them all. A tall pedestal for the hero pie, a medium stand for the cake, and a low footed plate for the cookies gives the table a skyline instead of a flat line. The stands do not need to match. I mix a white ceramic pedestal, a wooden stand, and a glass footed plate, and the mix looks collected rather than messy, because the desserts tie everything together. This is the fastest way to make a dessert table look styled, and it costs nothing if the stands are already in your cabinets.
13. Turn a Bookshelf Into a Dessert Display for a Crowd
When the guest list is big, one table is not enough, and a bookshelf is the answer. Clear two or three shelves, lay a linen runner on each one, and treat each shelf like a tier of the table. Pies on the middle shelf, small bites on the top, drinks on the bottom. The shelves give you height for free and they keep the desserts visible from across the room, which a crowded table never does. I have done this for the years when both sides of the family come, and guests love walking up to the shelf like it is a little bakery window. Our thanksgiving dining room decor guide has more ideas for feeding a big crowd without crowding the room.
Small Bites and Sweet Details
14. Serve Mini Pies in Jars
Mini pies in small glass jars are the most practical dessert on this list. They are individual, so nobody has to cut or serve, they look adorable lined up in a row, and they travel well if a guest wants to take one home. Apple, pumpkin, and cherry all work, and a small pastry leaf on top of each lid makes them look finished. I bake them the day before in half pint jars and set them out in a neat row on a wooden board. Put a tiny spoon beside each jar, because a jar pie without a spoon is a puzzle nobody wants to solve.
15. Build a Cookie Platter With Fall Shapes
A cookie platter is the low effort, high reward move on a dessert table. Sugar cookies cut into leaves, pumpkins, and acorns, snickerdoodles dusted with cinnamon, and a few gingerbread men fill a platter fast and look like you spent hours. I bake one big batch of sugar cookies and one batch of snickerdoodles the weekend before Thanksgiving and freeze them, then I decorate the sugar cookies the day before. Arrange them in overlapping rows on a large platter with a few fresh cranberries scattered between for color, and the platter looks like a bakery case.
16. Set Out Mini Cheesecakes With a Topping Bar
Mini cheesecakes in cupcake liners are individual, easy, and they give guests a choice, which is the whole point of a topping bar. Set the plain cheesecakes on a tray and put three small bowls beside them, cherry compote, caramel sauce, and crushed pecans, with a tiny spoon in each bowl. Guests build their own, kids love choosing, and the bar takes up less space than three separate desserts. I make the cheesecakes two days ahead and keep them chilled, and the toppings go in small jars the morning of.
17. Add a Candy and Nut Bowl Station
A small station of candy and nuts fills the gaps on a dessert table and gives guests something to nibble while they decide on a real dessert. Candy corn, chocolate covered pecans, roasted almonds, and a few wrapped caramels in small bowls look festive and cost almost nothing. I use three small bowls in a row at the far end of the table, near the drinks, so the nibbling happens away from the pies. Keep a little scoop or spoon in each bowl, because hands in the candy bowl are the one thing you do not want at a holiday table.
18. Wrap Caramel Apples on Sticks
Caramel apples on sticks are the dessert that doubles as decor. A row of them standing up in a small crate or a foam block looks like a market stall, and guests love taking one home. I buy small apples, dip them in caramel the day before, and roll half of them in chopped pecans and half in crushed pretzels. Wrap each one in cellophane and tie it with twine, and they stay fresh and look like gifts. Put them at the end of the table near the take home bags, because half your guests will grab one on the way out.
Drinks and the Warm Corner
19. Build a Hot Cocoa Bar With Toppings
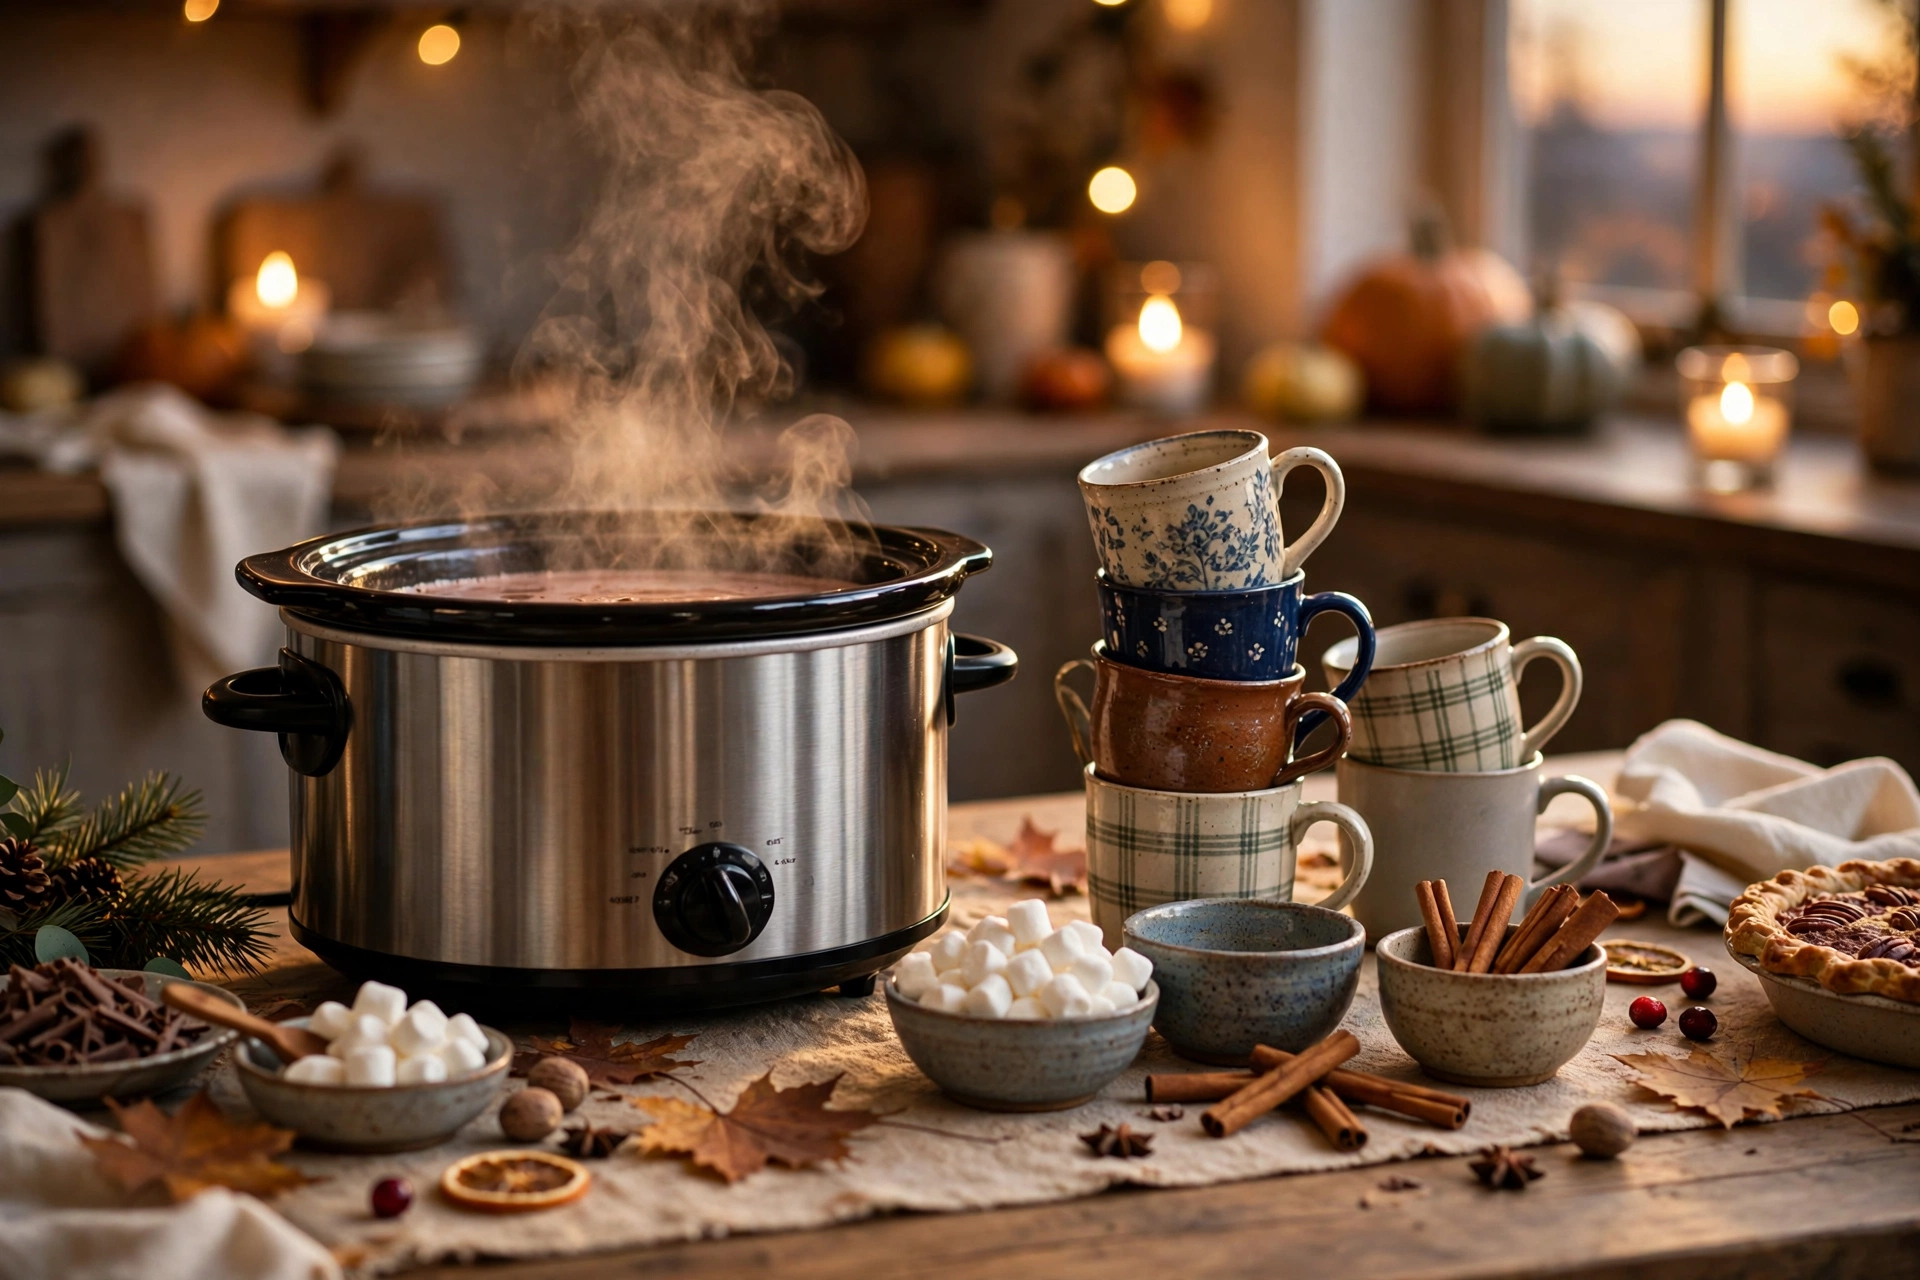
A hot cocoa bar is the coziest corner of a dessert table, and it costs almost nothing to set up. A slow cooker full of hot cocoa, a stack of mugs, and three small bowls of toppings, mini marshmallows, cinnamon sticks, and a can of whipped cream, is all it takes. I set the cocoa at the far end of the table, away from the pies, so the drink line does not block the dessert line. The steam rising from the slow cooker, the smell of chocolate, and the little bowls of toppings make the whole corner feel like a cafe. Kids go straight for it, and adults linger there with a mug long after the pie is gone.
20. Set Up a Coffee and Cider Station
Coffee and hot cider are the two drinks that belong next to Thanksgiving dessert, and they deserve their own station instead of sharing space with the pies. A coffee carafe and a slow cooker of spiced cider, with a small tray of mugs, sugar, and cinnamon sticks, is all you need. I put the station on a small side table next to the dessert table, which keeps the hot drinks away from the food and gives people a place to stand with a mug. The cider especially is a hit, because the whole room smells like apples and cinnamon for hours. If you want more hosting ideas for the whole evening, our thanksgiving centerpiece ideas guide pairs with this one for a table that flows from dinner to dessert.
21. Display a Row of Mismatched Mugs
Mismatched mugs are a dessert table secret. A row of different mugs on a small tray or hanging from hooks looks collected and charming, and it solves the practical problem of having enough mugs for everyone. I pull out every mug I own, pick the ones with warm colors, and line them up beside the cocoa bar. Guests choose their favorite, which becomes a little conversation piece, and nobody has to hunt through the cabinets for a cup. Thrift stores sell good mugs for a dollar, so this is also the cheapest decor on this list.
The Finishing Touches
22. Handwrite a Label for Every Dessert
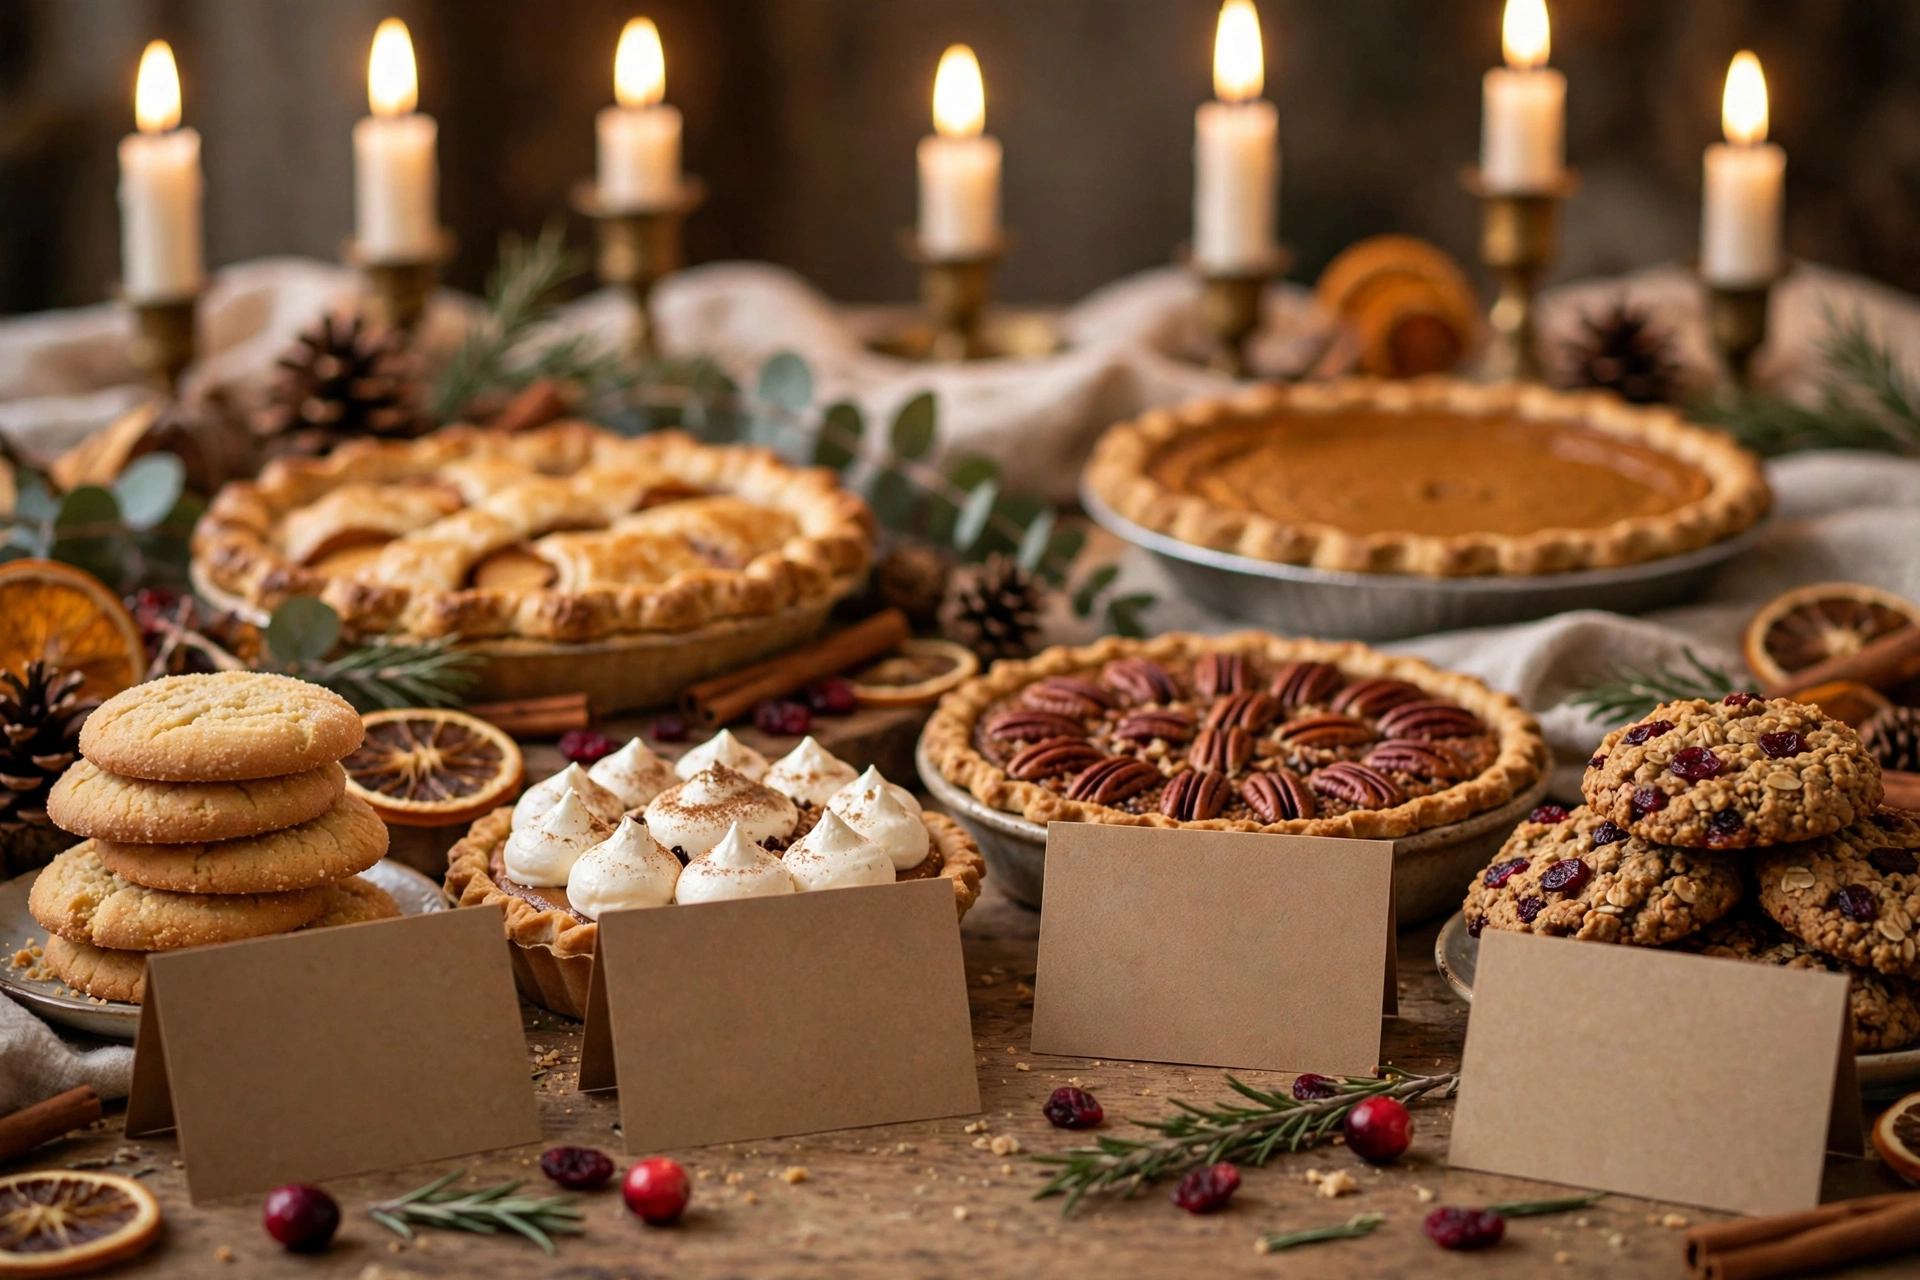
Labels are the smallest detail with the biggest payoff. A handwritten label in front of every dessert tells guests what it is, who made it, and whether it has nuts, which matters more than most hosts realize. I use small kraft cards folded into tents, and I write the name in my best handwriting with a brown marker. “Grandma’s Pumpkin Pie,” “Aunt Sara’s Pecan Bars,” “Cocoa With Marshmallows.” The labels make the table feel personal and they stop the same three questions from being asked all evening. If your handwriting is shaky, print the labels on your computer and cut them into cards, which looks just as good.
23. Garnish With Rosemary, Cranberries, and Orange Slices
Fresh garnish is the fastest way to make a dessert table look finished. A few rosemary sprigs tucked beside the cake, a scattering of fresh cranberries around the pie stands, and a couple of dried orange slices on the cookie tray add color and scent for the price of a small bag of cranberries. I buy one bag of cranberries and one bunch of rosemary the day before Thanksgiving and use them everywhere, on the dessert table, on the dinner table, and in the drinks. The garnish ties the whole table together visually, and it is the detail that makes photos look like they came from a magazine.
24. Add Candlelight at the Edges
Candlelight makes a dessert table glow, but it has to be placed with care. Taper candles in sturdy holders go at the far edges of the table, well away from the food and from anything a guest might reach across. I use two taper candles at the back corners and a few small votives in glass holders along the back edge, all behind the desserts so nobody leans over a flame. Battery candles are a fine substitute if you have kids running around, and they flicker just like the real thing. Light them right before dessert is served, not hours early, so the glow is fresh when guests arrive.
25. Set Out Take Home Treat Bags
The last idea is the one guests remember on the drive home. A small basket of paper bags and a scoop, or a stack of little cellophane bags tied with twine, lets everyone take a few cookies or a mini pie home. I set the bags at the very end of the table with a small sign that says “Take a little sweetness home.” It costs almost nothing, it uses up the extra cookies, and it turns the dessert table into a gift. Our thanksgiving kids table decor guide has more take home ideas if you have little guests who want to pack their own bag.
The Sweet Test: Your Final Check Before Guests Arrive
Before you call dessert, stand at the far end of the room and give the table the Sweet Test. Squint a little and ask three questions. Can I see three heights, a tall hero, a medium row, and a low tray? Can I see one hero dessert that my eye lands on first? Is there one empty spot where a guest can set a plate down while they serve themselves? If the answer to all three is yes, the table is done. Step away and enjoy the evening.
If something looks off, the fix is almost always one of three things. The table looks flat, so add a riser under the cookie plate or move the cake stand to the center. The table looks crowded, so pull two desserts off and save them for a refill later, because a table with breathing room looks better than a table with everything at once. The table looks plain, so scatter a handful of cranberries and tuck in two rosemary sprigs, and it will look finished in thirty seconds.
Keeping Dessert Fresh and Safe
Dessert is food, and food has rules, so here is the short version. Pies and cakes can sit out at room temperature for about two hours, which is plenty for a dessert course. Whipped cream, cheesecake, and anything with cream cheese should stay chilled until dessert time, then come out and go back in the fridge within two hours. Cover everything with a clean linen cloth or a cake dome until you serve, because a covered pie stays fresh and a bare pie dries out and collects dust. I set the table and the decor the night before, and I bring the food out the morning of or just before dessert, which keeps everything fresh and keeps me from rushing.
Budget: Buy Once, Refresh Each Season
A dessert table does not need to cost much, and the trick is knowing what to buy once and what to refresh. Buy once: cake stands, a tiered tray, a linen tablecloth, a set of small bowls, and a slow cooker for the cocoa bar. These last for years and they are the pieces that make the table look styled. Refresh each season: kraft labels, fresh cranberries, rosemary sprigs, mini pumpkins, and paper treat bags. Those cost a few dollars total and they are the details that make this year’s table feel new. I spent about thirty dollars on my first dessert table setup, mostly on the stands, and I have reused them every year since.
Small Space Dessert Tables
No big dining room is no problem. A bar cart is the best small space dessert table, because it has two tiers built in and it rolls wherever you need it. Put the hero pie on top, the small bites on the middle shelf, and the mugs on the bottom. A sideboard works the same way, and a cleared bookshelf gives you three tiers for free. If all you have is a kitchen counter, clear one section, lay a runner, and stack with risers so the desserts go up instead of out. The Three Tier Rule matters even more in a small space, because height is what makes a small table look generous.
Troubleshooting: Quick Fixes for Common Problems
The table looks flat and boring. Add a riser under the tallest dessert and move the lowest tray to the front, so the heights step down toward the guests. The table is too crowded. Pull the least popular dessert off and keep it in the kitchen as a refill, because a table with space looks better than a table with everything. Guests are crowding one spot. Move the drinks to the far end and the plates to the near end, so the line stretches out. The whipped cream melted. Serve it from a chilled bowl set inside a larger bowl of ice, and bring out a fresh bowl halfway through. The kids are eating dessert before dinner. Cover the dessert table with a linen cloth until dessert time, which keeps it a surprise and keeps little hands away.
FAQs
How many desserts should a Thanksgiving dessert table have?
Five to seven desserts is the sweet spot for ten to twelve guests. One hero pie or cake, two or three supporting desserts like a second pie and a tray of cookies, and a few small bites like mini cheesecakes or a candy station. More than seven and the table looks crowded and guests get overwhelmed. Fewer than five and the table looks bare. If your crowd is bigger, add a second hero instead of more small items.
When should I set up the dessert table?
Set the table, the cloth, the runner, the stands, and the decor the night before, and bring the food out the morning of or just before dessert time. The decor can sit overnight without any problem, and the food stays fresh in the fridge. I bring the pies out about thirty minutes before dessert so they come to room temperature, and the whipped cream and cheesecake come out last.
How do I keep desserts fresh until serving time?
Cover everything with a clean linen cloth or a cake dome until you serve, and keep cream based desserts chilled until the last minute. Pies and cakes are fine at room temperature for about two hours. If the house is warm, set a bowl of ice under the whipped cream to keep it firm. Never leave cream desserts out all evening.
What is the easiest dessert table for a first timer?
One hero pie on a cake stand, one tray of cookies, and one drink station with cocoa or cider. That is three items, one tall, one low, and one warm, and it follows the Three Tier Rule without any extra shopping. Add handwritten labels and a few cranberries for garnish, and it will look like you have done this for years.
Can I set up a dessert table in a small apartment?
Yes, and a small space actually makes it easier, because height does the work. Use a bar cart, a sideboard, or a cleared bookshelf, and stack the desserts on risers so they go up instead of out. A tiered tray holds a dozen small bites in the space of one plate. Keep the menu short, one hero, one tray of small bites, and one drink, and the table will feel generous instead of cramped.